I’m sure we’ve all been there: you’re creating a presentation in PowerPoint and you want to add some creative flair to your text. Maybe you want to curve it around an image, or make it follow the shape of a logo. However, you can’t seem to figure out how to do it. Don’t worry, because this article will show you exactly how to bend text in PowerPoint.
By following these simple steps, you’ll be able to add a new level of visual interest to your presentations. There are many curved styles you could choose for your presentation. Even better, you don’t have to use additional third-party software. Everything you need is already in PowerPoint.
Check this out
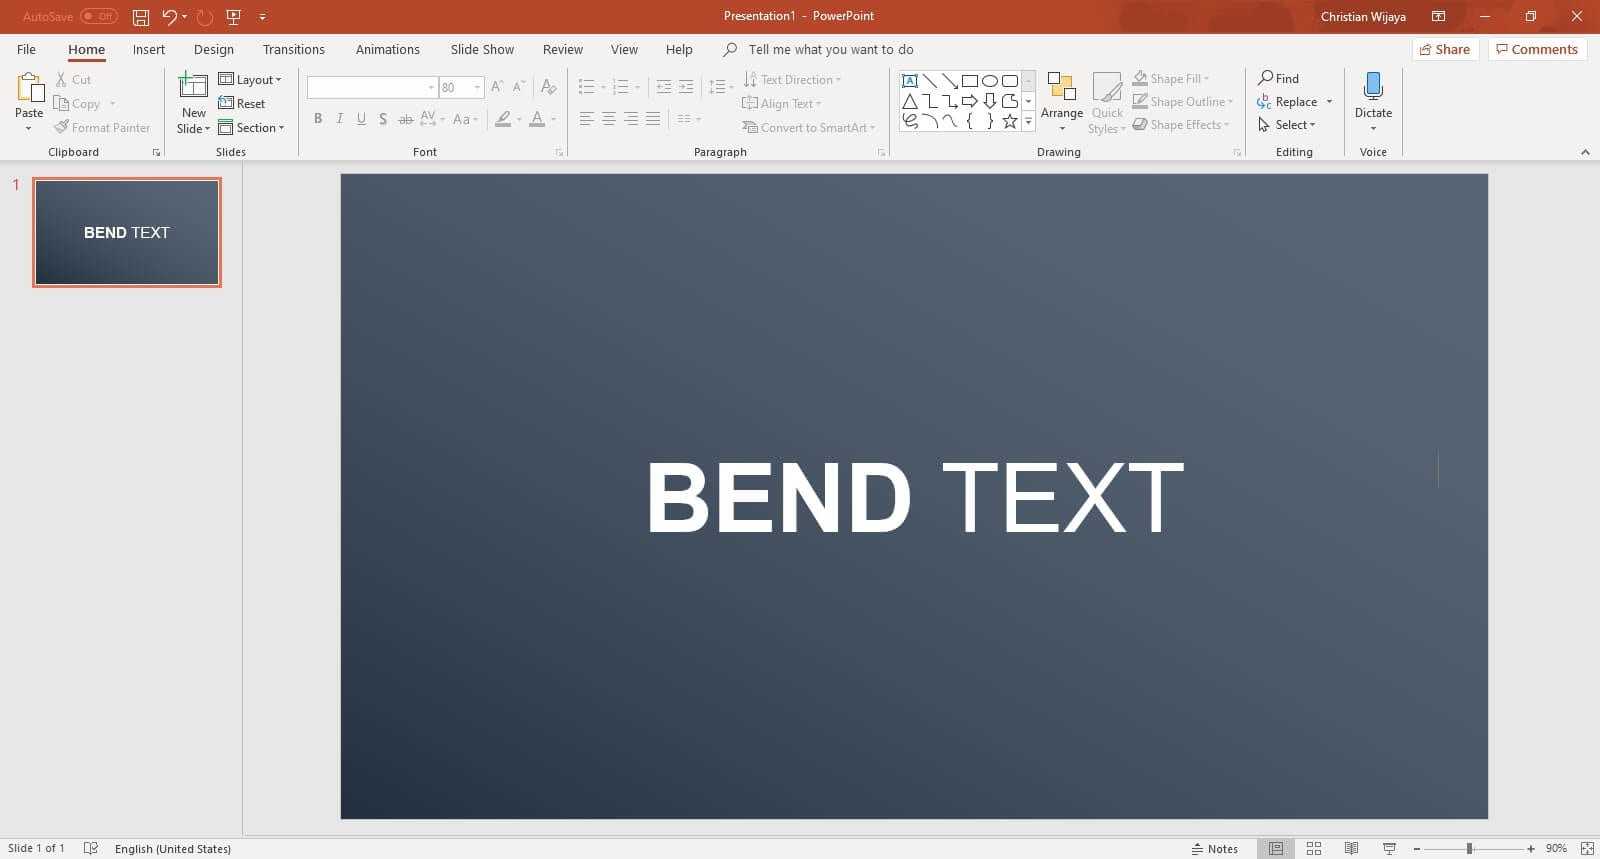
1. Type any text in the PowerPoint slide.

2. Click on the text you want to bend until the selection box appears.

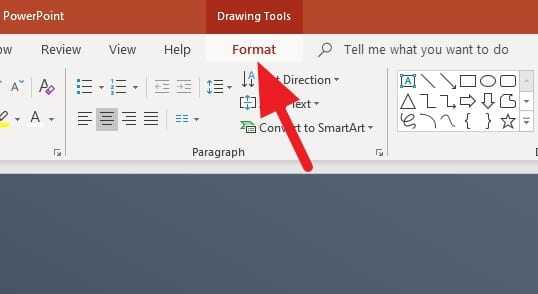
3. Go to the Format menu.

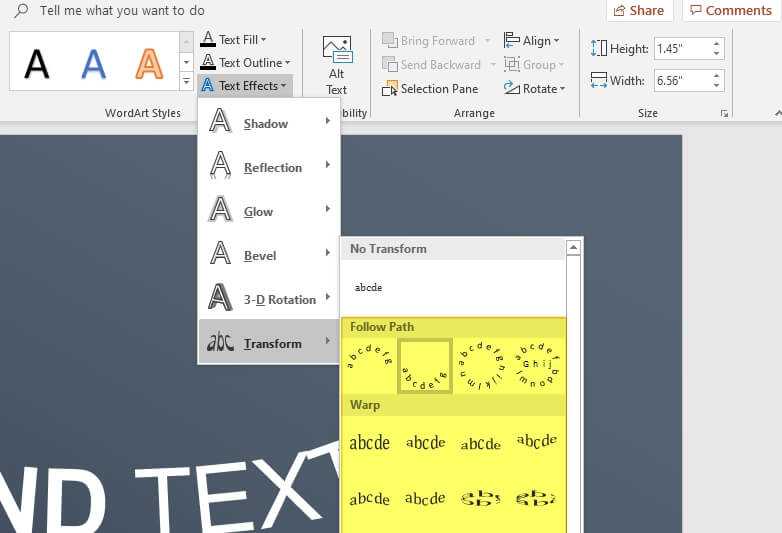
4. Head to Text Effects > Transform and choose any style from Follow Path or Warp.

5. Finally, you bent the text!

After that, you can change the text background, its color, outline style, and other necessary effects. However, I notice that you can’t change the font size after the bending effect applied. Hence, make sure the text already on the right size before.
Wanna make your PowerPoint text looks even better? Check the previous guide about How to Fill Text with Image in PowerPoint.


