While Microsoft PowerPoint does not come with a drop cap feature, there are some useful tricks that you could use to re-create a drop cap easily.
During my experience using this program, I found at least two methods to make a drop cap to your PowerPoint slide. Luckily, it is very easy to make.
Check out the guide below!
#1 How to create a drop cap inside PowerPoint
This is not technically creating a drop cap but rather a similar substitution that has a look like a drop cap. Nevertheless, it still serves its main purpose and the audiences will not notice that.
1. Launch PowerPoint.
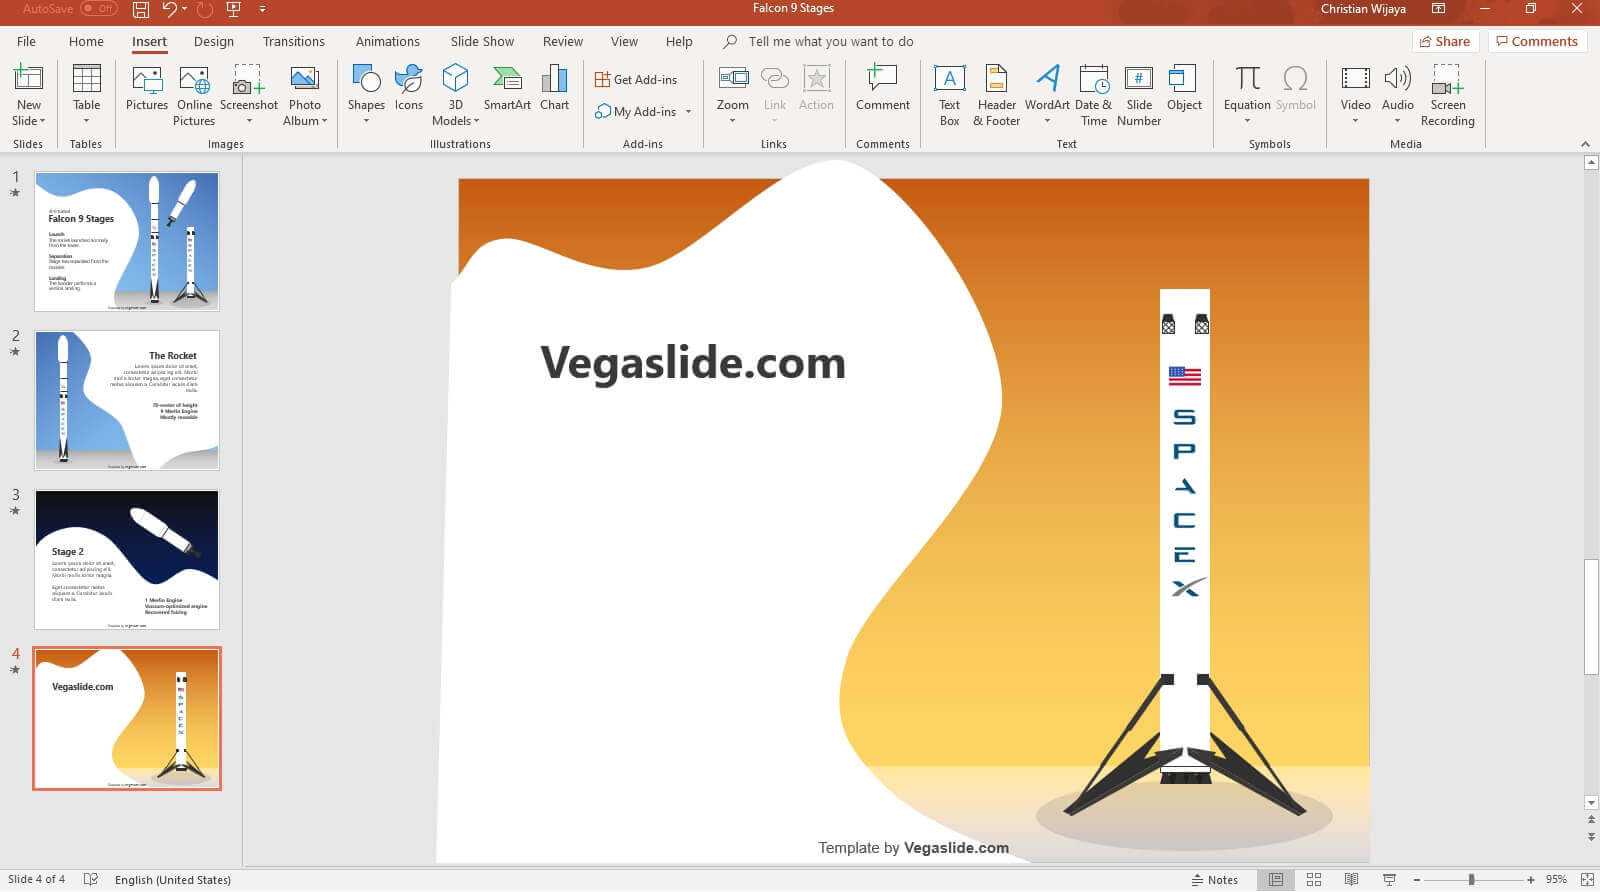
2. Select the first letter of the paragraph.
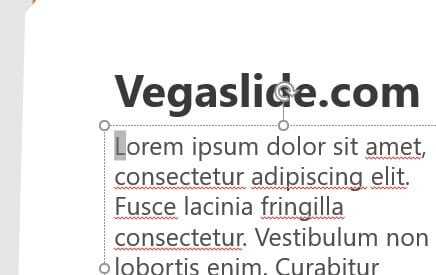
3. Right-click on it and select Cut.
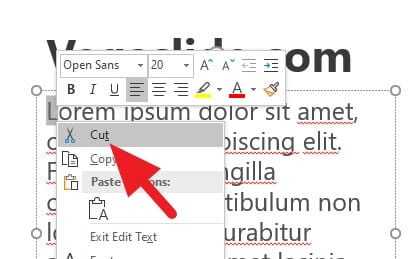
4. Now, give some space for two or three lines by using the Tab button. This new space will be used for a drop cap.
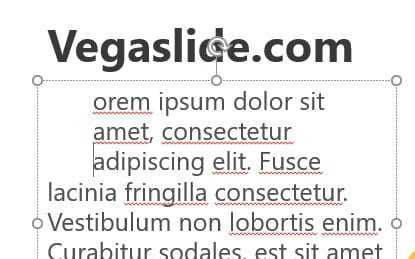
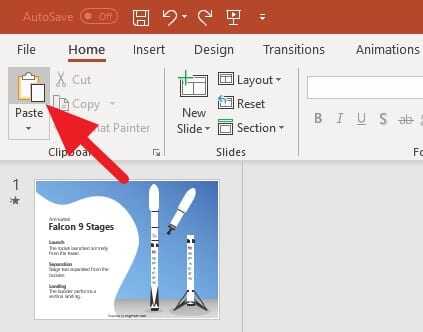
5. Go to Home and select Paste (CTRL+V). This will show the letter you cut before.
6. Adjust the size and position of the letter.
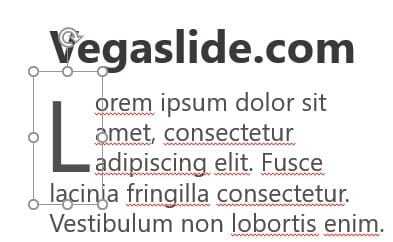
7. The result should look like this.
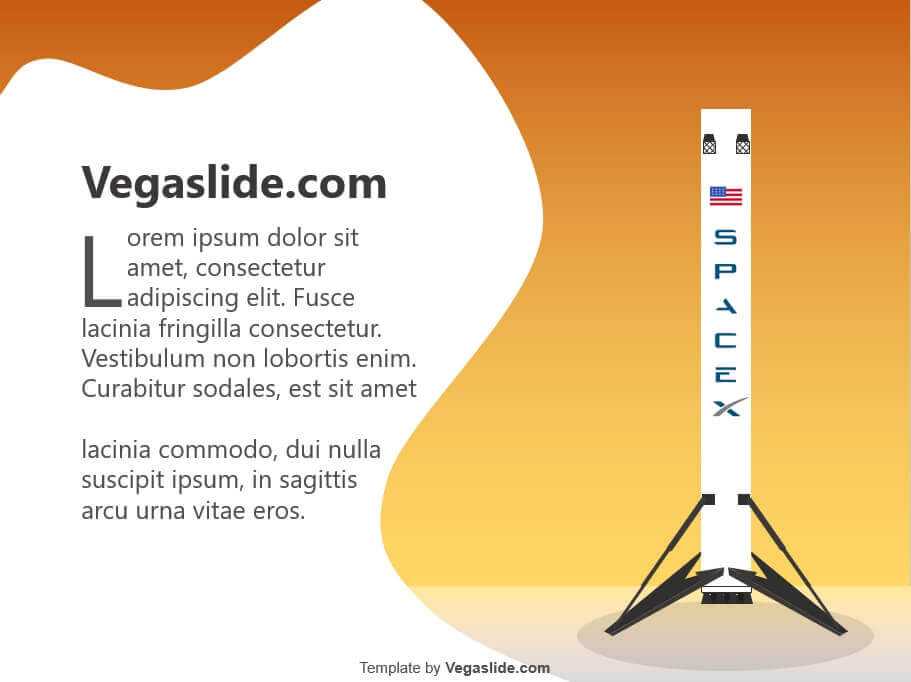
The beauty of this method is you still in control of the style and look of the drop cap and paragraph. However, you probably should not change the size of the font once the drop cap has created to prevent them from messing around.
#2 Create a drop cap with the help of Microsoft Word
If you have PowerPoint, you must have Word too since these programs are in the Microsoft Office bundle. In this tutorial, we will use a little help from Word to make a drop cap and then move it to PowerPoint.
1. Run Microsoft Word and put your presentation paragraph there.
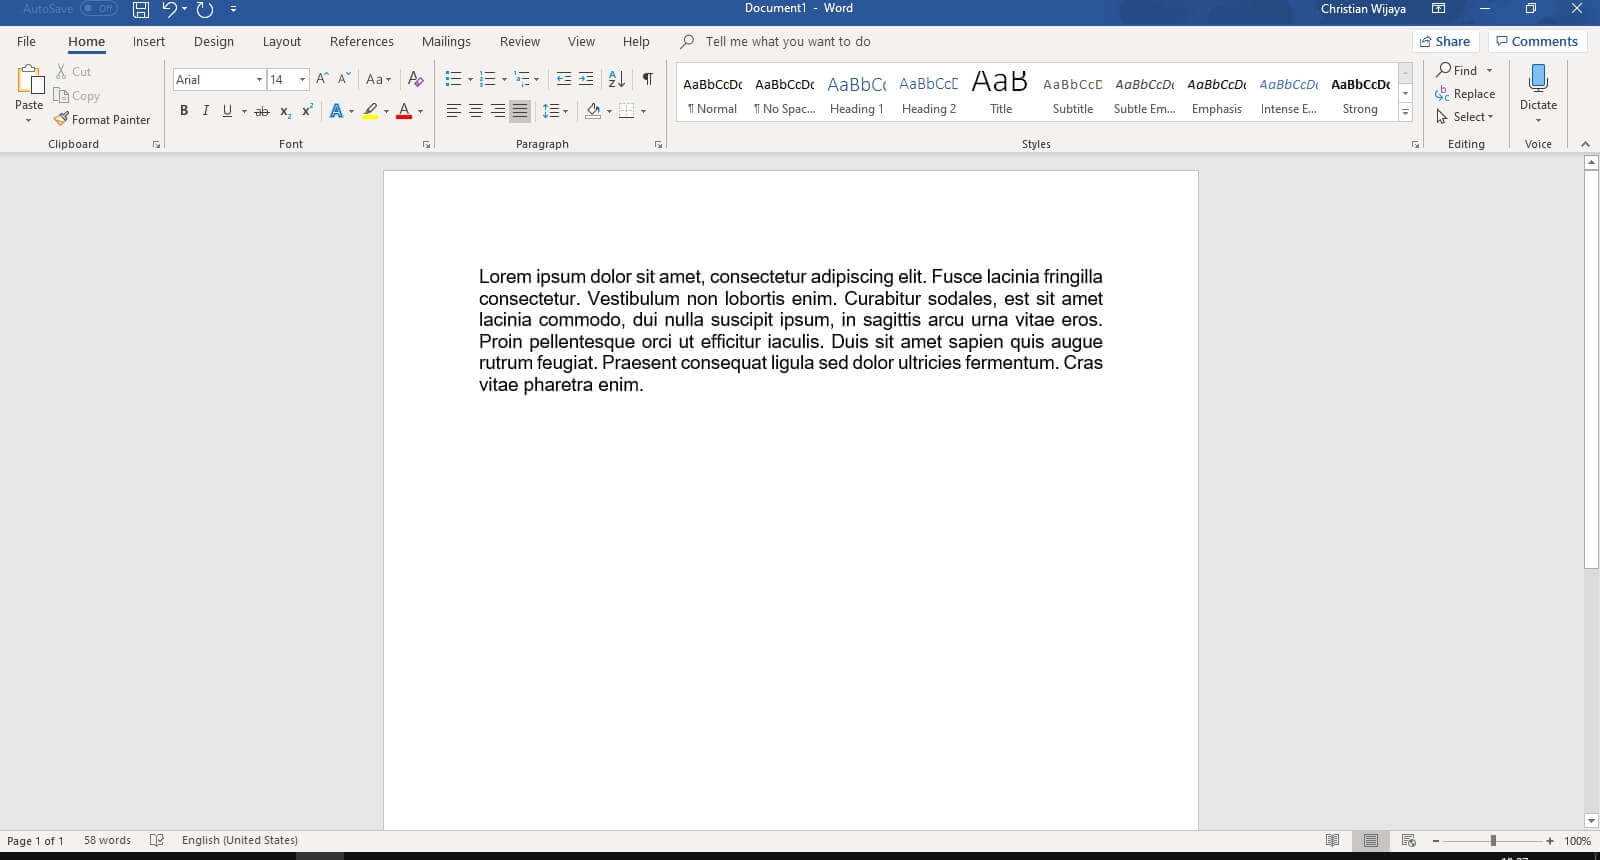
2. Select the first letter of the paragraph.
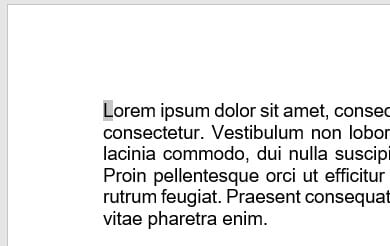
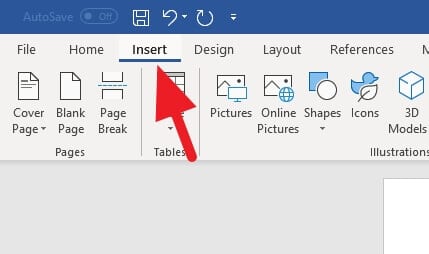
3. Go to the Insert menu.
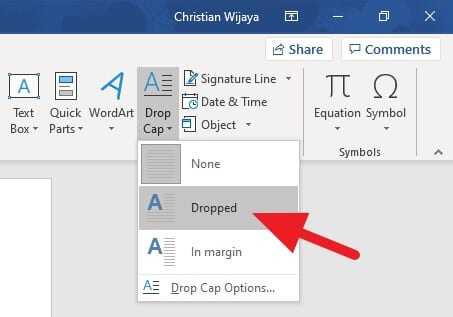
4. Head to Drop Cap, and select Dropped.
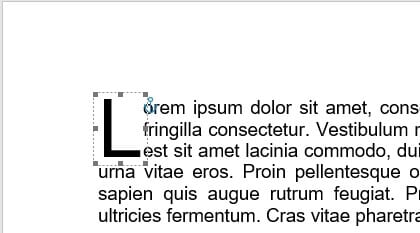
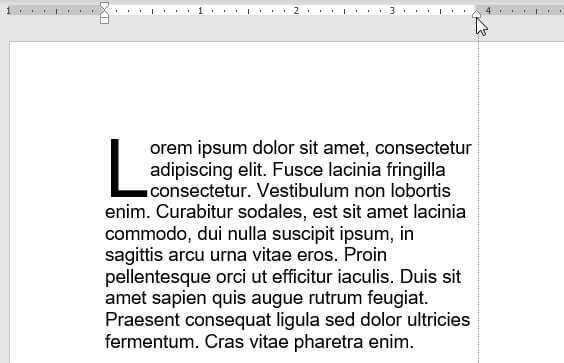
5. You should see a result like this.
6. Next, go to the View tab and check on the Ruler.

7. Using pointer, reduce the margin into so it could be fit inside the PowerPoint slide.
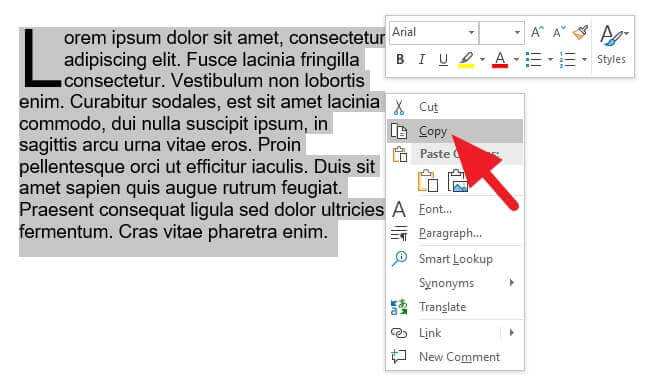
8. Select all (CTRL+A), right-click on it, and choose Copy (CTRL+C).
9. Launch PowerPoint.

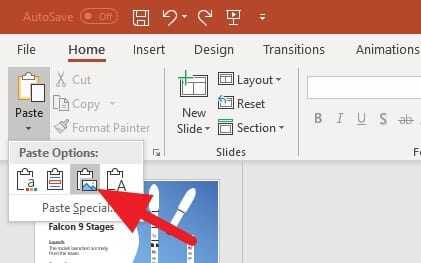
10. Go to the Home tab, select the Paste option, and select Picture.
11. The paragraph alongside with its drop cap will be there.
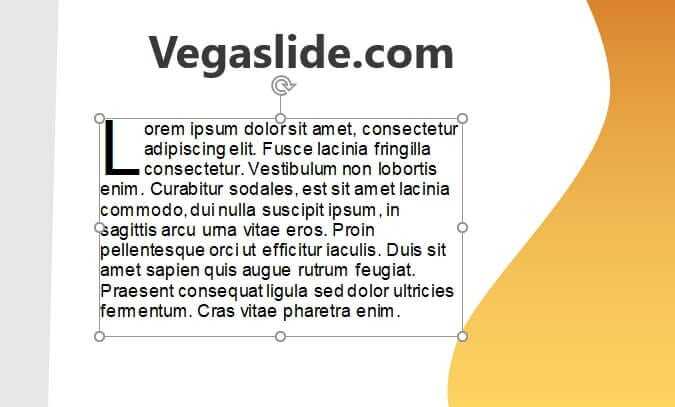
12. You probably need some adjustments and experiments to make the paragraph look great inside the slide.
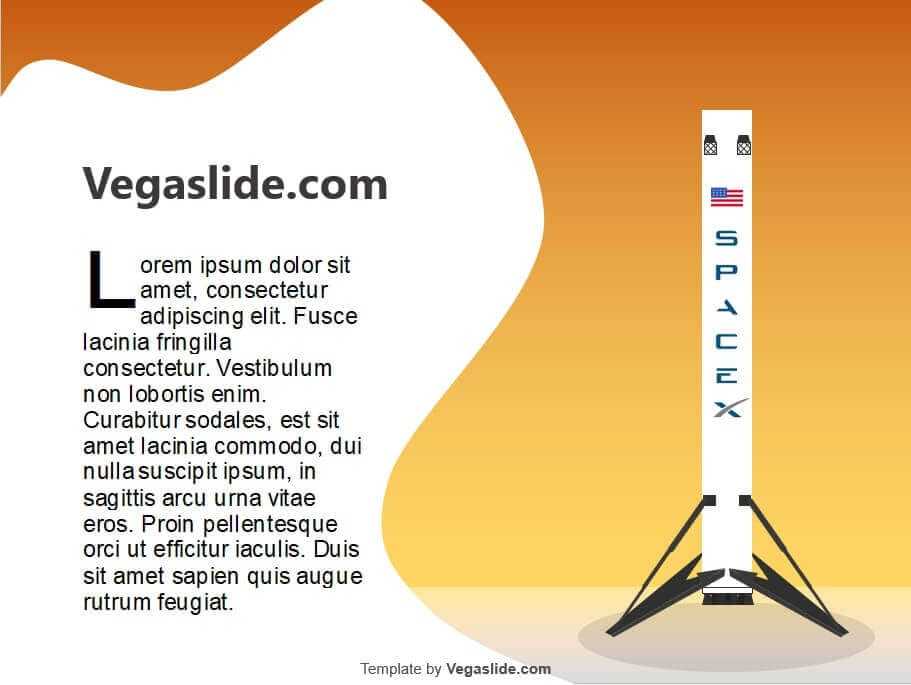
Here is some information you need to keep in mind while using this method:
- Changing color, font, and size are only possible inside Word.
- Once in PowerPoint, you can only change its size. The paragraph now acts like an image.
- If you want to change the paragraph size, always use the diagonal point while pressing the Shift button in order to maintain proportional size.
The reference for this guide is based on Falcon 9 Stages PowerPoint Template. Download the template for free and use it for your presentation project.
Alright, that’s how to make a drop cap with PowerPoint. I hope you found this article helpful.
Thank you for visiting!


Terrible options for a drop cap. The tabbing is a bad idea generally and images for text in a slide deck is not accessible and not scalable to higher screen resolutions.