Adding borders to text boxes and other elements in Google Slides is an easy way to make your text stand out. Borders can help emphasize important information, organize your content into sections, and make your overall presentation look more polished and professional.
In this beginner’s guide, you’ll learn several methods for adding borders around text in Google Slides, including using text boxes, shapes, and Word Art. We’ll cover how to customize the border color, style, and thickness to fit your presentation’s needs. Let’s get started!
Using Text Boxes to Add Borders to Text
The simplest way to add a border around text in Google Slides is by using a text box. Here are the steps:
- Click “Insert” and select “Text Box” from the drop-down menu.
- Click and drag your mouse on the slide to draw a text box of your desired size.
- Type or paste your text into the text box.
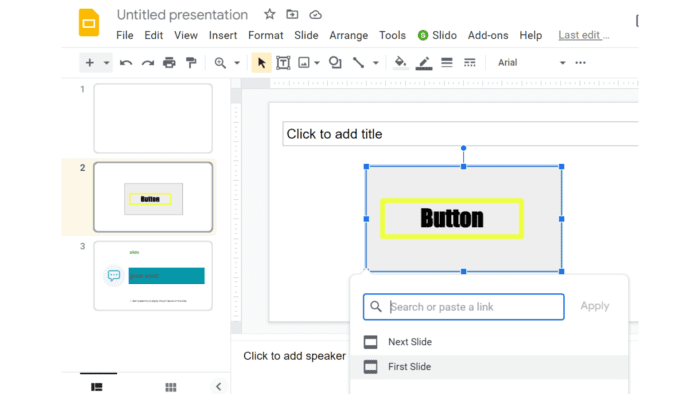
- With the text box selected, click the “Border color” icon in the formatting toolbar.
- Choose a border color from the palette or theme colors.
- Click the “Border weight” icon next to change the thickness of the border.
You can make other customizations like adding a background color or changing the transparency. Text boxes give you an easy way to add standardized borders to multiple text elements in your presentation.
Using Shapes to Border Text
Adding shapes from Google Slides’ extensive shape library is another straightforward way to create borders around text:
- Click “Insert” and go to “Shapes.”
- Browse the various shape categories and select one that fits your needs, such as a rectangle or rounded rectangle.
- Draw the border shape by clicking and dragging your mouse on the slide.
- Type or paste your text into the shape.
- Resize and format the shape as needed, changing colors, line thickness, etc.
The benefit of using shapes over text boxes is having more border customization options like dashes, arrows, speech bubbles, and more.
Creating Outlined Text with Word Art
Google Slides’ Word Art feature lets you add an outline effect to text for a dramatic, eye-catching look:
- Select “Insert” then “Word Art.”
- Type your text in the input field and press enter. The outlined Word Art will appear on your slide.
- Click and drag the Word Art to position it where desired.
- Customize the fill color, outline color, outline width, and other effects.
Word Art renders each letter with an outline, letting you choose colors that strongly contrast against each other. This makes outlined Word Art ideal for titles, pull quotes, and important text you want viewers to notice.
Customizing Border Appearance in Google Slides
Now that you know how to add borders around text, let’s go over some tips for customizing their appearance:
- Use contrasting colors: Choose border/outline colors that contrast strongly against your text fill color for maximum impact.
- Vary border weight: Thicker borders tend to look more modern and sleek. But thinner hairlines can also make text pop.
- Align neatly: Make sure borders hug text neatly. Avoid awkward extra spacing around your text.
- Match theme: Tie border colors to your Google Slides color theme for a cohesive look.
- Highlight key text: Use borders to direct attention to important ideas, quotes, titles, etc. Don’t overdo it.
- Keep it consistent: Use the same border style for similar text boxes and elements. Too many variations can look messy.
Why Add Borders Around Text in Presentations?
Finally, let’s discuss why you should consider incorporating borders into your Google Slides presentations:
- Draws attention: Borders frame text in a way that grabs the viewer’s notice. This focuses interest on your key messages.
- Looks professional: Simple black borders give text boxes and other elements a clean, polished appearance.
- Organizes information: Borders can delineate sections, chapters, ideas, and more in your presentation content.
- Modern aesthetic: Bordered text aligns with minimalist and flat design trends that dominate modern slides.
- Branding: Custom border colors and styles help reinforce a company, product, or personal branding theme.
Recap and Next Steps
Adding borders around text boxes, shapes, and Word Art offers an easy design upgrade for your Google Slides. Use borders consistently to organize information and make text stand out.
To recap, you can add borders to text by:
- Inserting a text box and customizing its border settings
- Placing text inside a shape like a rectangle
- Using Word Art to render outlined, decorative text
Test different border colors, widths, and styles to determine what works best for your presentation. Don’t go overboard, but take advantage of borders to direct your audience’s attention!


