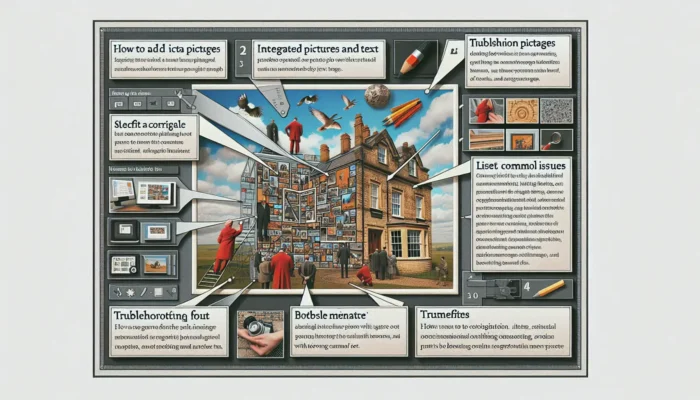
Adding a picture inside text on a PowerPoint slide is an excellent way to make your presentations more visually appealing and memorable. The technique draws attention to key text or reinforces your message using relevant imagery.
In this comprehensive guide, you’ll learn step-by-step how to insert a picture inside text correctly in PowerPoint.
Why Add a Picture Inside Text?
Using a picture as a text fill serves several purposes:
- Draws focus to important text or concepts
- Makes text stand out on busy slides
- Adds visual interest to plain text
- Reinforces messages with supportive imagery
- Creates more engaging, memorable presentations
Integrating pictures and text is an easy way to make ordinary slides pop. Audiences better retain information when content is presented visually.
Step-by-Step Instructions
Follow these simple steps to fill PowerPoint text with an image correctly:
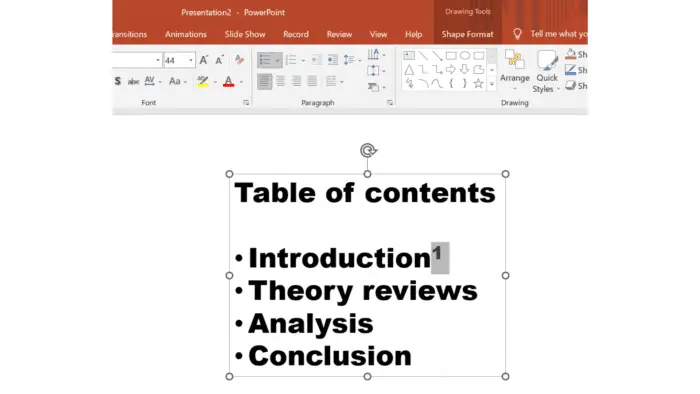
1. Format the Text
First, add bold text to your slide. Select a thick, high-quality font like Arial Black in at least 36pt size. The larger and bolder the letters, the more of the image you’ll see.
Bold text example
2. Add a Complementary Image
Next, insert a relevant, high-resolution picture from your files that supports the text’s meaning. For maximum visibility, choose landscape orientation.
Tip: For best results, use original images sized at least 1280×720 pixels. Pixelated graphics will look blurry inside text.
Good image example
3. Send Picture to Back
With the image selected, right-click and choose “Send to Back” so text appears on top. Resize and position the photo as needed.
4. Fill Text with Picture
Finally, click the text box. Under “Format Shape,” choose “Text Fill” > “Picture.” Select the image and click “Insert.”
The picture now fills the text, merging the visuals. Resize, reposition, or reformat as desired.
Filled text example
Image Ideas and Alternatives
Almost any high-quality image can work inside text, as long as it matches the message. Consider using:
- Relevant photos
- Supporting graphics or icons
- Thematic texture patterns
- Company logos or branding
For more visual interest, fill individual words or letters instead of full sentences. Mix and match multiple pictures in large text.
If suitable images aren’t available, consider using a solid color or gradient fill. Text effects like reflections or shadows also draw attention.
Fixing Common Issues
If your filled text looks pixelated, blurry, or low quality, the image size is probably too small. For best results, use original pictures sized at least 1280×720 pixels.
Unsure how to access original images? Try these steps:
- Search online creative commons image sites like Pexels and Pixabay
- Purchase royalty-free stock photos from providers like Adobe Stock or Shutterstock
- Use your own high-quality photos taken on a digital camera or smartphone
If only parts of the image are showing inside letters, the font may be too thin. Switch to a thicker, high-quality display face like Arial Black.
Takeaways
Filling PowerPoint text with pictures takes ordinary slides to the next level visually. Use this popular technique to:
- Emphasize key messaging
- Increase viewer focus
- Boost memorability
- Add artistic flair
With the right fonts, properly sized imagery, and well-matched content, you can easily merge text and graphics for beautiful, professional slides.
Try this simple tutorial the next time you need high-impact text. Your audiences will remember your presentation long after the lights come up.


