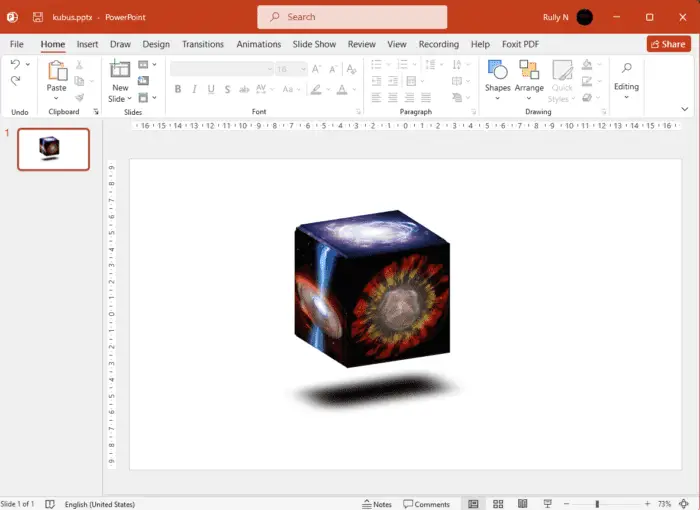
The vertical ruler in PowerPoint 2013 provides a helpful visual guide for precisely aligning and spacing objects on your slides. However, it is hidden by default. Showing the vertical ruler is easy – just a few clicks.
Why Use the Ruler
The vertical ruler runs along the left edge of the PowerPoint window. It displays measurements, typically in inches or centimeters depending on your system settings.
Using the ruler for alignment is easier and more precise than eyeballing object placement. It helps ensure text boxes, images, charts, and other slide elements line up properly.
Benefits of the vertical ruler include:
- Set consistent margins and spacing between objects
- Align objects perfectly on the slide and relative to each other
- Determine exact object dimensions and positions
- Create balanced designs
- Save time formatting slides
How to Display the Ruler
- Open PowerPoint and select the View tab
- Check the box next to Ruler in the Show group Show Ruler
- If the vertical ruler still does not appear, access more ruler settings:
- Select the File tab > Options
- Click Advanced on the left
- Scroll down and check Show vertical ruler under Display Show Vertical Ruler Setting
- Click OK
- Return to the View tab, verify the Ruler box is still checked
The vertical ruler should now be visible on the left side of the PowerPoint window.
Adjusting the Ruler
Beyond simply showing or hiding the ruler, there are a few adjustments you can make:
Change Measurement Units
To change from inches to centimeters or another unit:
- Select the File tab
- Click Options > Advanced
- Under Display, click the dropdown next to Ruler units
- Choose your desired unit: Inches, Centimeters, Points, Picas
Rotate and Move
To rotate the vertical ruler to any angle:
- Hover your mouse over the ruler
- Spin the mouse wheel to rotate
You can also click and drag the ruler to reposition it anywhere on the slide. This helps when needing to measure angles or spaces that are not purely vertical or horizontal.
Use With Gridlines and Guides
The ruler works very well alongside gridlines and guides to align objects to specific positions on the slide.
To enable:
- Navigate to View tab
- Check boxes for Gridlines and Guides in Show group
Tips for Using the Ruler
- Use ruler indent markers to adjust text indentation and spacing
- Align individual objects by dragging them to snap against the ruler
- Determine margins by measuring from slide edges to objects
- Check consistent object sizes by measuring height and width
- Rotate the ruler to any angle as a guide for drawing angled lines and shapes
Conclusion
The vertical ruler provides indispensable visual assistance when formatting PowerPoint slides. Although hidden by default, displaying it only takes a few clicks.
Use the ruler alone or with gridlines and guides to precisely place, scale, and align slide content. It helps create professional, balanced designs, saves formatting time, and gives you more control over slide layouts.
Unlock the potential of the vertical ruler to improve your PowerPoint skills!


