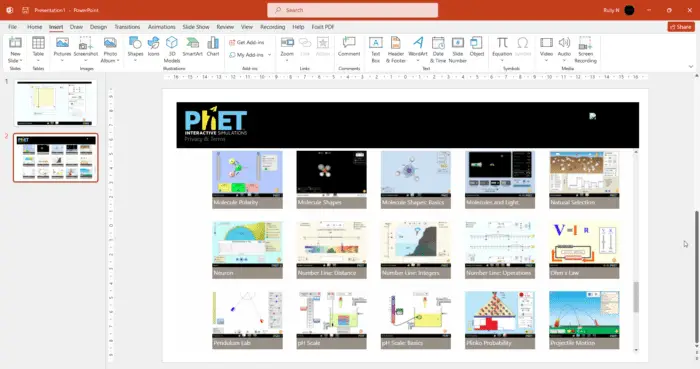
Changing the margins in PowerPoint is an important part of creating professional and polished presentations. The margins determine the amount of white space around the edges of your slides, allowing you to better organize information and draw attention to key elements.
In this guide, I’ll walk you through everything you need to know to customize margins in PowerPoint, including:
- Why margins matter in presentations
- How to change slide margins
- How to adjust margins within text boxes and shapes
- Tips for aligning objects and text
Why Margins Matter in Presentations
Margins help create white space and prevent a cluttered look. Generous margins make text and graphics easier to see, while narrow margins allow more content to fit on each slide. Finding the right balance is key.
Consistent margins also give your presentation a clean, professional appearance. When text boxes, images, and other elements are properly aligned inside the margins, it looks crisp and organized.
Margins draw attention to focal points by keeping other content away from the edges. Centering a key statistic or pull quote inside ample margins, for example, makes it stand out.
How to Change Overall Slide Margins
PowerPoint doesn’t have a dedicated margin setting like Word. Instead, you define margins indirectly by adjusting slide size.
Here’s how to customize slide margins in PowerPoint:
- Go to the Design tab and open the Slide Size drop-down menu in the Customize section of the ribbon.
- You’ll see preset options for Standard and Widescreen slides. Click Custom Slide Size.
- In the dialog box, adjust the slide Height and Width to set your desired margins.
- Click OK to apply the new slide size.
Example:
For a standard 1-inch margin all around on a 10 by 7.5-inch slide:
- Set height to 7.5 inches
- Set width to 10 inches
This gives you the extra space for 1-inch margins without changing the actual slide dimensions.
How to Adjust Margins in Text Boxes
The overall slide margins determine the maximum space for content. You can further customize the spacing around individual text boxes and shapes with internal margins:
- Click the border of the text box to select it
- Go to Format Shape > Text Options in the ribbon
- Adjust the internal margins under Text Box to increase or decrease space between the text and box borders
Use this to fine-tune alignment relative to other objects on the slide.
Tips for Aligning Slide Objects
Creating a professional look also means positioning boxes and graphics neatly inside the slide margins.
Use gridlines as a guide – turn these on under the View tab.
Align objects relative to each other or the slide edges using Format Shape > Position.
Be consistent with font sizes, text box widths, image proportions, etc. Too much variation looks sloppy.
Equalize vertical spacing between boxes and components for a balanced appearance.
Add generous paragraph spacing between chunks of text to prevent a dense look.
See Your Changes Instantly
One of the best things about working in PowerPoint is that you can preview the effect of margin and alignment changes right away.
As you tweak the layout, continually switch to normal view mode to check:
- Overall information hierarchy
- Visual balance
- Ease of reading important text
- Aesthetic appeal
Refine the margins and alignment until you have a professional and effective slide composition.
Recap and Key Takeaways
Adjusting margins and alignment in PowerPoint is easy once you know a few key things:
- Slide margins = slide size minus height/width
- Use internal margins to fine-tune text box spacing
- Align objects with gridlines and guidelines
- Equalize spaces between elements
- Be consistent with text formats and graphic sizes
- Check normal view frequently for a true presentation preview
Following basic graphic design principles will make your slides look clean, professional, and polished.
I hope this guide gives you the knowledge and confidence to create presentations with perfect margins and text box alignment. Just take it slow, use alignment tools, and keep previewing your changes.
Let me know in the comments if you have any other questions! I’m always happy to help fellow PowerPoint users.


