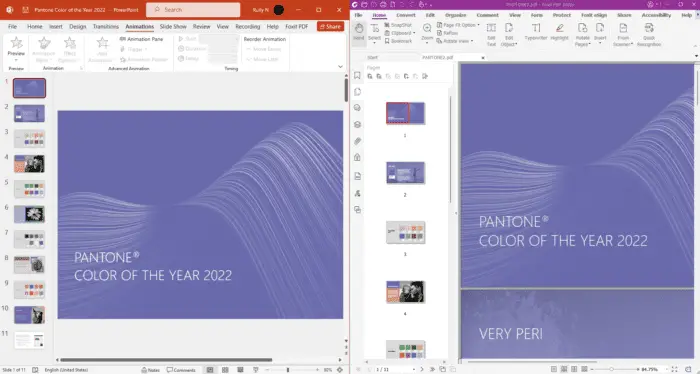
A master slide is an essential tool in PowerPoint that allows you to create slide templates and ensure consistency across your presentations. Using a master slide can save you a tremendous amount of time and effort.
This article will walk you through how to create and work with master slides in PowerPoint.
What is a Master Slide
A master slide is the background slide that stores default settings like colors, fonts, logos, and placeholder sizes/positions that can be applied to some or all slides. Any editing done to the master slide will automatically apply to the slides associated with it.
Think of it like a blueprint – the master slide sets the style, structure and layout that you want your presentation slides to follow.
Why Use a Master Slide
Here are some of the benefits of using a master slide in PowerPoint:
- Ensure consistency – You can maintain consistent fonts, colors, logos across all slides
- Save time – Global changes can be made easily from one place rather than editing each slide
- Create templates – Master slides allow you to save formatted slide templates for reuse
- Flexible – You can associate different master slides with different slides in your presentation
How to Create a Master Slide
Follow these simple steps to create a master slide in PowerPoint:
1. Access Master Slide View
- Go to the “View” tab
- Click on “Slide Master”
This will open the slide master view.
2. Edit Default Master Slide
- The top thumbnail is the default master slide
- Customize the background, fonts, colors, logo etc. as needed
- This will set the default look and feel for all new slides
3. Create Additional Master Slides (Optional)
- Right click the default master slide thumbnail
- Select “Duplicate Slide Master” to create a new master
- Customize this new master slide as needed
- Repeat to create additional masters
4. Create Custom Layouts
- Select the master slide you want to create a layout for
- Go to the “Slide Master” tab
- Click “Insert Layout” and edit as needed
- Repeat to add layouts to any master slide
5. Close Master View
- Click “Close Master View” when done
Any new slides you add will now adopt the designs from your master slides and associated layouts.
How to Work with Multiple Master Slides
You can have multiple master slides in your presentation, with different slides adopting different master slides. Here is how it works:
- When in normal slide view, go to the “View” tab and select “Slide Master”
- Right click the default master slide and select “Duplicate Slide Master”
- Customize this new master slide with its own fonts, colors, graphics etc.
- Close slide master view
- When adding new slides, go to the “Home” tab and pick the layout you want from the different masters
- Existing slides can also be associated with a different master
This allows you to maintain consistency within sections of your presentation that need different looks.
Tips for Using Master Slides
Here are some tips to use master slides effectively:
- Keep it simple – Don’t overwhelm your master slide. Focus on consistency in fonts, colors, logos etc.
- Create multiple – Have separate masters for title, section headers, content slides etc.
- Add useful elements – Include page numbers, date text boxes if required
- Use layouts wisely – Insert layouts to help maintain structure for different slide contents
- Check for unused masters – Delete unused master slides to keep the file size small
Common Master Slide Uses
Some common uses of master slides include:
- Presentation templates
- Company/brand templates
- Graphic-heavy vs text-heavy slides
- Section separators
- Title & agenda slides
- Tutorials/courses
- Image-focused slides (portfolios, galleries)
The key is to identify what needs to be consistent across specific slides, and assign them to an appropriate master slide.
Master slides are an indispensable tool for creating professional, visually consistent presentations quickly and efficiently in PowerPoint. Learning how to effectively utilize them can greatly enhance your productivity and result quality.


