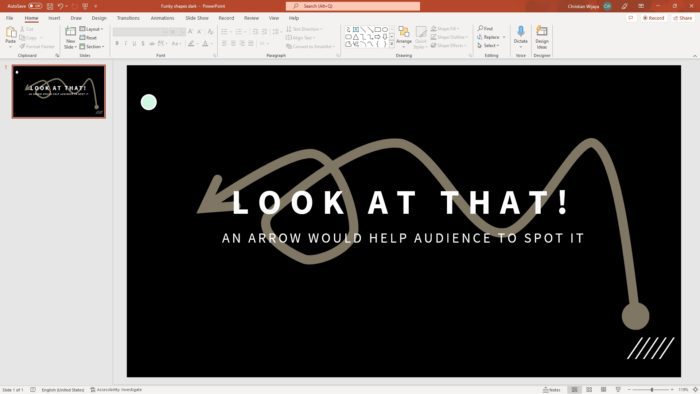
Pop-ups can be a great way to display additional information in a PowerPoint presentation. When used thoughtfully, pop-ups allow you to keep slides uncluttered while still providing access to supporting details and context when needed.
In this step-by-step guide, you’ll learn how to create two types of pop-ups in PowerPoint: image pop-ups and text pop-ups.
Image Pop-Ups
Image pop-ups allow you to display a larger version of an image when you hover over a thumbnail image. This helps focus attention on key visuals without overwhelming the slide.
Step 1: Insert Thumbnail Images
Start by inserting the thumbnail images you want to use onto a slide. Go to the Insert tab and click Pictures. Select your images and insert them onto the slide.
Slide with thumbnail images
You can resize and position the thumbnails as needed.
Step 2: Create Slides for Larger Images
Next, create additional slides, one for each of the larger pop-up images you want to use.
Right click on the thumbnail from the original slide and select New Slide. Delete any placeholders and insert the larger version of that thumbnail image.
Repeat this for each thumbnail image you want to use as a pop-up.
Step 3: Add Mouse Over Actions
Go back to the original slide with the thumbnails. Select the first thumbnail and go to Insert > Action.
In the Action Settings dialog box, click the Mouse Over tab. Select Hyperlink to: and choose the slide with that thumbnail’s larger image.
Action Settings dialog box
Repeat this process for each additional thumbnail image.
Step 4: Test the Pop-Up
That’s it! To test it out, go to slide show view and hover your mouse over a thumbnail. The larger image pop-up will appear.
Text Pop-Ups
You can also use pop-ups to display explanatory text, details, or captions. Here are the steps:
Step 1: Insert Text Box
Add a text box to your slide and enter the text you want to use for the pop-up. This can be a few sentences or a short paragraph.
Position the text box where desired, then hide it so it doesn’t show on the slide. Go to Format > Hide and select Hide object.
Step 2: Add Animation
Select the hidden text box. Go to Animations tab and select the Appear animation.
Next, click Add Animation again. This time choose the Disappear animation. Make sure it is set to happen After Previous so that the text appears and disappears on its own.
Step 3: Set Up Click Trigger
Click Triggers and set the animation to start On Click Of another object. Choose the object you want to trigger the text pop-up when clicked.
Animation triggers
The text will now pop up when that object is clicked!
Step 4: Test It Out
Go to slide show view and click the trigger object. The text pop-up will appear!
Pop-Up PowerPoint Design Tips
- Use pop-ups sparingly. Too many can be distracting and annoying.
- Keep pop-up content succinct and directly relevant to the main slide content.
- Allow time for viewers to read the pop-up content before it disappears.
- Make sure text pop-ups have enough contrast to be readable.
- Use subtle visual cues like icons or frames to indicate clickable areas.
Common Uses for Pop-Ups
There are lots of useful applications for PowerPoint pop-ups:
- Show more details about a chart or graph
- Reveal image captions or credits
- Expand on information from a slide bullet point
- Share written narratives or explanations
- Highlight areas of interest on a map or diagram
- Link slides together in an interactive presentation
With a bit of creativity, you can find many great ways to use pop-ups to engage your PowerPoint audience!


