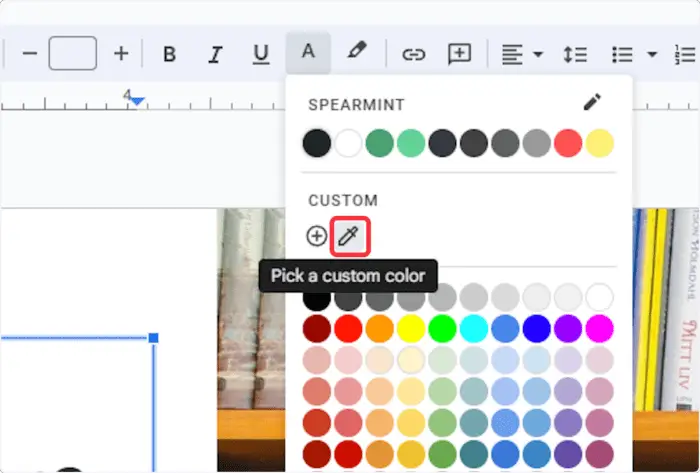
Using custom gradients in your Google Slides presentations can help make them look more visually appealing and professional. Gradients allow you to blend two or more colors together seamlessly, adding depth and dimension to shapes, text boxes, and backgrounds.
In this article, I’ll walk you through the step-by-step process for creating and applying custom gradients in Google Slides. Whether you’re looking to jazz up a simple shape or revamp the entire slide background, these tips will help take your design to the next level.
Step 1: Open Google Slides and Select an Object
First, open the Google Slides presentation you want to edit. You can access Google Slides by going to slides.google.com and either creating a new presentation or opening an existing one.
Once your presentation is open, select the object (shape, text box, image, etc.) that you want to apply a gradient to. To select an object, simply click on it. A selected object will have handles around its border.
Step 2: Open the Color Palette
With your object selected, click on the “Fill color” icon in the toolbar at the top of the screen. This will open up the color palette.
Alternatively, you can right-click on the object and select “Fill color” from the context menu. Either method will open the color palette.
Step 3: Select the Gradient Tab
In the color palette, click on the “Gradient” tab, located along the top row.
The gradient tab allows you to select from preset gradients or create your own custom gradient.
Step 4: Choose “Custom” at the Bottom
At the very bottom of the gradient options, you’ll see a box labeled “Custom.” Click on this to open up the custom gradient editor.
Step 5: Adjust Color Stops
In the custom gradient editor, you’ll see a bar representing the gradient flow from left to right. On this bar are symbols known as “color stops,” which indicate where a color begins and ends.
To begin customizing, select one of the color stops on the bar by clicking on it. A panel will open up below, allowing you to choose a custom color using the color picker.
You can continue selecting and adjusting additional color stops to blend exactly the colors you want within your gradient.
Step 6: Adjust Additional Settings
The custom gradient editor provides additional customizable settings, including:
- Gradient type: Linear or radial gradient
- Angle: Direction of linear gradient flow
- Position: Starting point position of radial gradient
Feel free to experiment with these to achieve different effects.
Step 7: Save Gradient to Theme (Optional)
Once you have a gradient you would like to save for reuse later, make sure your object with the applied gradient is still selected. Then click the “Save to theme” icon in the top right corner of the custom gradient editor.
This will save that exact gradient to your presentation’s theme, allowing you to quickly access and apply it to other objects.
Step 8: Apply Gradient to Multiple Objects
If you want your new custom gradient to apply automatically across all new inserted shapes/text boxes in your presentation, there is a way to set it as the default.
With the object and gradient still selected, right-click and choose “Set as default shape.” Now any new shapes or text boxes will have that gradient applied to them automatically.
You can also select multiple existing objects at once and apply a gradient to all of them simultaneously using the fill color menu.
Extra Tips for Using Gradients
Here are some additional tips for working with custom gradients in Google Slides:
- Overlap multiple objects with transparent gradients to create interesting layered effects
- Animate gradients gradually changing over time during slide transitions
- Use gradients sparingly to maintain a clean and professional look
- Match secondary gradient colors to your theme for cohesive design
So that covers the basics of selecting, creating, saving, and applying custom gradients in Google Slides! With these simple steps, you can add beautiful and unique gradient fills to any presentation.
Conclusion
Upgrading your Google Slides from flat, solid color fills to rich gradients is an easy way to instantly amplify your design. Whether applying a subtle ombre or multi-color transition, gradients lend visual interest and depth.
By following the process outlined here for customizing gradient color stops, direction, position and more, you can craft the perfect blend to suit any presentation. Combine that with saving to theme and setting objects as default for efficiency.
Soon your Google Slides will stand out with dimension and style thanks to the addition of professional, customized gradients. Use them tastefully to add the final touch of polish to your next presentation design.


