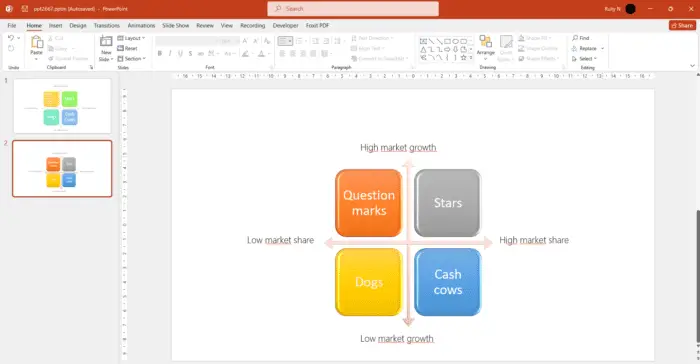
Dimming text in PowerPoint presentations is an effective way to draw the audience’s attention to the key points you want them to focus on. When some text is dimmed, it remains visible but does not distract from the main message.
Follow this simple step-by-step guide to dim non-essential text in your PowerPoint slides.
Step 1: Add Animations to the Text
First, open the PowerPoint presentation and navigate to the slide where you want to dim text.
Select the text you want to dim by clicking and dragging over it. Make sure to select each individual text box or bullet point that you want to dim.
Next, go to the “Animations” tab in the top menu. Click the “Animation” dropdown and choose an Entrance animation like “Fade.” This will make the text fade in and out of view.
Repeat this for all the text elements you want to dim.
![Add animations][1]
Adding animations to text
Step 2: Access Animation Effect Options
In the “Animations” tab, click on “Animation Pane” to open the pane.
Click the drop down arrow next to the animation effect you want to edit. Select “Effect Options.”
Alternatively, you can right-click the animation in the Animation Pane and choose “Effect Options.”
![Effect options][2]
Accessing effect options for the animation
Step 3: Choose a Dim Color
In the Effect Options window, select the “Effect” tab.
Next to “After Animation,” click the dropdown and choose “More Colors.”
Pick a color that is slightly darker than the slide’s background color. This will dim the text without making it completely invisible.
You can also choose a custom color using the color picker.
![Choose dim color][3]
Choosing a color to dim text
Step 4: Preview and Adjust
Click OK to apply the dimming effect.
Preview the slideshow to see the dimming in action. Make sure the dimmed text remains visible but does not distract from key points.
Adjust the dim color and transparency as needed for the best results.
Step 5: Animate All Key Points
Repeat steps 1-4 for all key text boxes and bullet points, animating and dimming each element individually. Make sure to apply a unique animation to each point instead of grouping them together.
As you present each point, the previous point will dim automatically, keeping the audience’s focus on the most relevant info.
Step 6: Set Animation Order
If you want to reveal the points in a specific order, adjust the animation sequence in the Animation Pane. Click and drag animations into the desired sequence.
This way, you control which text is dimmed as each new point appears.
Step 7: Add Visual Interest
Don’t rely solely on dimming text for emphasis. Also use strong visuals like images, charts, diagrams, and videos to highlight your main ideas.
Integrate visual elements into slides and animate them to draw attention to key data and concepts. This creates a more dynamic, memorable presentation.
![Visual elements][4]
Incorporate engaging visual content
Step 8: Use Slide Transitions
Slide transitions can further focus the audience’s attention.
For example, use subtle transitions like “Push” or “Wipe” when advancing from one key point to the next. This shifts the focus seamlessly to essential info.
Step 9: Review and Refine
View the entire presentation in Slide Show mode to ensure the dimming draws attention to the right ideas at the right time.
Make any final tweaks to the colors and animations to polish your presentation.
Step 10: Present with Confidence
When presenting, discuss one key message at a time. Rely on dimmed text and transitions to direct the audience’s attention to the most relevant information as you move through your points.
Speak confidently, maintain eye contact, and use natural gestures to fully engage your viewers.
With strategic use of text dimming and animations, you can deliver polished, professional presentations that get your message across powerfully!


