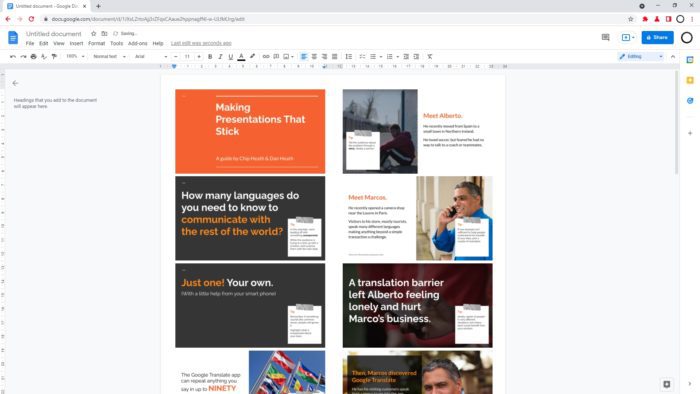
Google Slides is a popular presentation software that’s part of Google’s G Suite office productivity tools. While Slides doesn’t have the advanced drawing and diagramming features of dedicated programs like Microsoft Visio, it does have some basic built-in drawing capabilities.
In this article, we’ll walk through the various ways to draw on Google Slides to illustrate your presentations. Whether you want to create simple shapes, lines, and arrows or annotate your slides with freehand drawings, we’ve got you covered.
Draw Basic Shapes
The easiest way to add drawings to Google Slides is by using the built-in shape tools. Here’s how:
- Open your presentation and select the slide you want to add a shape to.
- Click Insert > Shapes from the top menu. This will open the shape gallery.
- Browse the different shape categories and click the shape you want to insert. The most commonly used shapes are under Lines, Basic Shapes, and Block Arrows. Shape gallery
- Click on the slide roughly where you want the shape located.
- Resize and reposition the shape as needed. Grab the round handles around the edge to resize proportionally.
That’s all there is to adding basic shapes! You can customize them further by changing colors, borders, effects, and more through the toolbar that appears when you select the shape.
Draw Lines and Arrows
In addition to predefined shapes, you can also draw your own lines and arrows:
- Go to Insert > Line to add a straight line or Insert > Arrow for an arrow.
- Click and drag your mouse on the slide to draw the line or arrow.
- Release the mouse when you’re done.
- Customize the look by changing the color, style, thickness, and other properties in the toolbar.
Tip: Hold down Shift while drawing a line or arrow to lock it to 45-degree angles.
Annotate with Freehand Drawing
Sometimes you may want to annotate your slides with freehand drawings, rather than precise shapes. Here’s how to doodle on your slides:
- Select the slide you want to annotate.
- Click Insert > Drawing. This will enable drawing mode.
- Use your mouse or trackpad to draw lines, circles, boxes, underlines, and more. It works just like drawing on a touchscreen.
- When you’re done, click outside the drawing area or press Esc to exit drawing mode.
- Customize the pen settings like color and thickness via the toolbar before or during the drawing process.
- Erase parts of your drawing with the eraser tool.
- Drag your drawings around the slide or resize them by pulling the round handles, just like regular shapes.
Freehand drawing is great for quickly calling out areas of interest on your slides without inserting precise diagrams.
Convert Drawings to Images
By default, your drawings remain editable vector graphics objects. But you can also convert them to static JPG images:
- Select the drawing(s) you want to convert.
- Right-click and choose Save as image.
- Choose JPG as the file type.
- Select a folder to save the image file to.
The drawing will now become an inserted image that can’t be directly edited anymore. This is useful for complex drawings you want to lock down.
Keyboard Shortcuts
Here are some handy keyboard shortcuts for drawing in Google Slides:
- Ctrl/Cmd + M: Open the shape insertion panel
- Ctrl/Cmd + Shift + M: Enter freehand drawing mode
- Delete: Delete selected drawings
- Ctrl/Cmd + Z: Undo
- Ctrl/Cmd + Y: Redo
Use these shortcuts to speed up the drawing process!
Conclusion
While Google Slides doesn’t provide the full drawing capabilities of vector graphics software, its basic built-in tools do allow you to illustrate your slides as needed. You can add shapes, lines, arrows, freehand drawings, and annotate slides in just a few clicks.


