Adding a countdown timer to your PowerPoint presentations can be an effective way to build anticipation, create urgency, or keep your audience engaged during timed activities. With the right techniques, inserting a timer is quick and easy. This comprehensive guide will teach you multiple methods for adding countdown timers to PowerPoint, along with tips for customizing and using them effectively.
Why Use a Countdown Timer?
Here are some of the key benefits of using a countdown timer in PowerPoint:
- Keep presentations on schedule. Inserting a countdown timer allows you to pace your presentation appropriately and ensure you stay within your allotted time. This is especially useful for high-stakes presentations with strict time limits.
- Build excitement and urgency. A ticking countdown clock naturally builds anticipation and creates a sense of urgency, which can boost audience engagement. This works well when revealing important information or conclusions.
- Time in-presentation activities. You can use a countdown timer to time audience participation segments like quizzes, Q&As, or brainstorming activities. This allows you to transition seamlessly between sections.
- Prompt smooth transitions. The timer provides a visual cue to wrap up one topic and move on to the next. This prevents you from rambling and improves pacing.
Method 1: Use a PowerPoint Countdown Timer Add-in
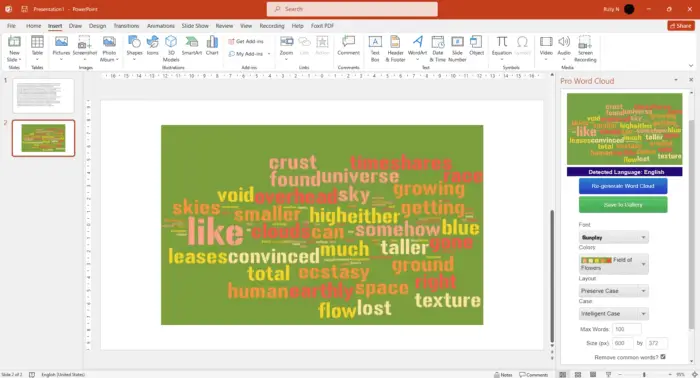
The easiest way to insert a timer is by using a PowerPoint add-in specifically designed for this purpose. Here are the steps:
- Click on the Insert tab and select Get Add-ins.
- Search for “timer” and browse the available countdown timer add-ins.
- Select one (like EasyTimer, BreakTime, or PP Timer) and click Add to install it.
- The add-in tab will appear on the PowerPoint ribbon. Go to the slide where you want the timer and click the tab to insert it.
- Customize the timer settings like duration, colors, sounds, etc. based on your needs.
The benefit of using an add-in is that it handles all the complex functionality behind the scenes, allowing you to simply insert and customize the timer.
Method 2: Create a Countdown Timer with Shapes and Animations
You can create a manual countdown timer in PowerPoint using rectangles and animations. Follow these steps:
- Insert 5 rectangle shapes on your slide to represent your 5-second countdown.
- Select all shapes and open the Animations tab on the ribbon.
- Apply the Fly Out animation so the rectangles disappear one by one when clicked.
- Customize the effect options:
- Start: On Click
- Direction: To Left
- Duration: 1 second (each)
- Delay: 0 seconds (1st shape), 1 second (2nd), 2 seconds (3rd), and so on.
- Trigger the animations by clicking during your presentation to start the countdown.
While this method takes more work, it allows for greater customization of the countdown timer’s appearance and functionality.
Method 3: Embed a Countdown Video
Another option is to embed a countdown video onto a PowerPoint slide:
- Download a video file with a countdown animation from a stock media site.
- Insert the video onto your PowerPoint slide via the Insert Video tool.
- Resize and position the video to fit your slide.
- Set the video to play automatically and in a loop.
The video will then countdown continuously in the background as you present. This offers high visual impact but less flexibility than the other methods.
Customizing Your Countdown Timer
Whichever method you choose, don’t forget to customize your timer to fit your presentation’s tone, branding, and objectives:
- Appearance: Choose colors, fonts, backgrounds to match your slide design.
- Sound effects: Add subtle sound effects like ticks for heightened drama.
- Duration: Lengthen/shorten based on section length.
- Visibility: Make the timer always visible or fade it out temporarily.
- Animations: Animate your manual timer for smooth disappearing effects.
- Location: Position the timer prominently but avoid covering key text/graphics.
Best Practices for Using Countdown Timers
When adding timers to your PowerPoint presentation, keep these best practices in mind:
- Use sparingly. Only add timers when they serve a clear purpose.
- Keep it simple. Avoid complex animations and overwhelming designs.
- Practice and test beforehand to iron out any issues.
- Ensure font sizes, colors, and location allow easy visibility for the audience.
- Set realistic durations based on your talk length and content pace.
- Disable sounds/animations if they become distracting. Focus should be on your narrative.
Conclusion
Adding a countdown timer to PowerPoint is easy with the right techniques. You can install a dedicated add-in, build your own manual timer, or embed a countdown video for impact. Just remember to customize your timer to match your brand and presentation objectives. With this guide’s tips in mind, your next talk is sure to engage the audience start to finish!


