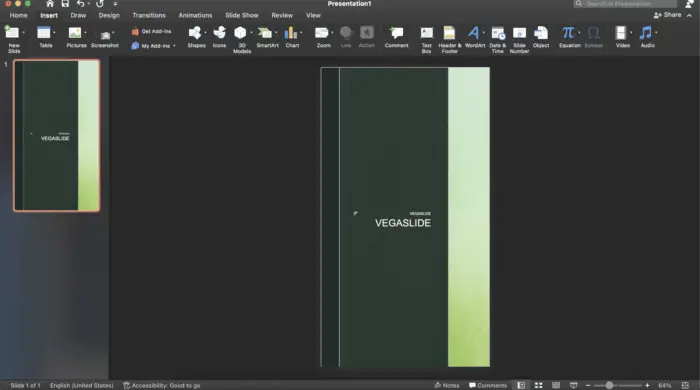
Layering images in PowerPoint allows you to create more visually compelling and complex slide designs. By stacking images on top of each other, you can achieve effects like ghosting, double exposures, and transitions. Proper layering improves clarity, draws attention to key elements, and makes text stand out.
In this guide, we’ll cover the basics of layering in PowerPoint, including:
- Benefits of layering images
- How to add and arrange images
- Using the Selection Pane to manage layers
- Adjusting transparency levels
- Creative ways to use layers for stunning visuals
Follow along to learn how to leverage layers for professional, high-impact slides.
Why Layer Images in Presentations?
Layering gives you more control over the look of your slides. Specifically, it allows you to:
- Overlap elements cleanly: Layering enables you to neatly position images without covering up other slide contents. The layers help distinguish foreground from background.
- Create depth: With layers, you can build dimension and perspective. Place darker images in the back with lighter ones layered on top.
- Draw attention: Emphasize key visuals by making supportive images transparent. The focal point will stand out.
- Craft transitions: Stack images to set up smooth slide transitions or tell a visual story that unfolds.
- Enhance text: Make background images see-through so text is readable. Solid shapes underneath add further contrast.
Overall, layering adds sophistication and visual intrigue to presentations. Audiences better understand complex ideas conveyed through smart layering techniques.
Step 1 – Insert and Arrange Images
To start layering objects in PowerPoint:
- Add images to a slide by going to the Insert tab and selecting Pictures. Locate and insert the visuals you want to layer.
- Resize and position the images by dragging the corners and edges to achieve the layout you want.
- Go to the Format tab and find the Arrange section. Use these tools to stack images:
- Bring to Front – Brings the image forward over all other slide objects
- Send to Back – Sends the image behind everything else
- Bring Forward / Send Backward – Moves images up or down just one layer
Use these options to neatly overlap images while keeping key elements visible.
Step 2 – Use the Selection Pane
The Selection Pane gives you more precision when layering objects. It displays all the images, shapes, and other elements on a slide as a list.
To access it:
- Go to the Home tab.
- Click the Select drop-down menu.
- Choose Selection Pane.
This pane will appear, showing slide objects in stacking order. The top item is the front-most layer.
Re-sequence layers by dragging objects up or down. Toggle visibility with the eye icon. This allows you to hide items as you work.
The Selection Pane makes it easy to find and adjust buried layers. Use it to troubleshoot when elements seem hidden.
Step 3 – Adjust Transparency
Modifying transparency is key for most layering techniques. Follow these steps:
- Select the image layer you want to edit.
- Go to the Picture Format tab.
- Choose Transparency and pick from preset options or choose Picture Transparency Options to set a custom transparency percentage.
Increase transparency to let background images show through. Decrease it to make foreground images more prominent. Get the right balance for your layered composition.
Creative Ways to Use Layers in Presentations
With the basics covered, here are some visually striking ways to use layers in your PowerPoint slides:
Overlays for Infographics
Layer semi-transparent shapes and images over infographics to call out key data points. This overlay effect focuses the audience.
Photo Filters and Textures
Apply a transparent photo filter layer to give images more mood and visual interest. Try different hues, black and white, sepia, and textured filters.
Partially Hidden Images
Layer images with shapes that partially obscure them to pique curiosity. Slowly reveal key details through animations.
Collages
Assemble layered images, graphics, text, and shapes to create an artistic collage slide. Adjust transparency to prevent busyness.
Animated Transitions
Build custom transitions by layering identical images in different states. Animate between them for flowing sequence.
The possibilities are endless! Experiment with layers using the arranging tools and Selection Pane to create presentations that impress.
Conclusion
Layering images gives you finer control over the look of your PowerPoint slides. Stack visuals, adjust transparency, and sequence layers to produce sophisticated designs.
Use these techniques to focus attention, incorporate multimedia, and tell visual stories that resonate with your audience.
With a grasp of the basics, try some of the creative ideas covered here. Soon you’ll be layering like a pro to take your presentations to the next level visually.
Let us know in the comments if you have any other tips for creative uses of image layers in PowerPoint!


