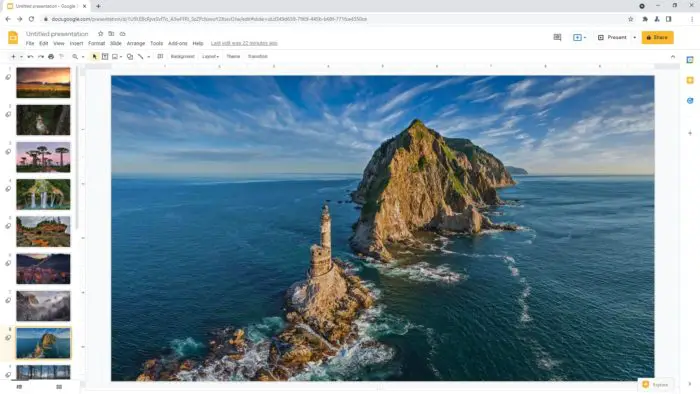
A Pecha Kucha (pronounced peh-chak-cha) presentation consists of 20 slides that auto-advance every 20 seconds, keeping presentations concise and fast-paced. The format forces presenters to get straight to the point and helps audiences stay engaged.
Pecha Kuchas can be created easily in Google Slides. Google Slides has built-in features to add transitions and automatically advance slides, making it perfect for Pecha Kucha-style presentations.
In this step-by-step guide, you’ll learn how to:
- Set up Google Slides for a Pecha Kucha
- Choose a theme and layout
- Add images and text
- Set automatic slide advancing
- Add smooth transitions
- Present your Pecha Kucha
Follow along to create your own Pecha Kucha presentation on Google Slides!
Step 1: Set Up Your Google Slides File
First, open Google Slides and create a new blank presentation.
You’ll need 20 slides total for your Pecha Kucha. The easiest way is to add all 20 up front:
- Click on the Slide menu
- Select Duplicate Slide
- In the box, enter “19” and click OK
This will instantly give you 20 blank slides to work with.
Duplicate slides in Google Slides
Step 2: Choose a Theme and Layout
Next, choose a theme and layout for your presentation.
- Click on the Theme menu
- Browse the different themes and select one you like
- Then click on Apply theme to add it to your presentation
Consider a simple, clean theme so your images and text pop. Avoid themes with dark backgrounds or busy designs.
You can also customize your slides further:
- Change slide size: Widescreen (16:9) is recommended
- Adjust font styles: Choose clean, simple fonts
Spend time ensuring your theme, colors, and fonts align with your brand. This makes your presentation look polished and professional.
Step 3: Add Images and Text
Now it’s time to add content to your slides.
As a best practice, follow the “Less is More” principle:
- Use high-quality photos and graphics
- Limit text to key ideas and talking points
- Focus on visual storytelling
Need images? Check out free stock photo sites like Pexels and Pixabay.
Only use images you have the rights or license to use. When adding images:
- Resize images appropriately
- Add alt text for accessibility
Follow this simple formula for Pecha Kucha slides:
- One image per slide
- A title or short heading if needed
- A few concise bullet points
- No giant blocks of text!
Step 4: Set Up Automatic Slide Advancing
A key part of Pecha Kucha is having slides auto-advance every 20 seconds. Google Slides can handle this for you.
- Click on Slide Change in the top toolbar
- Select the option for Auto-advance slides
- Enter “20” for seconds
- Click Apply to all slides
Now each slide will automatically transition to the next after 20 seconds during your presentation.
Auto-advance slides
Presenters can also manually advance slides by clicking before the 20 seconds is up. This gives flexibility if you need to spend more or less time on a particular slide.
Step 5: Add Smooth Transitions
Adding transitions between slides helps present a smooth flow from one idea to the next.
To add fun transitions:
- Click on Slide Change again
- Select a transition effect you like
- Choose how fast the transition should be
- Click Apply to all to add it to all slides
Try out different transitions to see what works best. Subtle slide transitions tend to look more professional than jarring or flashy transitions.
Step 6: Practice and Present Your Pecha Kucha
You now have a complete Pecha Kucha presentation ready to go!
Be sure to practice your presentation before going live:
- Rehearse your talking points for each slide
- Time yourself to fit 20 seconds per slide
- Refine content as needed after practice runs
When delivering your Pecha Kucha:
- Speak slowly and clearly
- Make eye contact with the audience
- Use natural gestures and movement
- Have fun! Embrace the fast-paced format
Now get out there and wow your next audience with a sleek Pecha Kucha presentation on Google Slides!
Conclusion
Following this easy step-by-step guide, you can create a compelling Pecha Kucha presentation on Google Slides.
The key is focusing on powerful visuals, limiting text, setting automatic advancing, and practicing beforehand.
Pecha Kuchas are a great way to condense ideas and keep modern audiences engaged. Add some to your presentation arsenal with Google Slides!


