The beauty of a close integration is that we can easily transfer content between multiple services under the same roof. For example, Google Slides may import a photo album directly from Google Photos to create a beautiful slideshow. And that’s what we are heading to do in this article.
Of course, I’m confident to assume that you already know how to insert pictures into Google Slides. But, inserting and arranging dozens of photos manually sounds like a nightmare for a simple result like a slideshow album.
That’s why in this article, we are going to utilize some powerful features on Google Slides to help us quickly create a Google Photos slideshow. Take a look at the tutorial below.
1. Go to Google Slides and create a new Blank presentation.
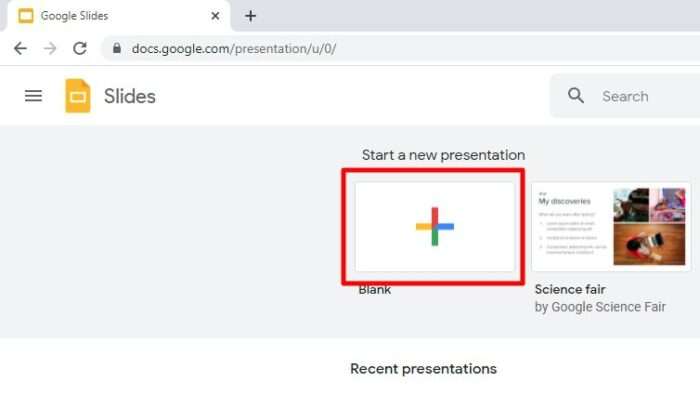
2. Once it opened, click Add-ons > Get add-ons.
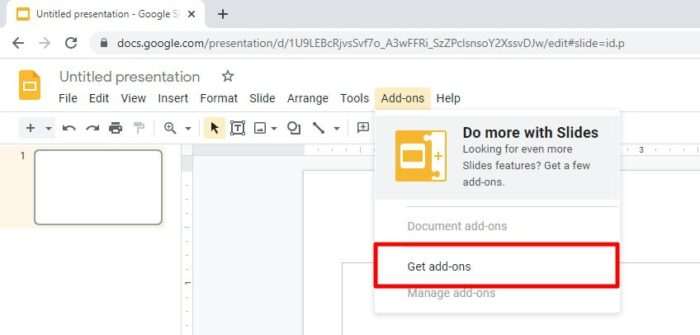
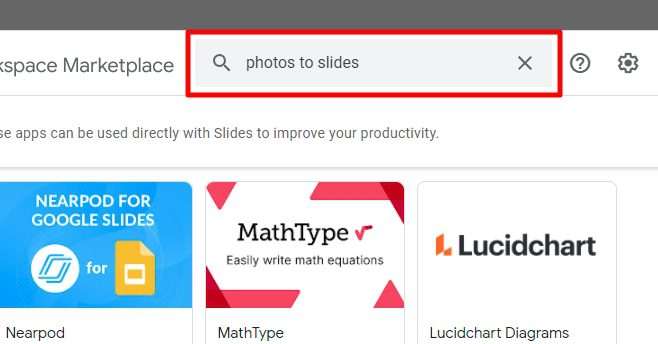
3. Inside the search box, type “photos to slides” and press Enter.
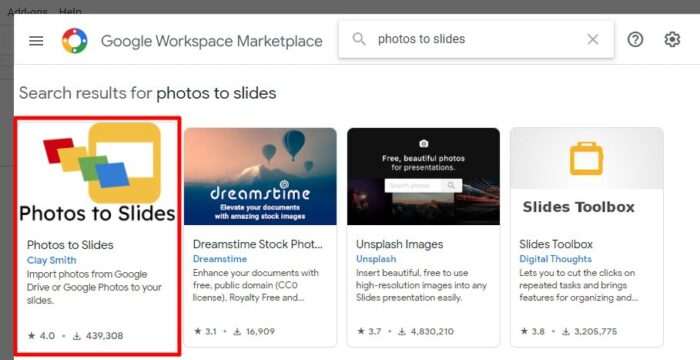
4. When the result appears, select Photos to Slides by Clay Smith.
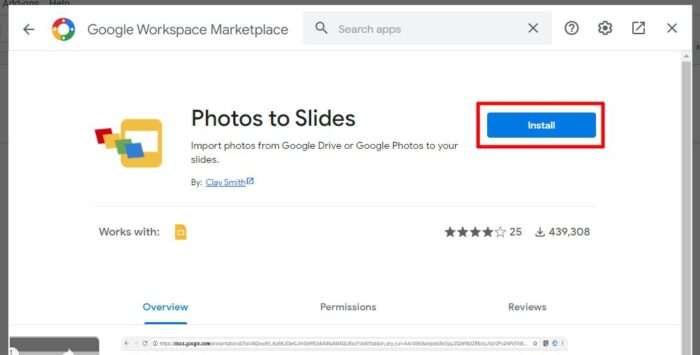
5. Then hit Install.
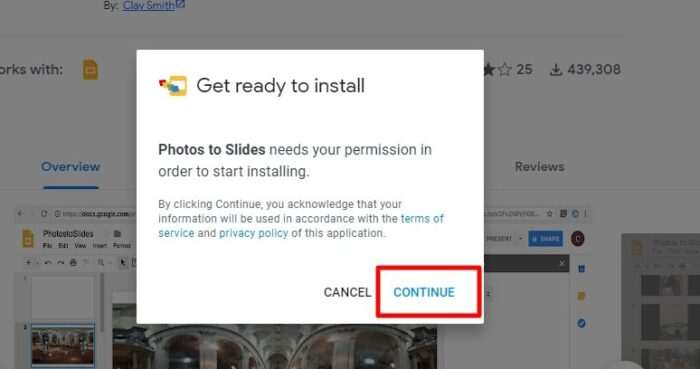
6. It will prompt you a message that it needs permission to install, just hit Continue.
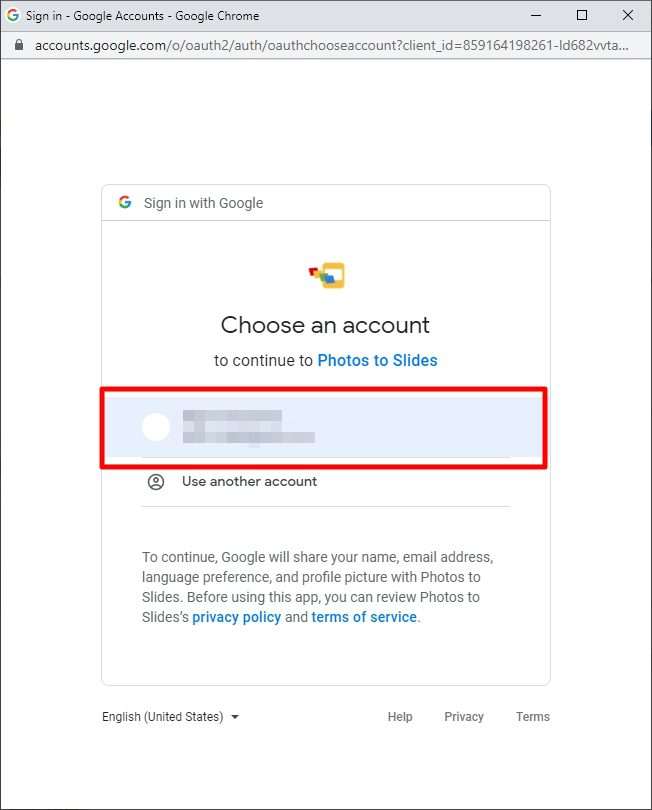
7. Select your Google account.
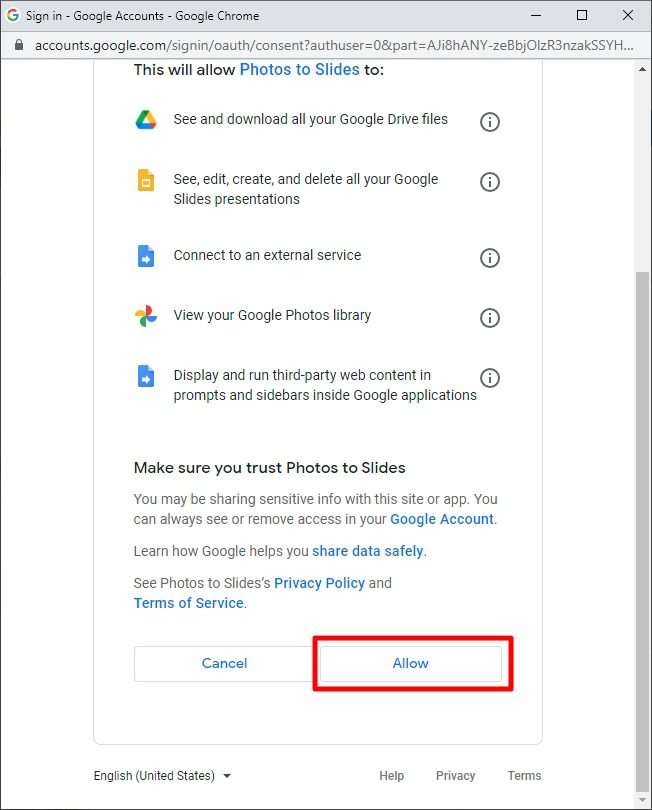
8. And then click Allow.
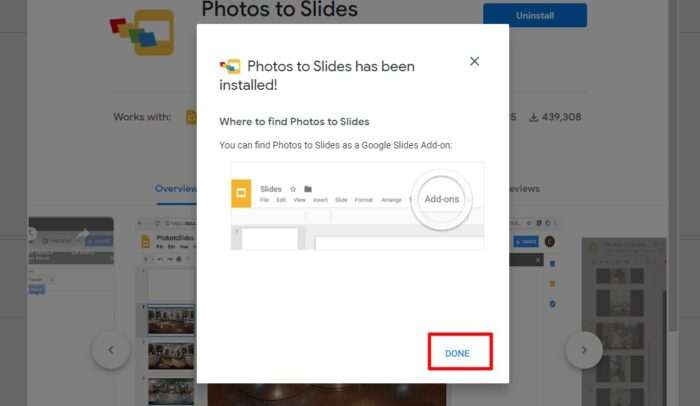
9. The add-on has been installed. Click Done and close the add-on window.
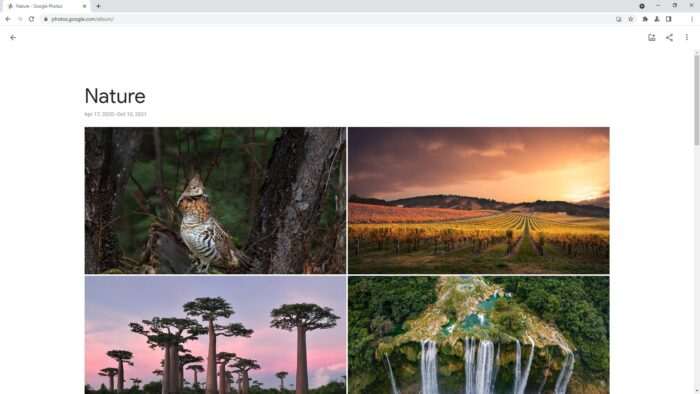
10. Before we continue, make sure that you have an album on Google Photos. The add-on can only import photos that have been grouped in albums.
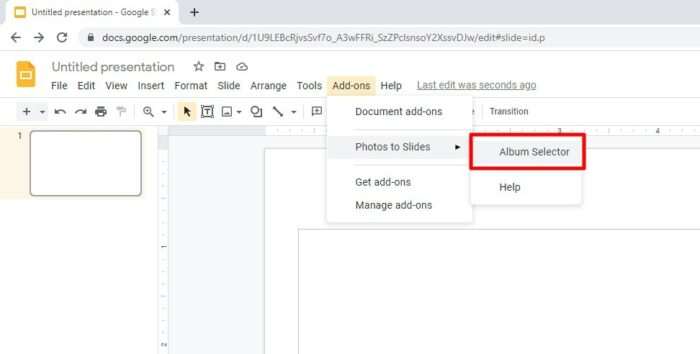
11. Back on Google Slides, locate Add-ons > Photos to Slides > Album Selector.
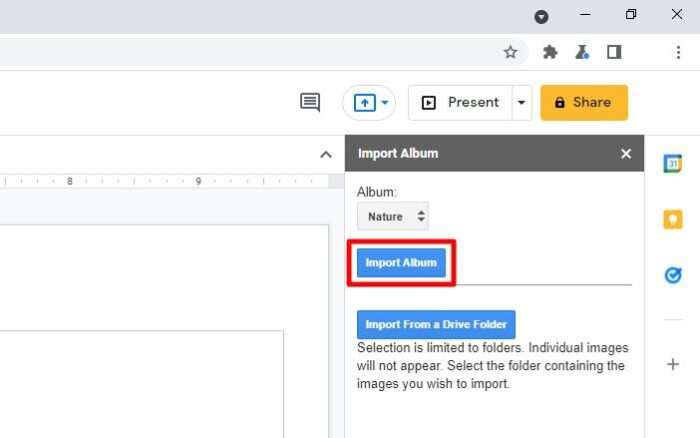
11. Choose the Google Photos album and click Import Album.
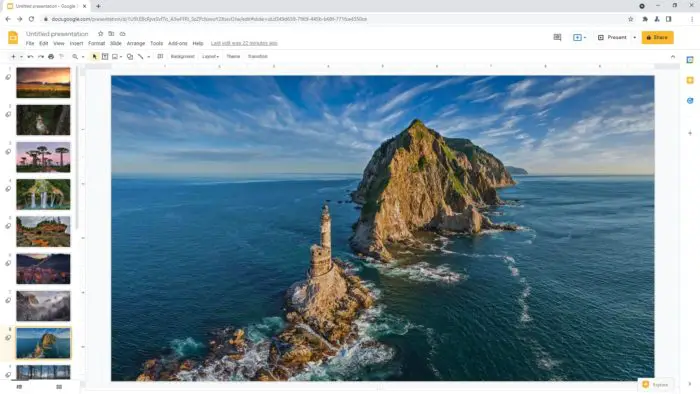
12. The album has been imported. Each slide only contains one picture.
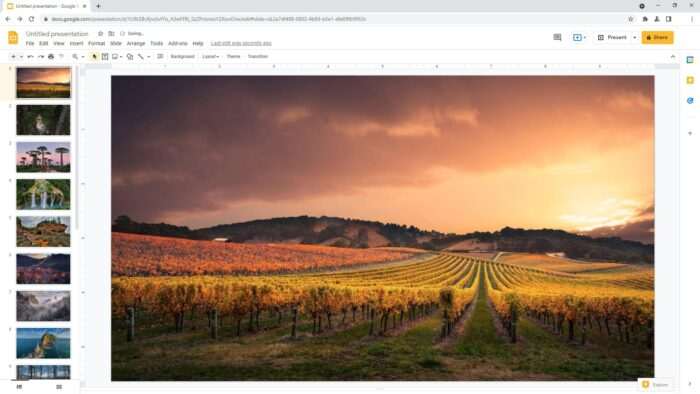
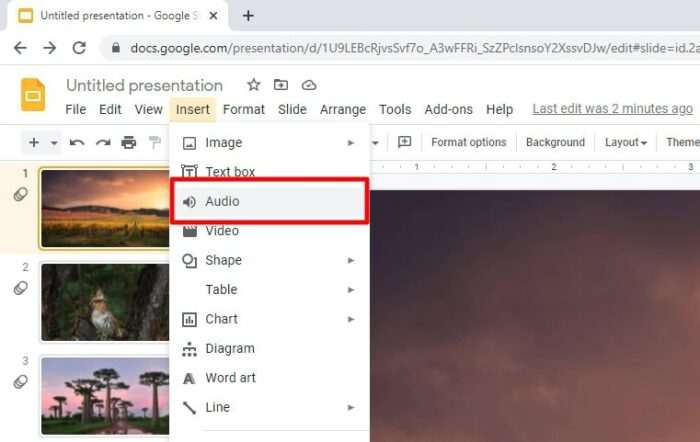
13. A slideshow isn’t complete without a background sound. To add music, navigate to Insert > Audio.
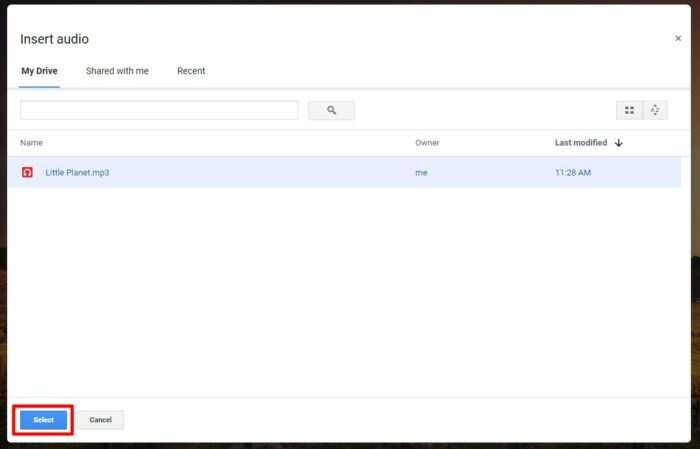
14. Google Slides can only grab an audio file from Google Drive. You need to upload it to the platform and Select it to be inserted into the slideshow.
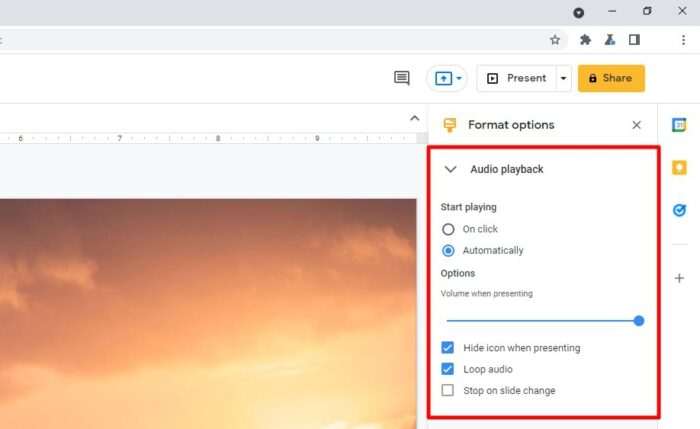
15. Once the audio is inserted, you will face some audio settings. I use these settings for the slideshow, but feel free to customize.
16. To make the transition between slides/pictures smoother, we need to add a transition animation. Go to Slide > Transition.
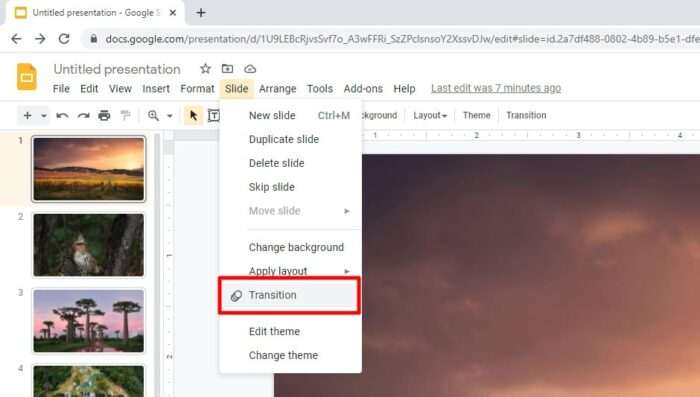
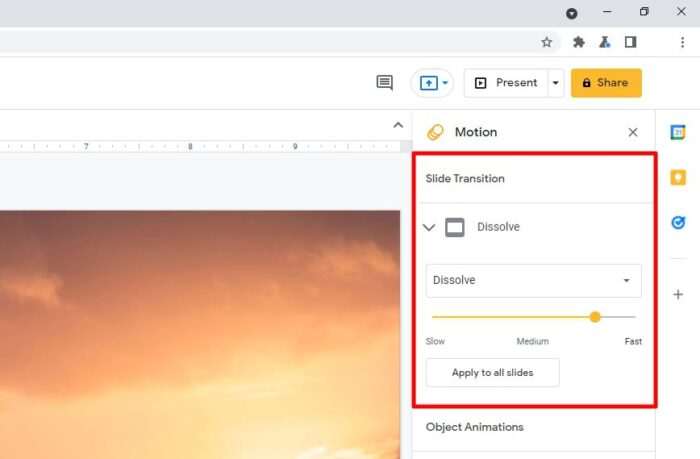
17. Select a transition style, adjust the speed, and Apply to all slides (or you can apply a different transition on each slide).
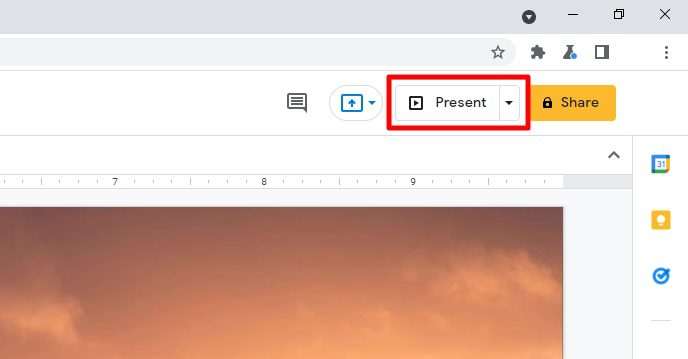
18. Try presenting the slideshow to see how it would look.
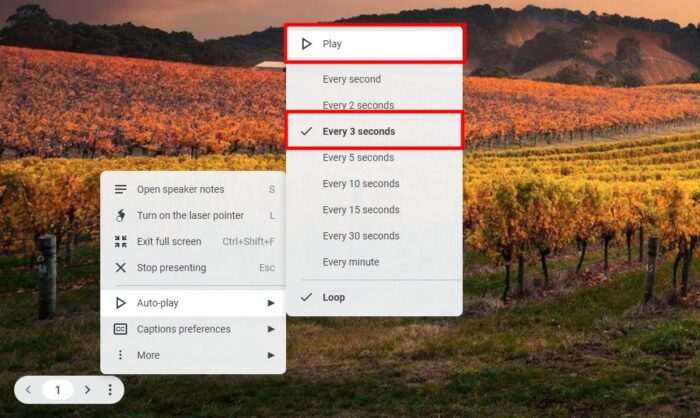
19. To make the slideshow advance automatically, navigate to Auto-play, select the duration, and hit Play. An optional looping mechanism is also available. Up until this point, you are pretty much have made it.
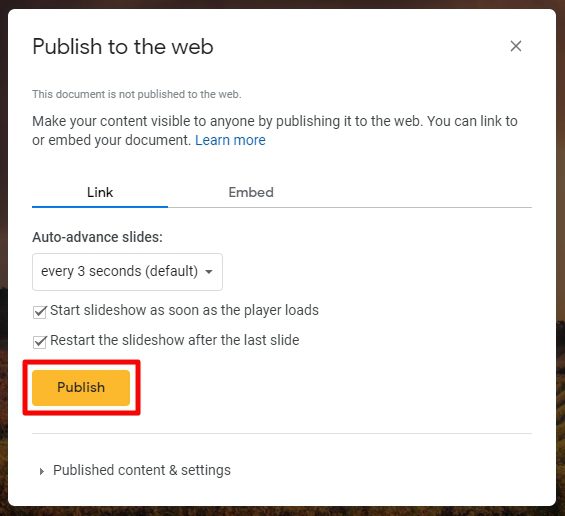
20. Furthermore, if you want to share the slideshow and make it playable, you can do so by going to File > Publish to the web > Publish. The shown link will direct visitors to the slideshow.
To play the slideshow without an internet connection, you can get the PPTX version of it from File > Download > Microsoft PowerPoint. Or, Google Slides offers a way to present it offline.
In any case, that’s what I have for you today and I hope you find this guide helpful. Thank you for visiting.


I installed the add-ons and it allowed me to load a Google photos album onto my Google slides nicely, but with one hitch. It only loaded the first 50 photos in the album. How do I get it to load the entire album of over a hundred photos? Is there a 50-photo limit and is there an easy way to get around it?
I guess I could, as a work around, break up the original album into three sub-albums and try to load them all into one Google slideshow. I would try this as an inelegant fallback solution.