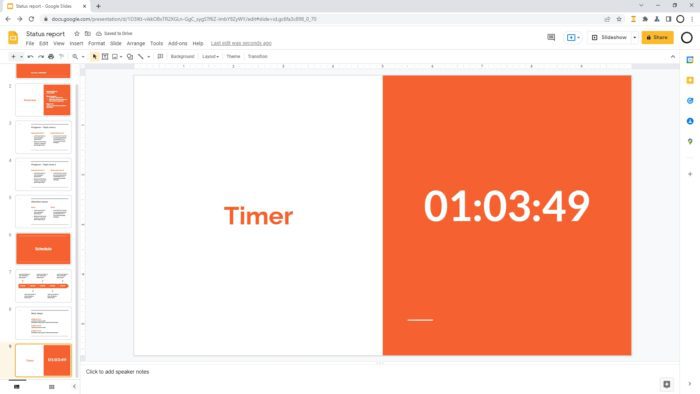
Google Slides is a popular presentation software that makes it easy to create beautiful and professional slide decks. By default, Google Slides has a portrait orientation but it’s easy to change to landscape if needed.
There are several reasons why you may want to use landscape mode:
- Landscape orientation works better for widescreen displays and projectors
- You can fit more content on each slide
- Visuals and graphics can be shown bigger and more impactful
- It’s better for showing charts, graphs, and comparison data
- Presentations feel more cinematic and modern
In this comprehensive guide, you’ll learn how to quickly and easily change Google Slides to landscape orientation in just a few steps.
Why Choose Landscape Over Portrait Mode
Most monitors, TVs, and projectors used for presentations have a widescreen landscape display. By using landscape mode in Google Slides, your content will make better use of that additional width instead of awkward letterboxing on the sides.
Landscape orientation simply provides more horizontal room to work with. You can increase text size while fitting more bullet points on a slide. Charts and graphs also suit landscape better since you can showcase data trends clearly over a wider axis.
Overall, landscape feels more natural both from the presenter and audience’s point of view. It leads to more impactful and visually-balanced slides.
Step-by-Step Guide to Change Google Slides to Landscape
Follow this simple step-by-step guide to change the default orientation of your Google Slides from portrait to landscape:
Step 1: Open Google Slides Presentation
Go to Google Slides in your browser and open the presentation you want to edit. Alternatively, create a brand new presentation to follow along.
Step 2: Access Page Setup
Click on the File menu at the top and select Page setup to open slide configuration options.
File menu in Google Slides
Step 3: Choose Custom Slide Size
In the Page setup popup, click on the Custom slide size option.
Page setup menu in Google Slides
Step 4: Enter Landscape Dimensions
Under custom slide size, enter landscape dimensions like 10 inches for width and 7.5 inches for height.
Custom slide size configuration
Tip: For 16:9 widescreen, use 13.33 inches x 7.5 inches.
Step 5: Click Apply to Save Changes
Finally, click the blue Apply button to save the new landscape slide orientation.
That’s it! Google Slides will now use the custom landscape dimensions for all slides.
Additional Tips for Using Landscape Mode
Here are some additional tips to help you make the most of landscape orientation in Google Slides:
- Use a landscape-specific template for professionally designed slides
- Add more columns (up to 5) in text placeholders for more content
- Increase font sizes for better visibility
- Use the extra width to showcase bigger charts and graphs
- Place images and visuals at their actual size without scaling down
- Add cinematic transitions between landscape slides
Switch Back to Portrait Mode Easily
If you ever need to revert back to the default portrait orientation, simply repeat the steps above:
- Go to File > Page Setup
- Choose Custom
- Enter portrait dimensions like 7.5 inches x 10 inches
- Click Apply to save changes
And Google Slides will switch all slides back to portrait mode.
Conclusion
Changing Google Slides to landscape is very simple and only takes a minute. Landscape mode leads to more professional, visually-impactful, and modern presentations.
Use the extra horizontal space to add more content, data charts, large graphics, and cinematic transitions between slides. For best results, also leverage landscape-specific templates.
Revert back to portrait just as easily if needed for certain use cases.
So try out landscape mode for your next Google Slides presentation!


