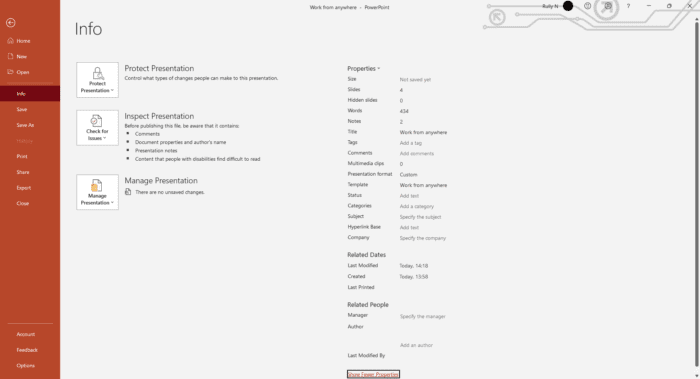
Tracking changes in PowerPoint presentations is crucial when collaborating with others. Unlike Microsoft Word, PowerPoint does not have a built-in “track changes” feature. However, there are several methods you can use to compare versions and see edits made by others.
Why Track Changes in PowerPoint
Here are some key reasons for tracking changes in your PowerPoint files:
- Collaboration – When co-authoring a presentation, tracking changes lets you see what each person has contributed. You can then accept/reject edits accordingly.
- Version Control – Comparing file versions helps you keep track of how the presentation has evolved over time. You can revert back if needed.
- Accountability – By seeing precisely who made what edits, everyone is accountable for their contributions.
- Simplify Reviews – Rather than going through the full presentation, reviewers can focus on just the changes made.
Method 1: Compare Versions
The easiest way to see changes in PowerPoint is to compare two versions of the same file:
Steps:
- Save an original version of your presentation.
- Send this file to others for review/collaboration.
- After getting back the edited file, open your original presentation in PowerPoint.
- Go to the Review tab and click Compare.
- Select the edited version of the presentation.
PowerPoint will then highlight all text and image changes between the two files. You can go through each edit individually and choose to accept or reject it.
Method 2: Use Comments
The PowerPoint comments feature lets collaborators leave feedback/edits on specific slides:
Steps:
- On the Review tab, click New Comment.
- Add your comment/edit suggestion and click outside the box to save.
- When you get back the file, open the Comments pane to see edits.
- Right-click on a comment to accept, reject or reply to it.
Method 3: Track Changes in Word
An alternative approach is to collaborate on the PowerPoint content in Word using track changes:
Steps:
- In PowerPoint, select File > Export > Change File Type to Word.
- Share the Word doc for reviews and co-editing.
- When you get back the file, turn on Track Changes under the Review tab.
- Accept/reject changes as needed.
- Copy-paste the updated text back into your original PowerPoint.
Best Practices for Change Tracking
Follow these tips to effectively track changes in your PowerPoint files:
Create Copies
Always collaborate on a separate copy so your original file stays intact.
Discuss Expectations
Align with team on what types of changes can be made before starting.
Use Comments to Clarify
Leave comments to provide context for any major edits.
Review Frequently
Don’t wait until the end. Review changes early and often.
Export Key Slides
If a presentation is very large, export only key slides to Word for editing.
Name Versions
Give copies names that identify when/who made edits (e.g. ReportV2_JaneEdits).
Limit Editors
Add only essential people as editors to avoid duplicate work.
Use Detailed Mode
When comparing versions, use “Detailed Changes” mode under Review to see richer change tracking.
Accept/Reject Selectively
Don’t just accept all changes blindly. Review and make informed decisions.
Check Formatting
Accepting tracked changes can mess up formatting. Double check before finalizing.
Conclusion
Tracking changes is vital for an efficient, transparent collaboration process with PowerPoint. While it doesn’t offer the full functionality of Word’s track changes feature, you can still leverage options like Compare, Comments and Word export to see edits from others.
Implementing some simple tracking best practices goes a long way in maintaining clarity around who changed what and when. Over time, this level of visibility improves accountability, productivity and work quality as you create presentations with your team.


