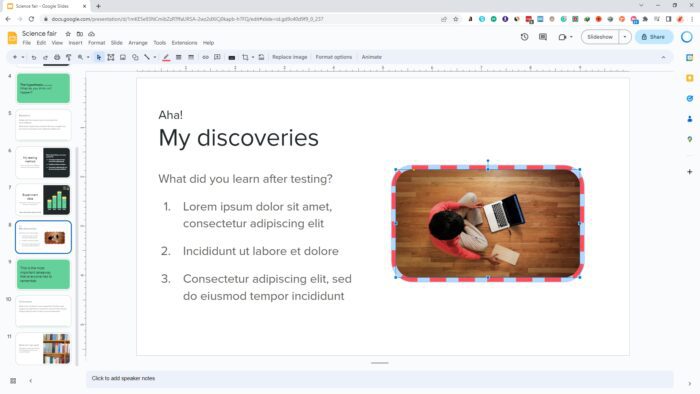
Aligning and positioning items precisely in Google Slides can be tricky without guides. Fortunately, Google Slides has a guides feature that makes aligning and spacing out items on your slides much easier.
What are Guides in Google Slides?
Guides are horizontal and vertical lines that you can add to your Google Slides presentations. They act as a grid system that you can use to neatly align and space out text boxes, images, shapes, videos, and other objects on your slides.
There are two main types of guides:
- Vertical guides – Straight vertical lines that run from top to bottom on your slides.
- Horizontal guides – Straight horizontal lines that run from left to right on your slides.
Why Use Guides in Google Slides?
Here are some of the benefits of using guides:
- Precise positioning – You can accurately place objects by lining them up with guide lines and intersections.
- Even spacing – Guides make spacing out multiple objects evenly much simpler.
- Alignment – Objects can be precisely aligned by snapping them to guides.
- Organization – Guides give your slides a neat, organized look with properly positioned elements.
Overall, guides help you arrange the items on your slides quickly, accurately, and uniformly.
How to Show Guides in Google Slides
Guides are hidden by default in Google Slides, so you need to enable them first:
- Open your presentation in Google Slides.
- Click View > Guides > Show Guides.
This will make the guides visible. You’ll now see two horizontal guides near the top and bottom and two vertical guides near the left and right edges.
How to Add New Guides
The default guides may not be in the exact positions you want. Fortunately, adding new guides is easy:
- Open your presentation and show the guides if they aren’t visible already.
- Click View > Guides.
- Click Add Vertical Guide or Add Horizontal Guide.
A new guide will appear on your slide.
You can add as many custom guides as you need this way.
How to Edit Guide Positions
To edit an existing guide’s position:
- Right-click the guide you want to move.
- Click Edit Guides.
- In the Edit Guides box, enter the exact position values you want under Vertical Positions or Horizontal Positions.
- Click Apply to save the changes.
You can enter position values in inches, centimeters, points, etc.
How to Snap Objects to Guides
Snapping objects makes aligning them to guides even easier:
- Show the guides on your slide.
- Click View > Snap To > Guides.
- When dragging an object, red lines will appear when the object aligns with a guide, allowing you to easily snap it into position.
How to Remove Guides
To remove guides you no longer need:
- Click View > Guides
- Click Hide Guides to remove all guides.
Or right-click an individual guide and click Delete Guide to remove only that guide.
Tips for Using Guides Effectively
Here are some tips to help you make the most of guides:
- Add guides before inserting objects to plan positions in advance.
- Use intersecting vertical and horizontal guides to precisely place object corners.
- Make objects snap to guides as you position them to save time.
- Add border lines and background colors to make guides stand out.
- Group guides together to move multiple guides simultaneously.
Why Guides Are Better Than a Grid
Google Slides also has a grid feature, so why use guides instead? Here’s why guides are better:
- More flexible – You can put guides anywhere, unlike a fixed grid.
- Easier to see – Guides use high contrast lines compared to faint gridlines.
- Stay visible when presenting – Grids disappear when presenting, guides remain visible.
- Customizable appearance – Guides can have custom colors and thickness.
So if you want precisely aligned text boxes, images, charts, and other objects on your slides, use Google Slides guides to perfectly position items!


