We’re going to take a look at how you can add icons in PowerPoint. You’ll find icons in the Insert tab. You should have them if you have PowerPoint 2019 or greater.
These icons are organized by category in alphabetical order. It’s worth noting that all of these icons are completely customizable. So while they’re showing in the library as being black, you can change the color and resize them.
1. Go to the Insert tab and click Icons.

2. Select the icon that you want and click Insert. You can select more than one icon.

3. After you place it in the slide when you’re clicked on it, you’ll see the Graphics Format tab in the ribbon because icon is an object. This means you can edit any elements of this particular icon.

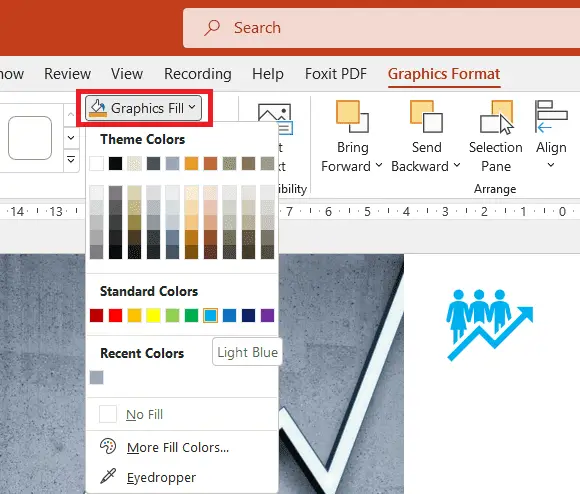
4. To change the icon color, go to Graphics Fill and select another color from the palette, or you can use the eyedropper tool.

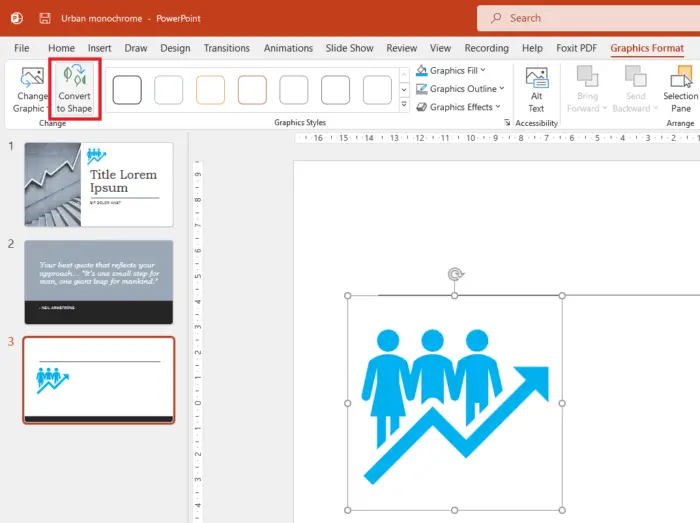
5. But what if you want to change the color of an element in that icon? For example, you want to change the arrow color to red, but the rest is still blue. Go to the Graphic Format tab, and click Convert to Shape.

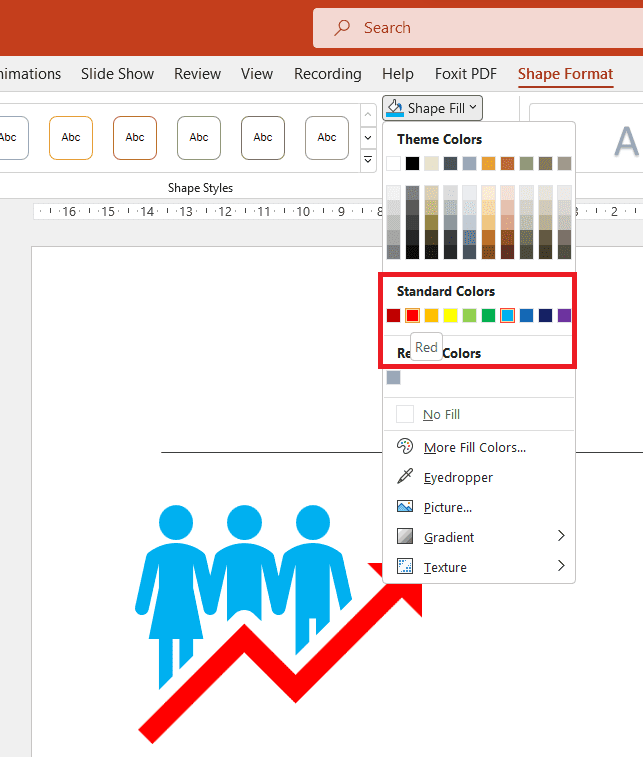
6. Now the icon is no longer graphic but shape. You can move or modify every element in it. To change only the arrow color, click the arrow shape, go to the Shape Format > Shape Fill and pick the red color.

Numerous options exist for modifying the look of your presentation using icons. If you’re searching for some straightforward, well-done visuals to improve your presentation, give these a shot.


