Microsoft PowerPoint includes several easy ways to rotate objects like pictures, shapes, text boxes, SmartArt, and more. Applying rotations is a great way to add visual interest to a slide or make layouts more dynamic.
This article will cover the main methods for adding a rotating effect to objects in PowerPoint presentations.
How to Add Rotating Animation to an Object
In this guide, you will learn how to make any object in PowerPoint rotates (spins) infinitely until the end of a presentation. The process is easy and the spin feature should be available on almost all versions of Microsoft PowerPoint. Here’s the guide!
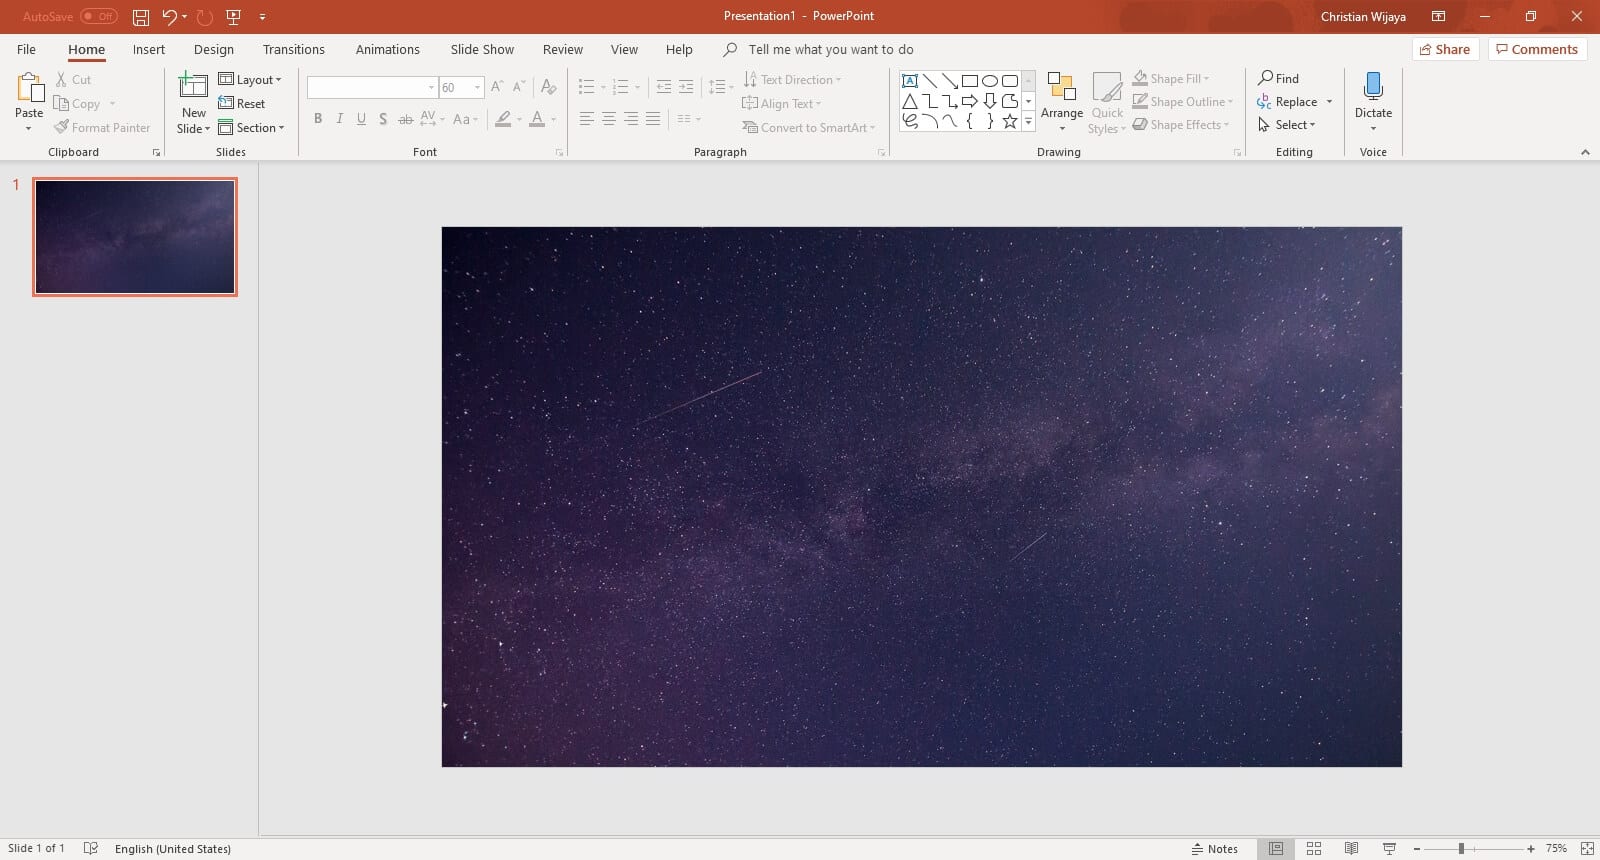
1. Prepare the slide. It best to make the background is relevant and contrast enough relative to the object supposed to rotate.

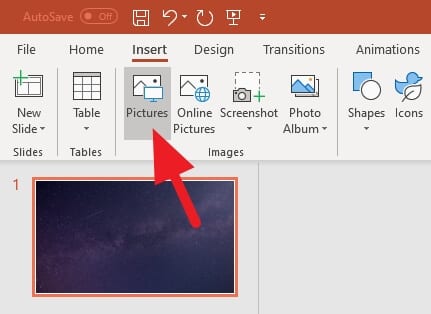
2. Go to Insert > Pictures. You can insert Shapes, Icons, or even 3D Models as well.

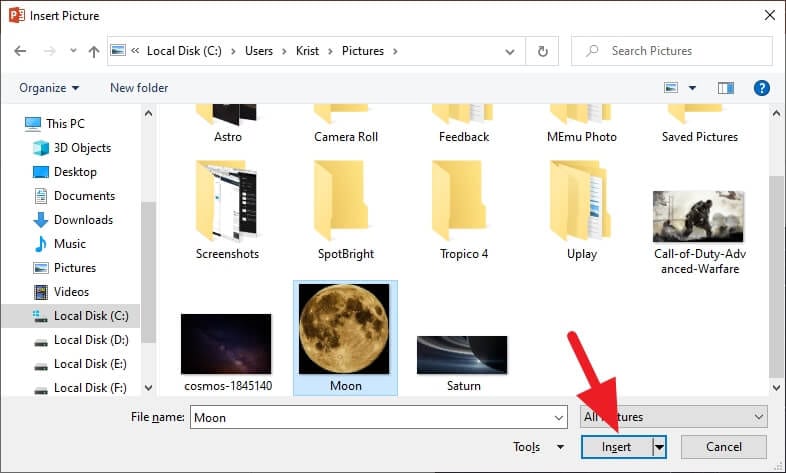
3. Select the picture and click Insert.

4. You can adjust the style first before adding a spinning effect.
5. Click on the picture until the selection box appears.
6. Go to the Animations menu.
7. Click the expand icon.
8. Select More Emphasis Effects…
9. Select Spin, and click OK.
10. Under the Animations menu, click on Animation Pane.
11. Click a dropdown icon on the animation, then select Effect Options…
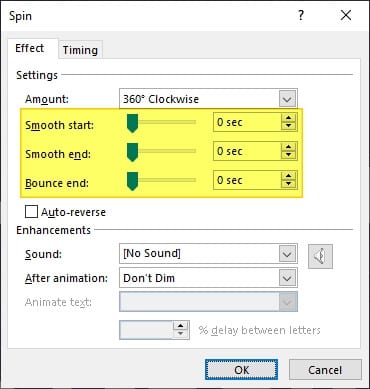
12. Make sure the Smooth start, Smooth end, and Bounce end are set to zero.

13. Go to the Timing tab. Here, you can adjust the Start, Delay, and Duration. But most importantly, set the Repeat to Until End of Slide. Then click OK.
14. Congratulation! Now the picture is rotating!

There are many modifications you can try to make the object looks more emphasizing. Setting the duration to 10 seconds or above usually works best. You can also add an entrance and exit animation if you wish.
Tips for Rotating Objects
Here are some additional tips for working with rotated objects in PowerPoint:
- Rotate multiple objects independently by selecting them one at a time.
- Copy and paste tables or SmartArt graphics as pictures first to rotate them freely.
- Strategically apply rotations to functional elements like circular dials and clocks.
- Subtly rotate pictures or text boxes to improve slide layouts and alignments.
- Avoid overusing rotations just for the sake of it. Use them intentionally for the best impact.
FAQs
How do you make a spinning effect in PowerPoint?
To create a spinning effect in PowerPoint, select the object you want to spin, go to the “Animations” tab, and choose the “Spin” animation from the gallery. You can adjust the duration and direction of the spin using the “Effect Options” and “Timing” settings.
How do you flip an object Animation in PowerPoint?
To create a flip animation in PowerPoint, insert two objects (e.g., cards) and apply the “Swivel” animation to both. Set the front object to appear using the swivel animation and the back object to disappear using the swivel animation. Adjust the timing and duration of the animations to create a smooth flip effect.
How do I rotate 90 degrees clockwise in PowerPoint?
To rotate an object 90 degrees clockwise in PowerPoint, select the object, click the “Format” tab, and then click the “Rotate” button in the “Arrange” group. Choose “Rotate Right 90°” from the dropdown menu.
How do you rotate multiple objects in PowerPoint?
To rotate multiple objects in PowerPoint, select all the objects you want to rotate by holding the “Shift” key while clicking on each object. Then, click the “Format” tab, and click the “Rotate” button in the “Arrange” group. Choose the desired rotation option from the dropdown menu.


