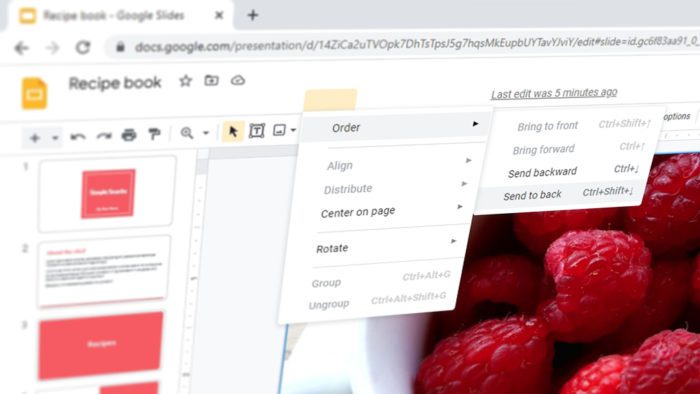
If you are working with Google Slides, you must already be aware that some elements can overlap each other. Depending on the order you insert it, one element could block another element that is supposed to be seen.
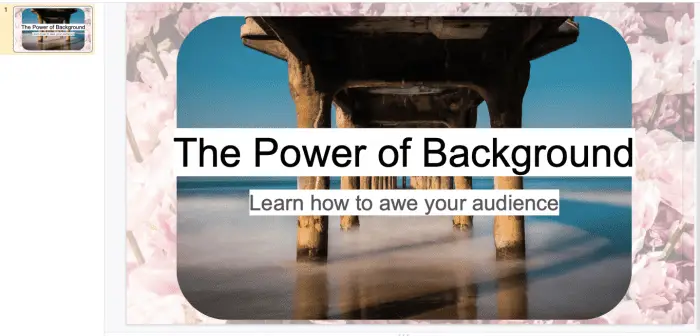
For example, you might want to add a nice background picture underneath the presentation text but what was happened is the opposite; the picture is visible while the text is obstructed.
To combat that, we can reorder the image by sending it to the back. Here’s how to “send to back” an image in Google Slides.
1. Open the presentation document on Google Slides.
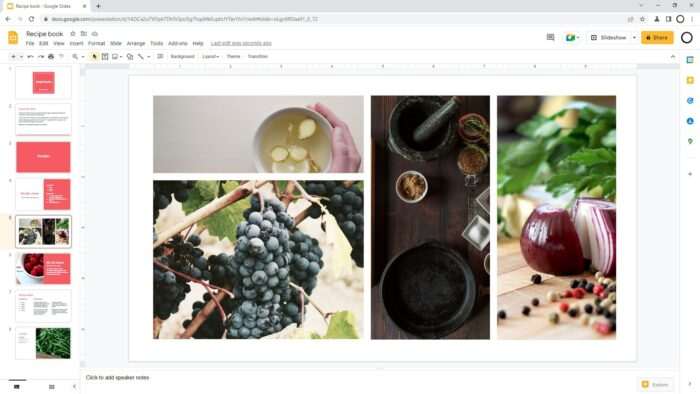
2. Select the image you want to reorder and right-click on it.
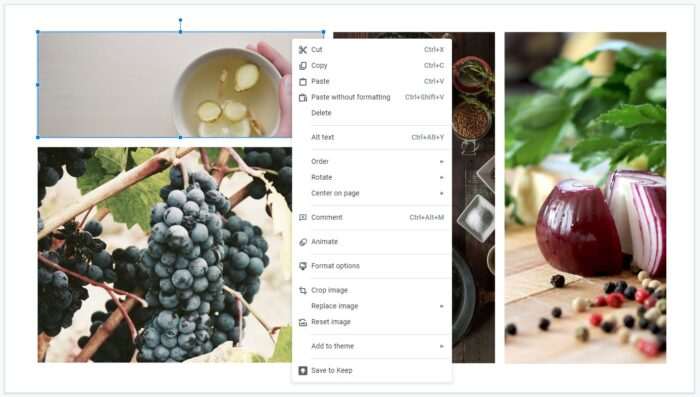
3. Navigate to Order > Send to Back. You may also use Send backward to move it down one layer at a time.
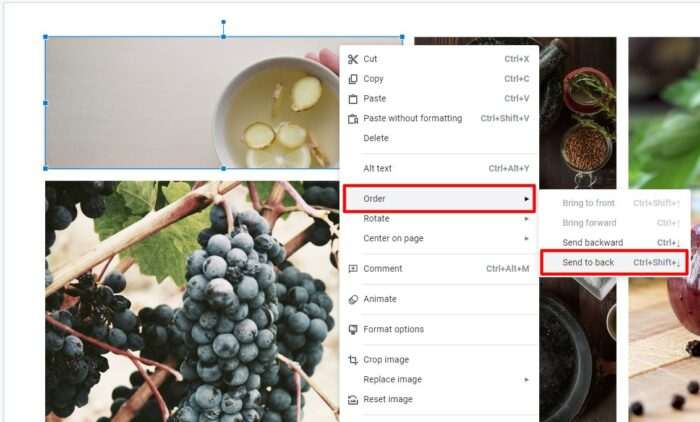
4. The image is now at the very back. It should reveal any content that was previously blocked by it.

5. Additionally, you can Send to Back pretty much any content, including text, shape, line, chart, and even video.
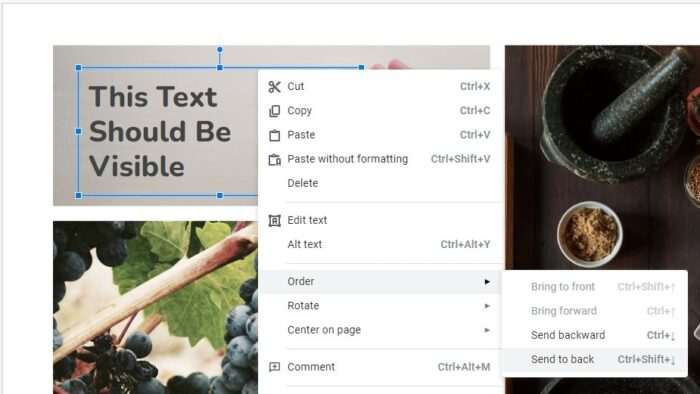
In a slide with tons of separate elements, the Order feature, including “Bring to front” and “Send to back” is crucial to keep everything properly arranged with a clear distinction between what should be seen and hidden.
