If you persist in using a static slide during a presentation, it almost guarantees to fuel boredom in your audiences. One way to combat that is to make the slide a bit more fascinating to look at, by adding a series of animations.
Although the animation selections are not as massive as Microsoft PowerPoint, Google Slides still offers a few entrance animations along with its settings which can be customized per-object basis. This way, a title can be set up to appear first, then followed by pictures, paragraphs, and other objects.
In this article, I will show you how to animate objects in Google Slides.
1. Open the Google Slides document. In this example, I’m going to animate this simple slide.
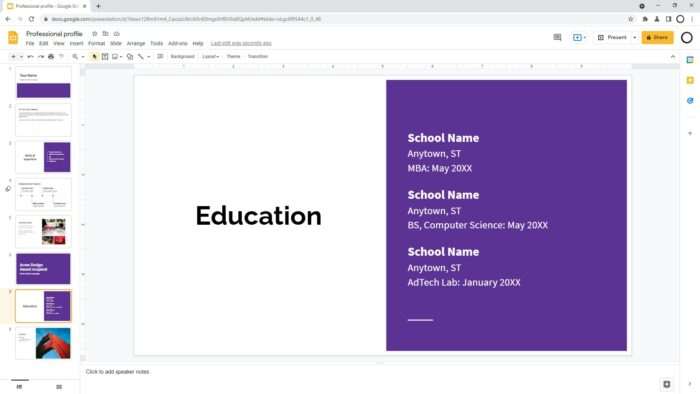
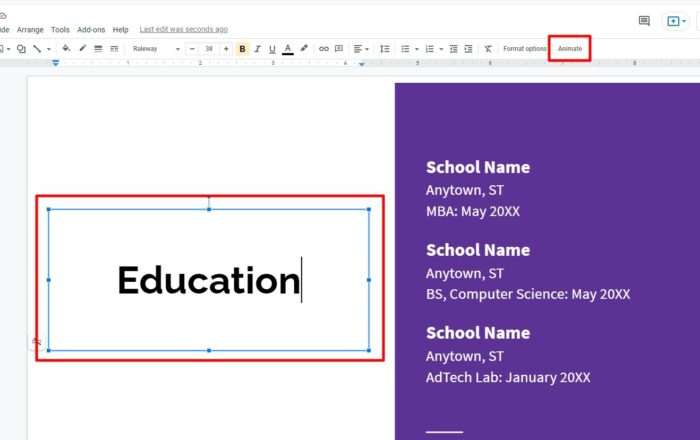
2. First, select (click on) the object you want to animate. And then hit Animate.
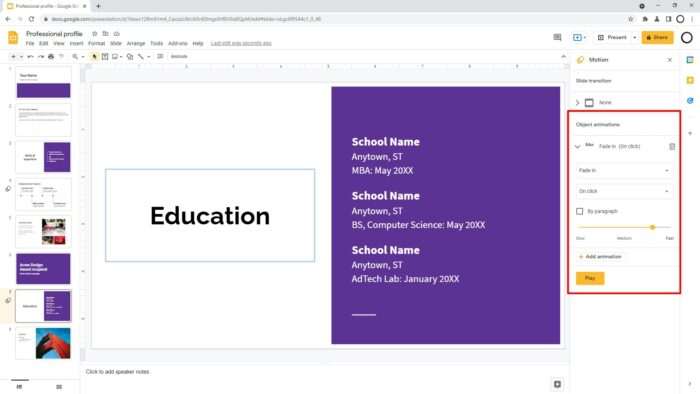
3. A new panel on the right side will appear. This is where you can customize animations.
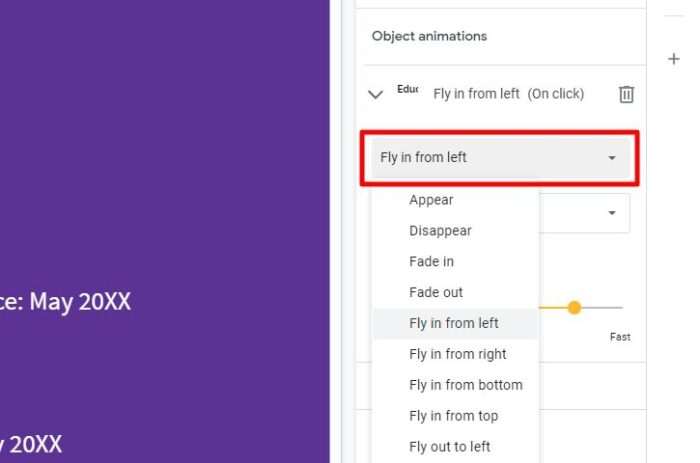
4. Select the animation type.
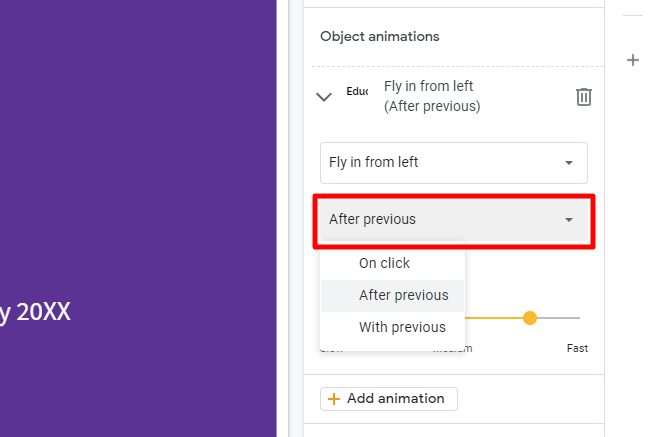
5. And then the timing. On click will trigger the animation when the mouse is clicked, After previous means it will start after the previous animation ended, and With previous means it will run with the previous animation at the same time.
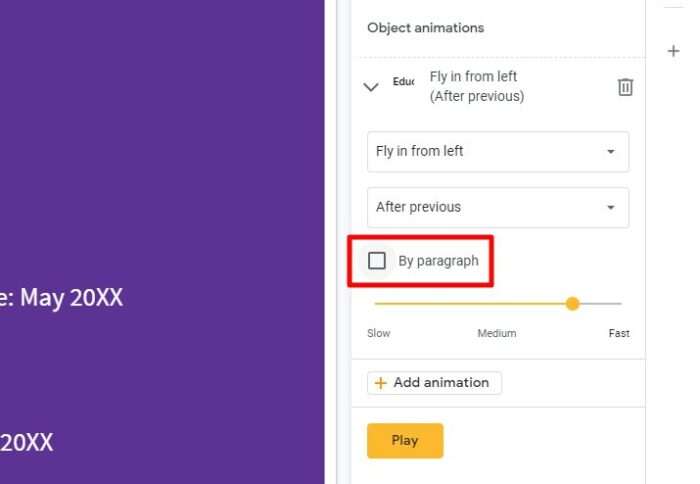
6. You may enable By paragraph. This only applies if the object consists of multiple paragraphs.
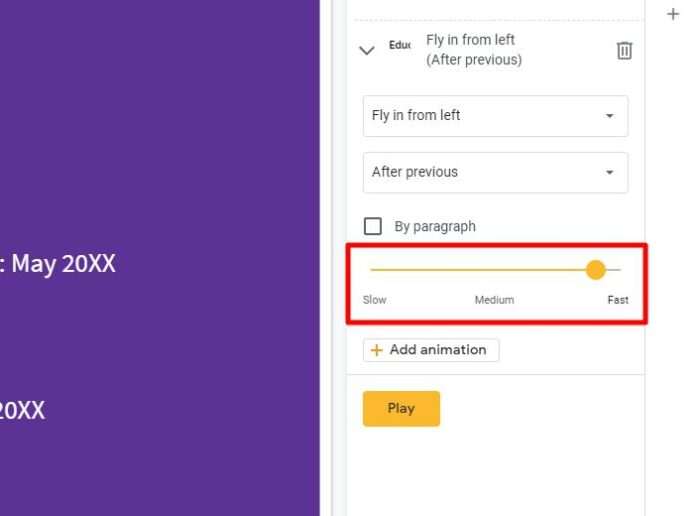
7. And then adjust the animation speed.
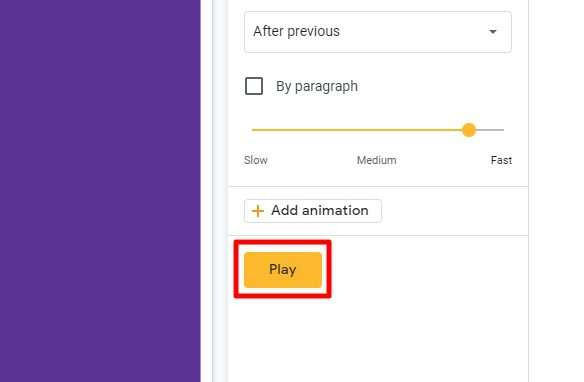
8. Click Play to see how it would look like. If you are not satisfied, just customize the animation again until it fits.
9. After the first object got its animation, continue the same work to other objects.
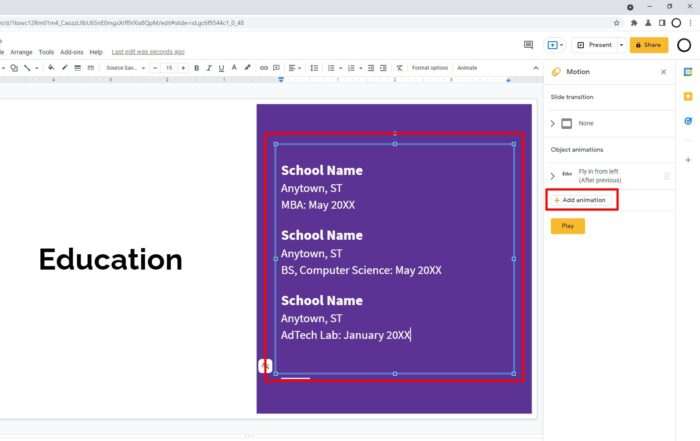
10. Drag and drop the animation position to change their order.
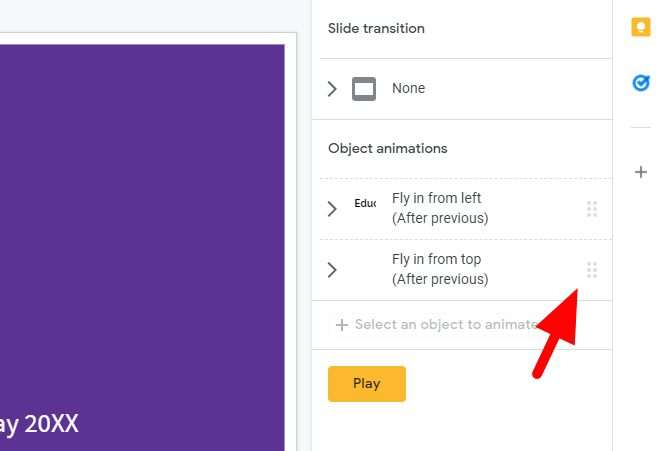
And that’s pretty much how to add animations to objects in Google Slides. Quite frankly, the selections are limited and it doesn’t the same level of customization as Microsoft PowerPoint.
However, even with that limitation, if combined with the right style, slide transition, and timing, it will definitely improve the experience of your presentation.


