Adding videos to your Google Slides presentations can be an excellent way to engage your audience and illustrate key points. However, having to manually click to play each video can interrupt the flow of your presentation. Fortunately, Google Slides provides options to have videos play automatically when you advance to their slides.
In this guide, you’ll learn how to configure video playback settings in Google Slides to:
- Autoplay videos when presenting slides
- Loop videos
- Auto-advance slides after videos finish playing
Step 1: Insert a Video into Google Slides
Before you can configure automatic playback, you first need to add a video to your presentation. Here’s how:
- Open your Google Slides presentation and navigate to the slide you want to add a video to.
- Click Insert > Video from the top menu.
- In the sidebar that appears, select either:
- YouTube – paste in a YouTube URL to embed a YouTube video
- Google Drive – select a video already uploaded to your Google Drive
- Find the video you want to add and click Select.
The video will now be inserted into your slide. You can drag it around and resize it as needed.
Step 2: Enable Autoplay for Presenting
To make your video play automatically when presenting:
- Click on the video to open the Format options sidebar.
- Under Video playback, change Play to Play (automatically).
Now when you present your slides and advance to the video’s slide, it will start playing immediately without needing to be manually triggered.
Step 3: Loop Videos
To make your video replay in an endless loop:
- In the Format options sidebar, toggle Loop video to On.
The video will now continuously loop when playing during the presentation.
Step 4: Auto-Advance After Video Playback
You can automatically advance to the next slide after a video finishes playing. Here’s how to configure it:
- Click File > Publish to the Web.
- Under Publish what & how, click Auto-advance slides.
- Set the Auto-advance time to slightly longer than your video’s runtime.
- Click Publish then OK.
Now when you present your slides and the video finishes playing, the presentation will automatically advance to the next slide after the duration you configured.
Additional Tips
- For precise slide timing, check your video’s length first so you know exactly how long to set the auto-advance delay for.
- To mute video audio during presentations, toggle Mute audio to On in the Format options sidebar.
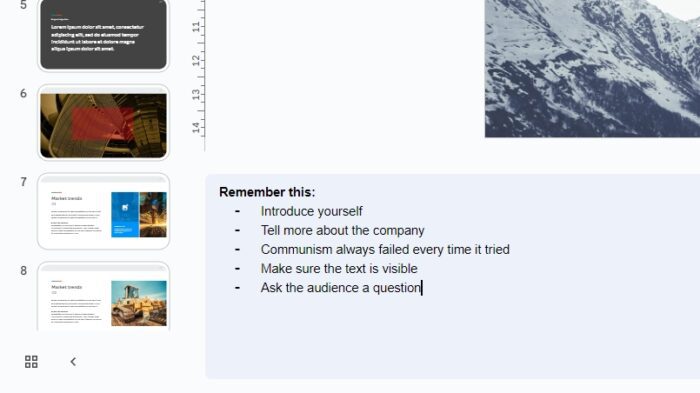
- If using presenter notes, you can include timestamps to help coordinate your talking points with videos.
By leveraging Google Slides’ playback options for videos, you can create sleek, seamless presentations that engage your audiences. Configuring videos to play and loop automatically ensures your presentation flows smoothly without unnecessary interruptions.


