To add aesthetic to the presentation, a custom background photo might be a simple, yet remarkably significant trick that would make your audience’s attention fell to the screen, which is something you want to keep throughout the session.
You can, of course, just insert a regular picture to the slide and ‘send to back’ multiple times until the picture becomes the background while the rest of the content remains foreground. But this method has a few drawbacks and frankly, not the official way to create a custom photo as a background.
In this guide, I will show you how to properly change a PowerPoint slide background and make it stick to prevent accidental movement when editing the slide. Follow along!
Note: The following guide is based on Microsoft PowerPoint 365. Other versions may have different interfaces. But they should look somewhat similar regardless.
1. Open a PowerPoint document. For example, I will go with a new blank presentation template.

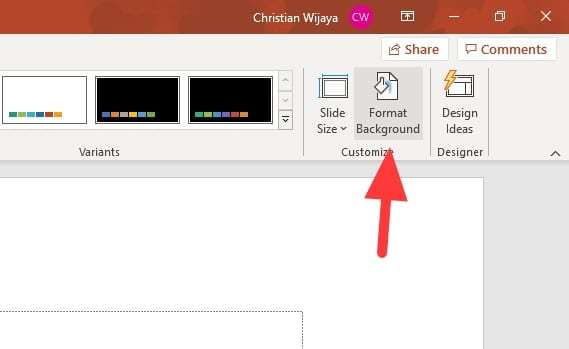
2. And then, go to Design.

3. Click Format Background.
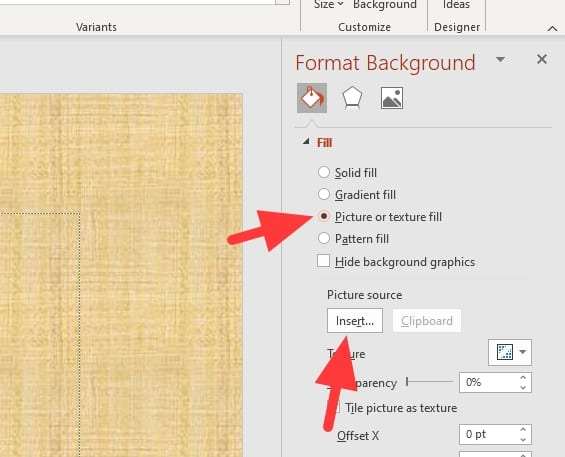
4. A new panel on the right side of the screen will appear. From there, click Picture or texture fill and then hit Insert.
5. Since the picture is in my device, I will select From a file. Feel free to choose other sources.

6. Select and Insert the picture.

7. And now the slide background has changed.
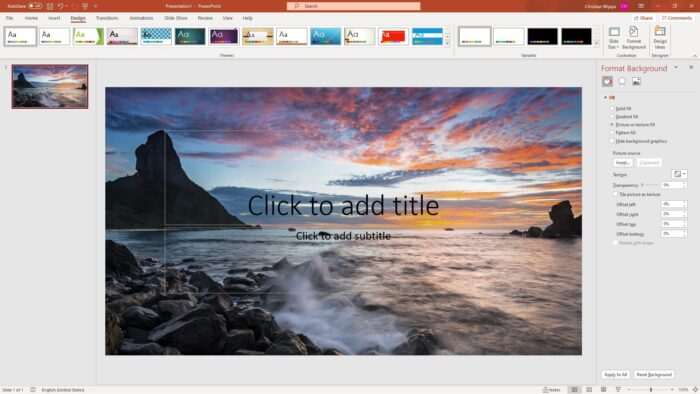
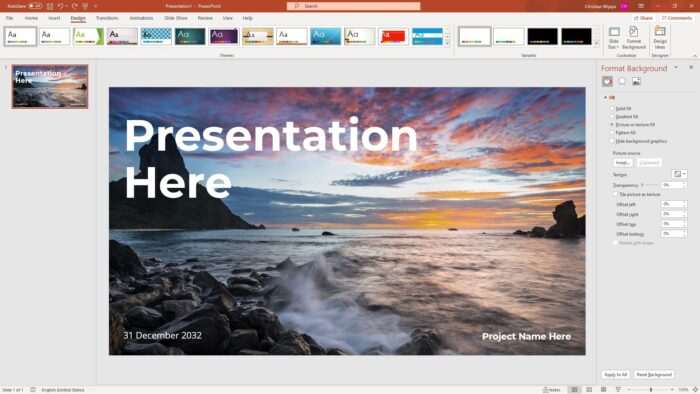
8. Fill it with content that match with the background or modify the existing content to make it look fit.
If you have tons of photos that need to be placed as background on multiple slides, check out the previous article on How to Insert Multiple Images as Background Slides in PowerPoint — without doing it manually.
Be careful when utilizing a handful of high-resolution photos in your presentation. Consider to crop them or compress the photos to make the PPTX file smaller (amazingly without losing quality).


