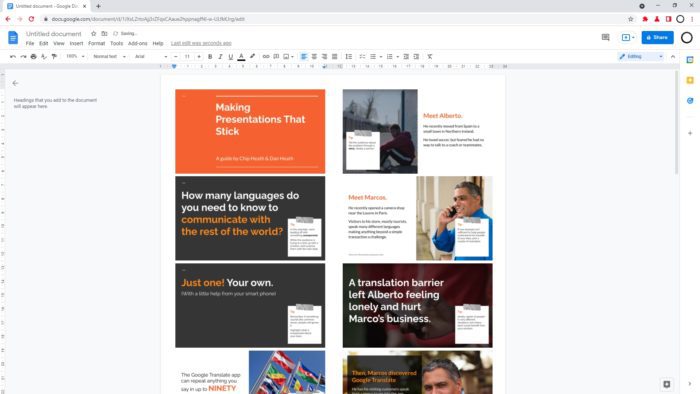
Google Slides allows you to easily customize text boxes to meet your presentation needs. You can resize, reposition, and reformat text boxes with just a few clicks. This guide will walk you through the steps to change the scale of a text box in Google Slides.
Access Text Box Options
To modify an existing text box:
- Double click inside the text box to open the text box options sidebar
- Or right-click the text box and select Format options
To insert a new text box:
- Click Insert > Text box on the top menu
- Click and drag on the slide to draw the text box
Once the text box is selected, the formatting options will appear in the sidebar.
Resize a Text Box
To resize a text box:
- Hover over the edge of the text box until the cursor changes to a two-sided arrow
- Click and drag the border to expand or shrink the text box
You can adjust the width, height, or both dimensions at the same time.
As you resize, guidelines will appear to help align the text box relative to other objects on the slide.
Reposition a Text Box
To move a text box to another location:
- Hover over the text box until the cursor changes to a four-sided arrow
- Click and drag the text box to the desired position on the slide
Use the guidelines to easily align the text box with other elements like images, shapes, and slide edges.
Scale Text to Fit Box
Google Slides offers several text fitting options to automatically scale text inside a text box:
- Resize shape to fit text: Expand or shrink the text box to fit the text size
- Shrink text on overflow: Decrease text size to fit inside the box
- Do not autofit: Text size does not change automatically
To change text fitting:
- Open the text box options sidebar
- Click Text fitting
- Choose a text fitting option
Set Custom Font Size
To manually change the text size inside a text box:
- Highlight the text you want to resize
- Click the font size dropdown in the formatting toolbar
- Choose a predefined font size or enter a custom size in points (pt)
You can also use keyboard shortcuts to quickly increase or decrease font size:
- Ctrl + Shift + >: Increase text size
- Ctrl + Shift + <: Decrease text size
Advanced Formatting Options
The text box options sidebar provides additional formatting settings:
- Font family and weight
- Alignment: Left, center, right, or justified
- Line spacing and indentation
- Border color, style, and weight
- Background color
- Rotate or flip orientation
- Add shadows, reflection, or other effects
Experiment with these options to customize the appearance of your text boxes.
Set Defaults for New Text Boxes
To change the default formatting for new text boxes inserted into your presentation:
- Click File > Preferences in the top menu
- Scroll down to Text boxes & shapes
- Adjust the settings for new text boxes
- Click Done
The updated defaults will apply to all new text boxes created in your Google Slides presentations.
Copy Formatting to Other Text Boxes
To quickly replicate text box formatting:
- Select the text box with the desired formatting
- Click the paint format icon in the toolbar
- Click on other text boxes to apply the copied formatting
This allows you to batch format multiple text boxes at once while maintaining consistency.
Keyboard Shortcuts
Use these handy keyboard shortcuts to quickly modify text boxes:
- Ctrl + C: Copy a text box
- Ctrl + V: Paste a copied text box
- Ctrl + X: Cut or delete a text box
- Ctrl + Z: Undo
- Ctrl + Y or Ctrl + Shift + Z: Redo
- Delete: Delete selected text box
Keyboard shortcuts help streamline the process of managing text boxes in Google Slides.
Tips for Text Boxes
- Make sure text boxes have sufficient contrast from the background color
- Avoid overly long lines of text by adjusting text box width
- Use text boxes sparingly and only when needed
- Align text boxes with related content for visual consistency
With these tips and text formatting options, you can transform lackluster text boxes into impactful presentation elements.


