Google Slides is an online presentation software that allows you to easily create professional slideshows. With its user-friendly interface and powerful features, anyone can design stunning presentations in minutes. This guide will walk you through the steps to make an effective slideshow using Google Slides.
Create a New Presentation
To get started, go to slides.google.com and log into your Google account.
- On the homepage, click on the New presentation button to create a blank slideshow. You can also select one of Google’s pre-made templates if you don’t want to start from scratch.
- Give your presentation a descriptive title at the top. This helps keep your slides organized.
Choose a Theme
Themes allow you to quickly style your presentation.
- Click on the Theme option in the toolbar and browse through the different options.
- Select a theme that matches the tone and purpose of your slideshow. Themes with clean, simple layouts tend to work best.
- You can always customize the theme colors and fonts later if needed.
Add Slides and Content
Your presentation needs to have the right content to effectively communicate your message.
Insert Text
- Click on the Text box icon to insert text boxes into your slides.
- Use a large, eye-catching title for the main message then support it with concise bullet points below.
- Avoid cramming too much text on one slide. Use images and graphics to complement the words instead.
Insert Images/Videos
Visuals make presentations more interesting and easier to digest.
- Click on the Image icon to upload your own photos and illustrations.
- Use the search bar to find free images on the web to use.
- Insert videos from YouTube, Google Drive or your computer.
- Make sure your visuals are high quality, relevant and enhance the slide content.
Use Shapes/Icons
Shapes, icons and lines allow you to highlight important information or organize content.
- Click on the Shapes icon in the toolbar.
- Choose a shape and drag to resize it over a section you want to draw attention to.
- Search for relevant icons to incorporate. Icons act as simple, recognizable symbols to represent concepts.
Format and Design
Once you’ve added all your content, the formatting process can take your slideshow from good to great.
Consistent Design
Maintain alignment, spacing and font styles across slides for a professional look. Use the master slide layouts as a guide.
Use Transitions
Add subtle transitions between slides to keep your presentation visually interesting. Find transitions under the Slide change menu. Stick to 1-2 transition styles maximum.
Animations
Use animations sparingly to emphasize important points. Too much animation can become distracting.
Image Formatting
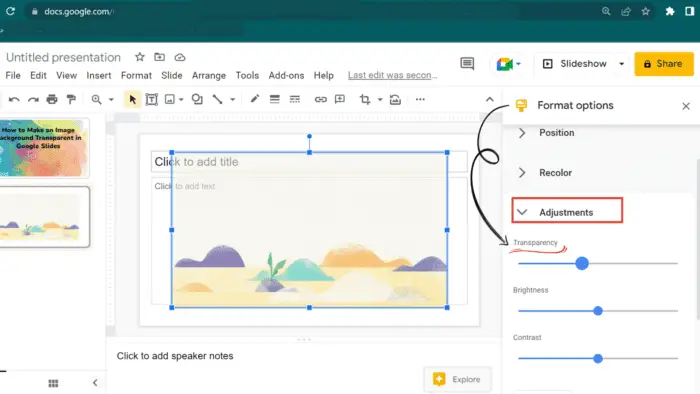
Properly size and position images so they don’t look awkward. Use borders, reflections, cropping tools and other options under the Image format tab to make images stand out more.
Review and Present
Before presenting, carefully review each slide and practice your talking points.
- Check for typos, formatting issues and unclear content.
- Time yourself presenting and refine anything that feels off.
When you start presenting:
- Use slideshow mode for the full screen view.
- Hide slides you don’t plan to show.
- Use slide notes or your presentation script for reference.
- Engage the audience with strong body language and eye contact instead of reading off slides.
Making a great Google Slides presentation takes effort but pays off hugely in terms of effectively communicating your ideas. Follow this guide to learn how to create professional, visually compelling slideshows that leave a lasting impact on your audience.


