Google Slides is a free online presentation software that makes it easy to create beautiful and professional slide decks. With its simple yet powerful editing tools, real-time collaboration features, and intelligent design capabilities, Google Slides helps you craft compelling presentations in no time.
In this blog post, we’ll walk you through the key things you need to know to make eye-catching presentations with Google Slides.
Getting Started with Google Slides
To begin using Google Slides, simply go to slides.google.com and login with your Google account. You’ll be taken to the Slides home page where you can start a new presentation or open existing ones.
To create a new slide deck, click on the “+” icon and select “Blank” presentation. This will open up the Slides editor with a blank canvas for you to start designing your slides.
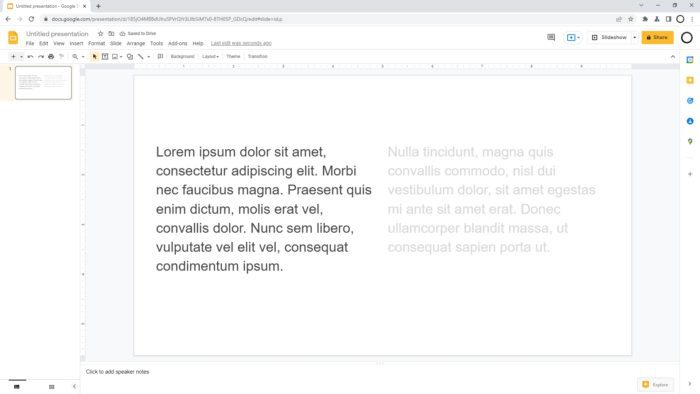
The editor has an intuitive layout with the slide canvas in the center, tools on the top and different panes on the left sidebar. Familiarize yourself with these key elements before you dive into crafting your presentation.
Crafting Compelling Presentation Content
Once you have a blank presentation opened up, the first step is to shape the narrative and content.
Outline the key topics you wish to cover in the presentation and structure them in a logical flow. Think about what story you want the slides to tell and how the audience should progress through the information.
When adding content to slides, remember that slides complement the speaker and act as visual aids. So keep text minimal – include only key headings, sub-headings, stats, quotes or critical information on slides.
Elaborate on the points verbally while presenting. Use the slide notes section to add detailed talking points if required.
Incorporating Stunning Visuals
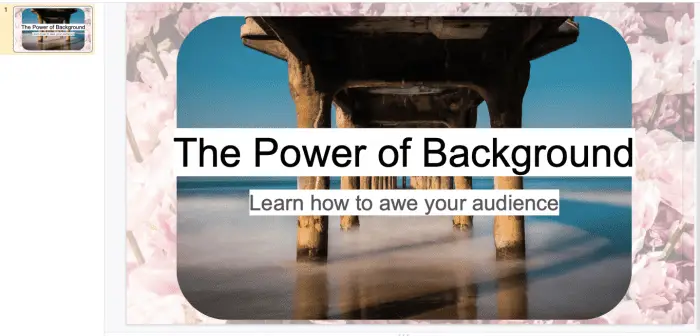
Next, spice up the content with relevant visuals like images, charts, icons and videos. Visuals make presentations more interesting and help reinforce key messages.
When adding visuals:
- Use high-quality, high-resolution images that are relevant to your content
- Crop and edit images as required to highlight key elements
- Credit image sources to avoid copyright issues
- Balance information-dense graphs and charts with easily digestible iconography and illustrations
Take advantage of Slides’ extensive image library and built-in tools to quickly edit, crop and incorporate visual content.
Formatting Text for Maximum Impact
How you format the text on your slides is critical for keeping the audience engaged.
Follow these key text formatting best practices:
- Use concise phrase headings rather than full sentences
- Limit bullet points and text – use them to highlight only critical info
- Break up large blocks of text with headers, bullets or visuals
- Use contrasting colors for text and background
- Experiment with text boxes and creative typography for impact
- Make liberal use of bold, italics and text size variations to highlight key points
Spend time perfecting the readability, structure and prominence of text on each slide.
Choosing an Impactful Color Theme
Color themes bring visual cohesion through color consistency across slides. The right theme can make dull information pop or convey different moods.
When selecting color themes:
- Base it on brand colors if presenting on behalf of an organization
- Use bold primary colors to grab attention for sales presentations
- Try a dark theme to make photos/visuals stand out
- Go minimalist with a black/grey/white scheme for a clean look
Google Slides offers several pre-made color theme options to choose from. Try out different themes and see what works best!
Animating Elements for Engagement
Subtle animations add dynamism to presentations. Use them sparingly yet effectively to highlight or transition between key ideas.
Best practices for animations:
- Animate text to draw focus to important figures/stats
- Build complex illustrations piece-by-piece using sequence animation
- Reinforce connections between disparate ideas with compelling motion paths
- Maintain consistency in animation style across slides
Keep animations minimal and meaningful. Done right, they can captivate audiences and boost memorability!
Collaborating with Team Members
Google Slides makes real-time collaboration seamless. You can have multiple team members simultaneously editing slides for a presentation.
To collaborate:
- Click Share > Advanced in the top right
- Add collaborator emails and choose permission levels
- Co-editors will receive email invites to access and edit slides
You can have discussions around specific slides or elements using the built-in comment threads. The revision history tracks all changes made by collaborators.
Presenting with Confidence
When it’s time to present your freshly minted slides, use Slides’ dedicated Presenter View to control slide progression, view notes/upcoming slides and more.
Enable this view by:
- Clicking Present in top right corner
- Choosing Presenter View from dropdown
Use the arrows to navigate slides and notes pane to view slide notes. The audience will only see the currently displayed slide.
Rehearse well in advance to finalize slide order, smooth out transitions and polish your narrative.
With these tips, you are well on your way to creating stunning presentations using Google Slides. Experiment, be creative and let the slides enhance rather than dominate your narrative!
