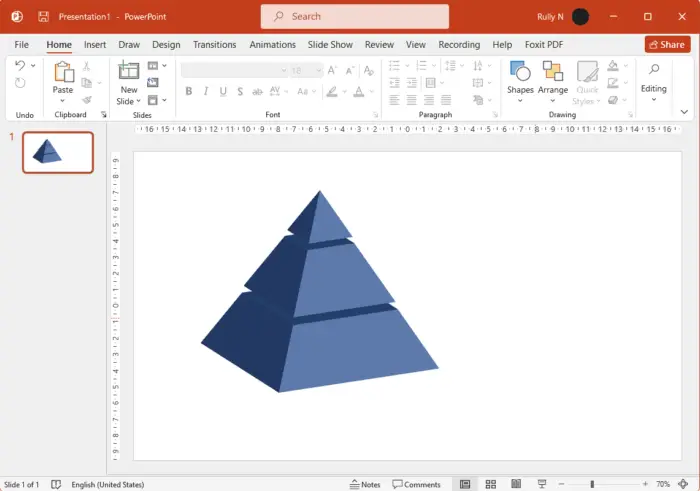
Making a 3D pyramid in Microsoft PowerPoint is a great way to add visual interest to your presentation. With the right tools and techniques, you can create a pyramid that looks realistic and professional.
In this tutorial, we’ll discuss how to make a 3D pyramid using PowerPoint’s native features. We’ll also provide an overview of the various elements of creating a 3D pyramid, such as selecting the right shape, adjusting angles and positioning, and more. So let’s get started!
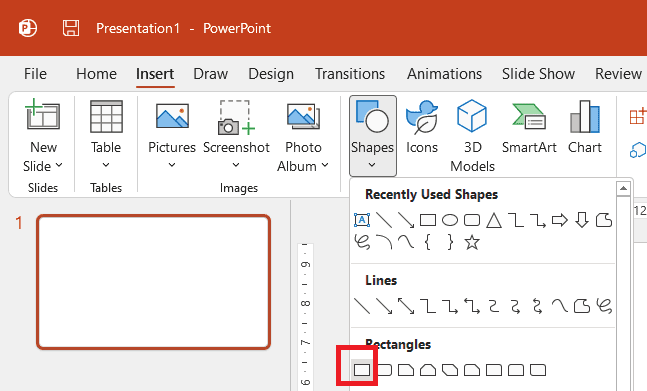
1. In a blank new slide, go to the Insert tab, Shapes, and select a rectangle.
2. Draw a rectangle. In the Shape Format tab, change the size to 3 cm x 3 cm.

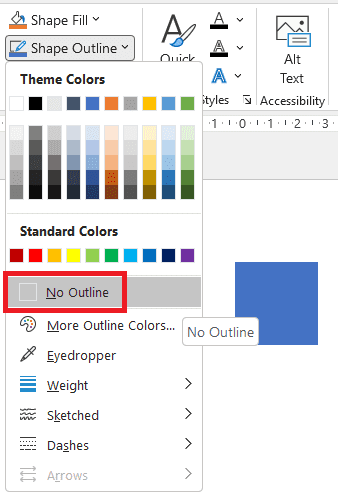
3. Next we are going to take out the outline. So go to Shape Outline > No outline.
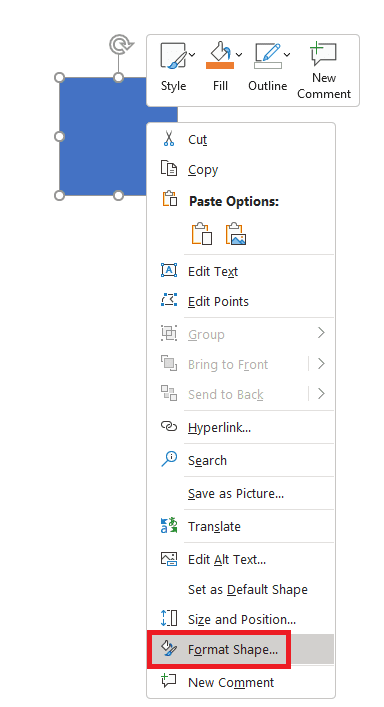
4. Right-click the rectangle and select Format Shape.
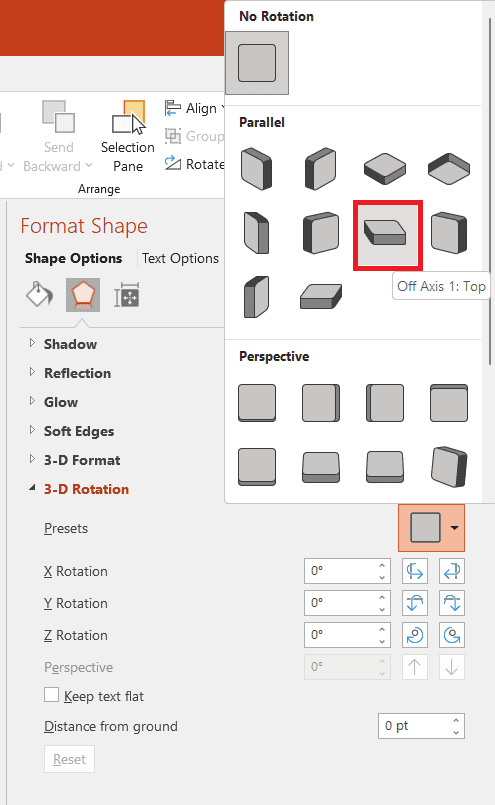
5. Go to Effects > 3-D Rotations option and select Off Axis 1: Top.
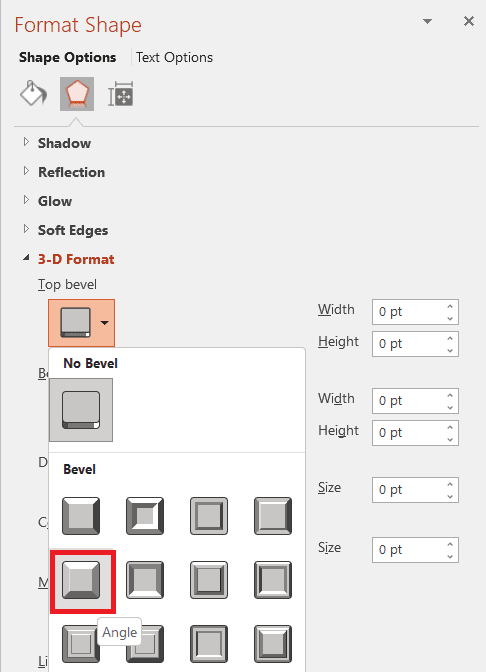
6. Go to 3-D Format, in the Top bevel option select Angle bevel.
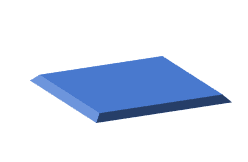
7. Your shape now will look like this.
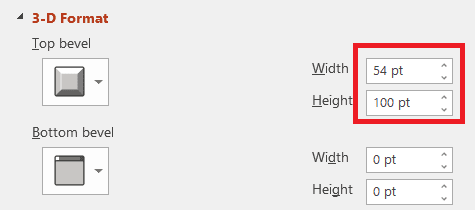
8. Still in 3-D Format, change the width to 54 pt and height to 100 pt.
9. To make it more 3D look, in Material select Dark Edge.
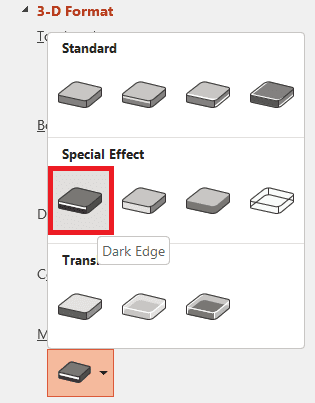
10. You can see that now you have a perfect 3D pyramid available.

11. For the second layer, which is optional, you are going to duplicate it by pressing Control + D.

12. Select that second layer and change the size to 7 cm x 7 cm.
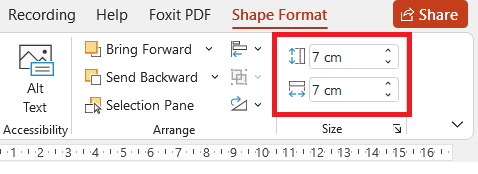
13. Right-click and select Send to Back.
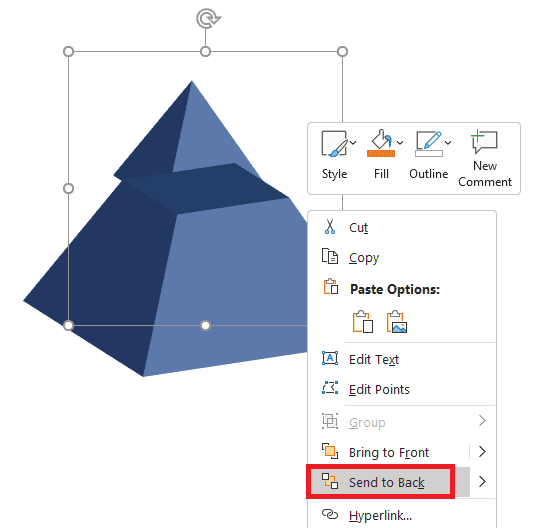
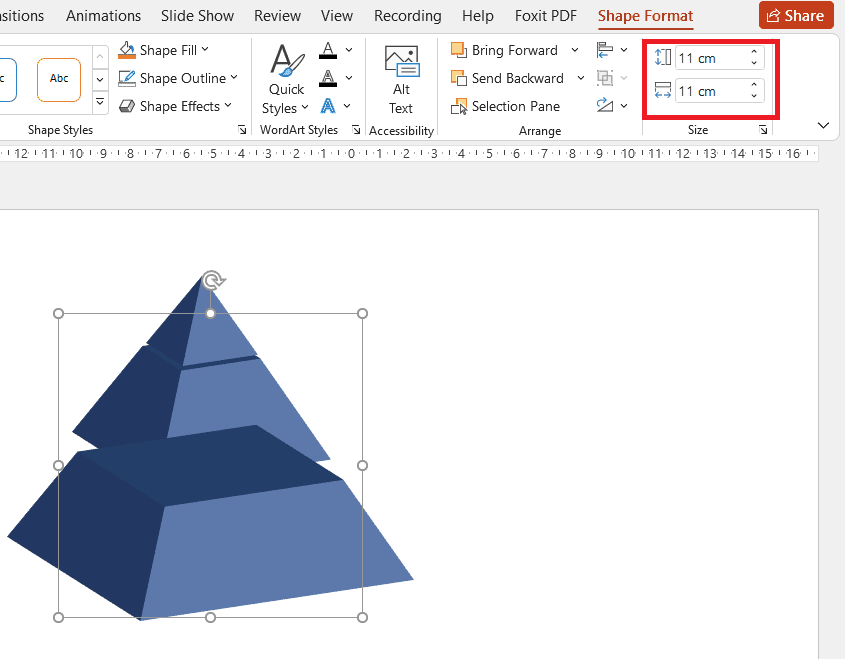
14. For the third layer, again press Control + D to duplicate the second layer.
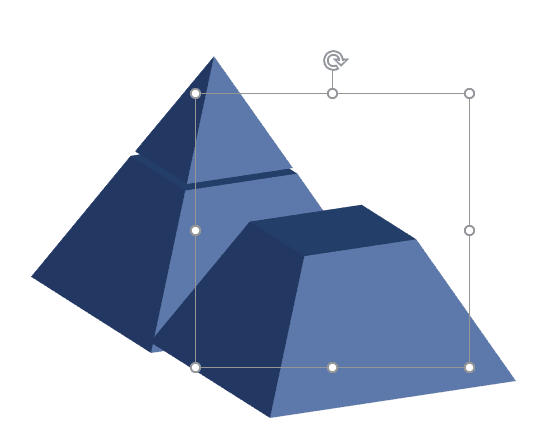
15. Now change the size to 11 cm x 11 cm.
16. Again, right-click and select Send to Back.
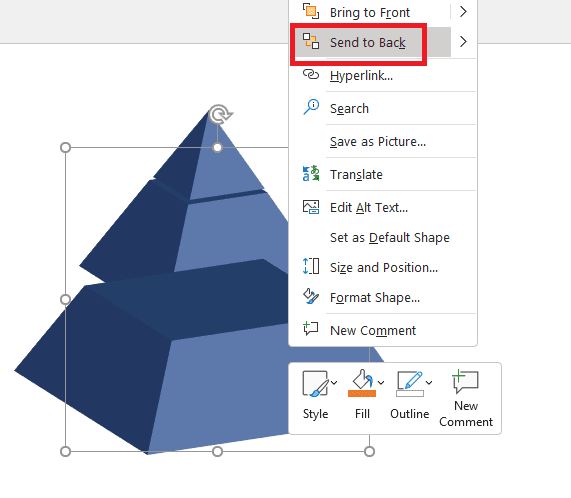
For the fourth, fifth layer, and so on, just repeat steps #14 – #16. But remember to change the size to 4 cm larger.
The shape tool is quite a powerful feature in PowerPoint that allows us to create a number of interesting objects. Other than this pyramid, you can also build your own 3D cube with a picture on each side — check it out!
