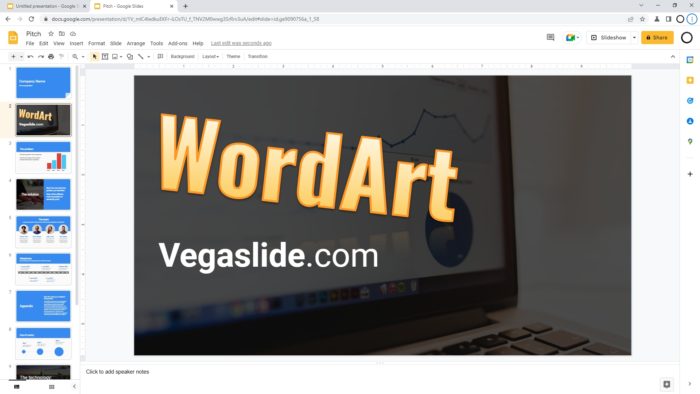
The classic WordArt feature in Microsoft Office has made the impression of one of the easiest ways to create an eye-catching document or slide title with minimum effort. Though it has been relieved from the service, the name “WordArt” has become a synonym for making cool-looking titles.
So, it’s no surprise that Google Slides, as a competing service, also brings a similar ingredient to its offering. Now you can create a WordArt in Google Slides. To be fair, it’s not exactly the same as on Microsoft Office, but with the right editing, the result could be somewhat close.
I’m going to guide you step by step to make your own WordArt (Word art) on Google Slides.
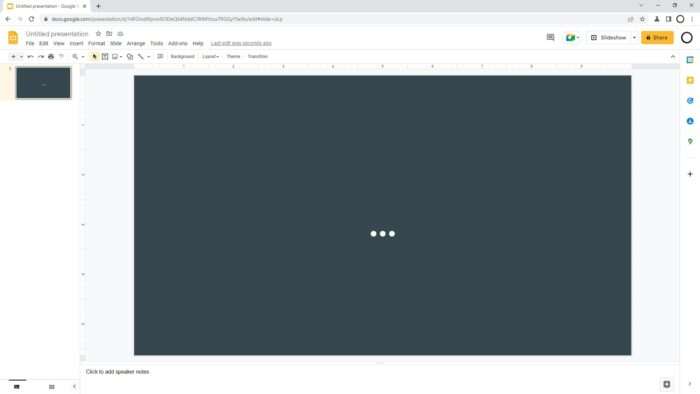
1. Open a Google Slides document.
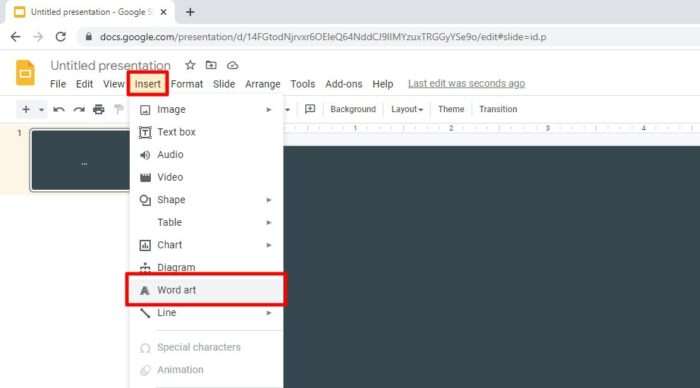
2. Navigate to Insert > Word art.
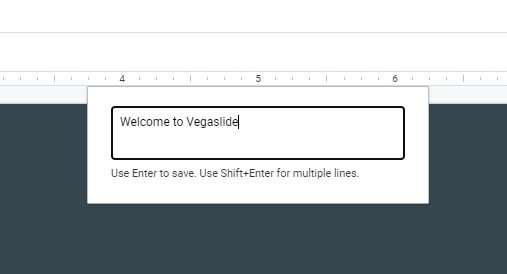
3. Type a piece of text, then hit Enter.
4. The text would appear on the slide.
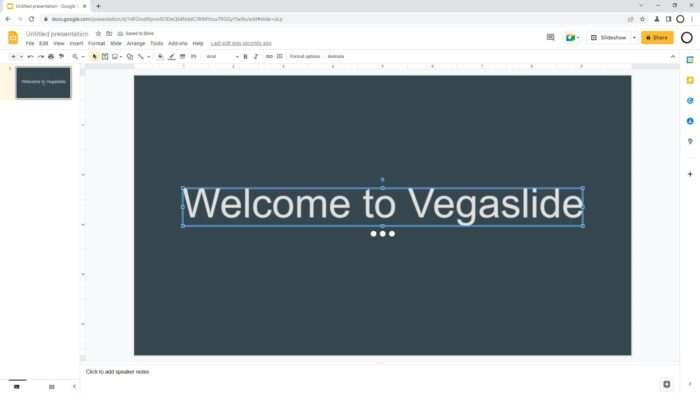
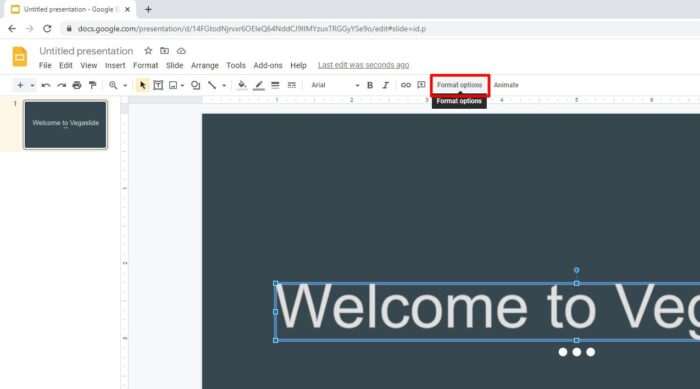
5. Now, go to Format options. This menu will open some interesting options you could apply to the text.
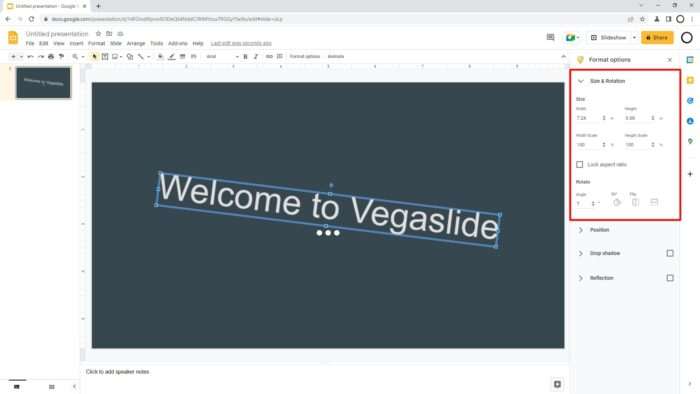
6. Under the Size & Rotation menu, you can change the dimension, scale, and rotation.
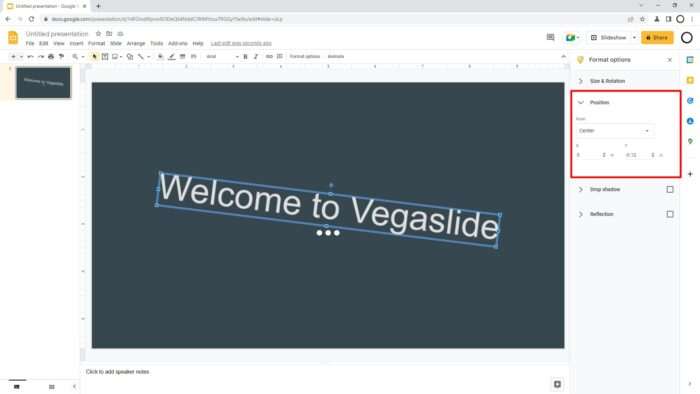
7. Position will let you adjust the WordArt position relative to the slide.
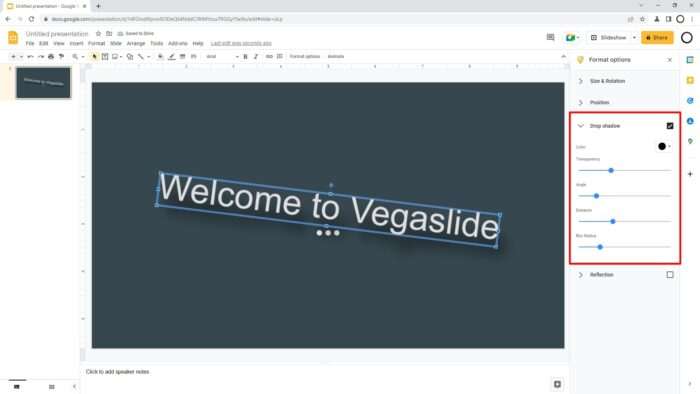
8. Drop shadow offers various configurations for color, transparency, angle, distance, and blur radius.
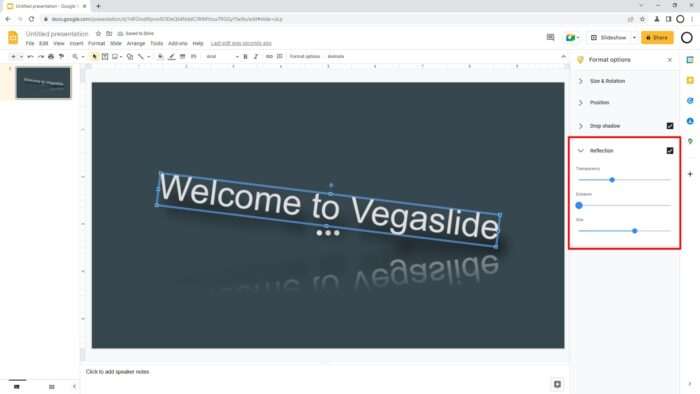
9. You may enable Reflection and customize its transparency, distance, and size.
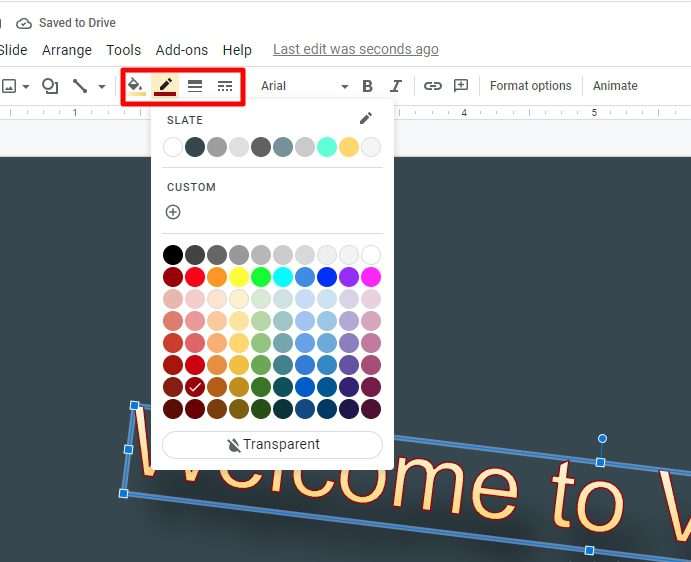
10. Now, back to the slide. This menu section allows you to change the text color, border color, border weight, and border dash.
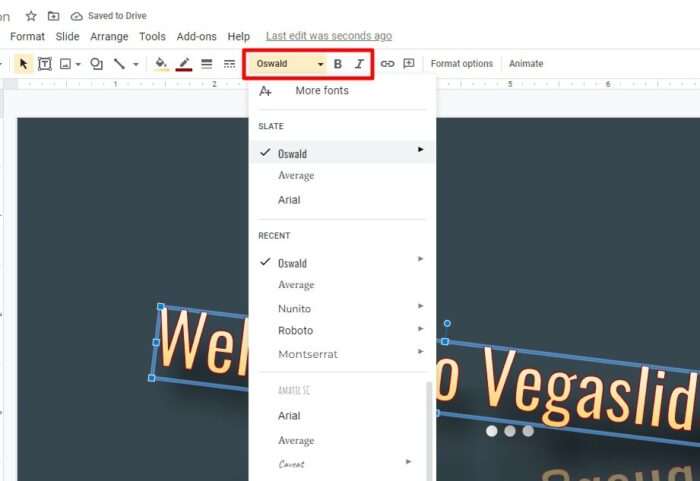
11. Next to it, you can select the font type and make the text bold or italic.
12. Lastly, you can always edit the text by double-clicking on WordArt.

Word art is just one practice to make a text stands out, but there are plenty more that you might want to try, such as highlighting text, using a unique font, and bullet points. Go and try them out on your presentation.
