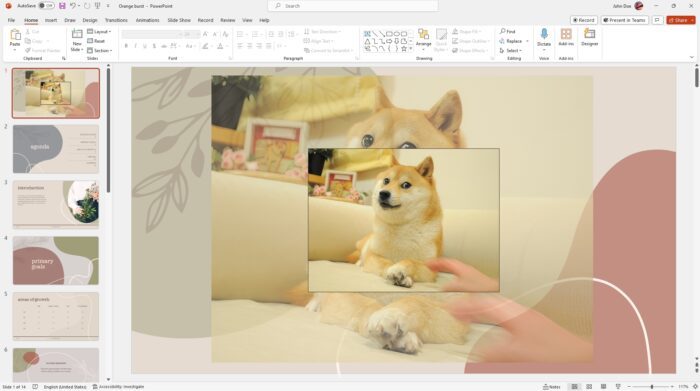
Resizing images is a common task in PowerPoint, whether you need to make an image smaller or larger to fit on a slide. However, carelessly resizing can distort the image, making it look stretched or squished. The key is to resize images in PowerPoint without affecting their aspect ratio, which is the proportional relationship between the image’s width and height.
In this article, you will learn how to resize images in PowerPoint properly. Just be aware that resizing is different to cropping.
Table of Contents
How to resize images in PowerPoint without distortion

The easiest way to resize an image proportionally in PowerPoint is to hold the Shift key while dragging one of the sizing handles on the corners or sides of the image. This will resize the image while maintaining its original aspect ratio. To resize an image proportionally, follow these steps:
- Click on the image to select it. Sizing handles will appear around the edges.
- Move your mouse over one of the sizing handles. The mouse cursor will change to a two-headed arrow.
- Hold the Shift key and click and drag the sizing handle from the corners.
- Release the mouse and Shift key when the image reaches the desired size.
This technique works well for quick resizing. The Shift key overrides PowerPoint’s default behavior of stretching the image disproportionately.
Update: In some versions, the Shift key may not be needed as long as you are resizing from the sizing handles from the four corners.
Use the size fields in the Picture Format tab

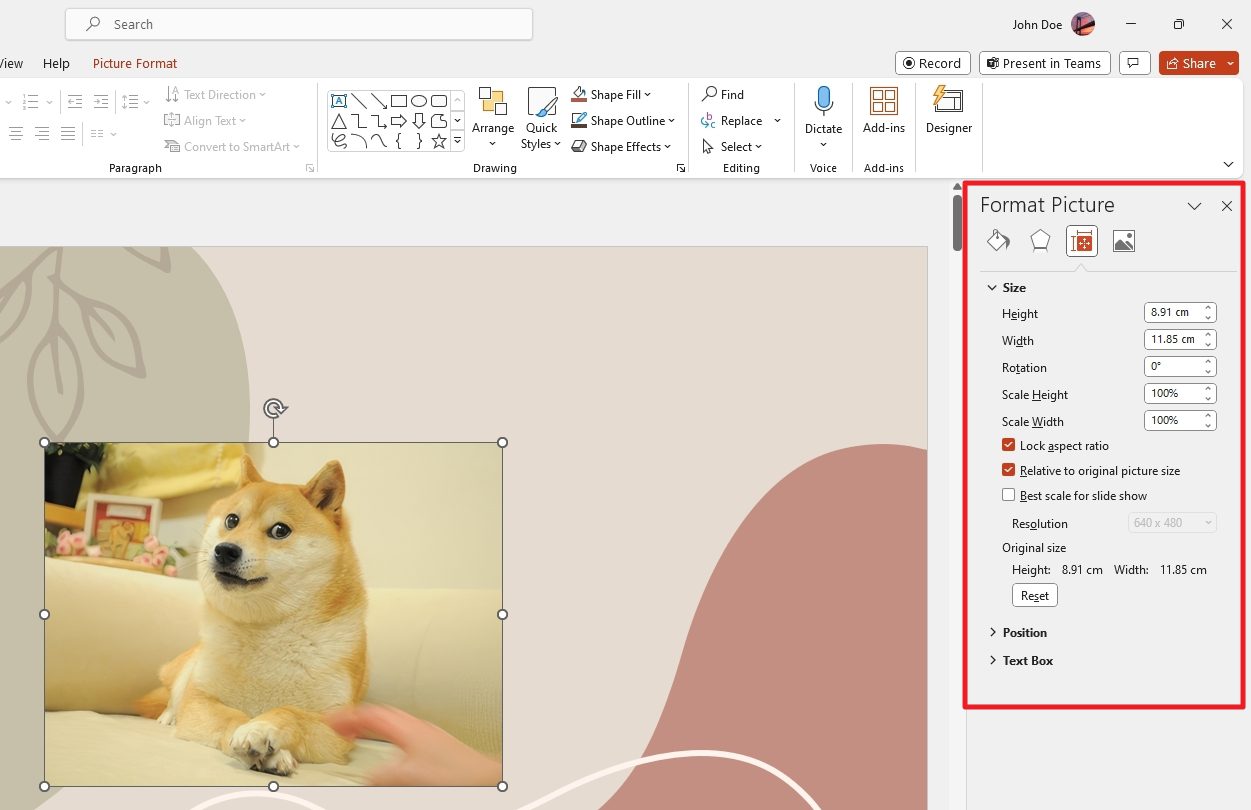
For more precise control over the resized dimensions, use the height and width fields in the Size group on the Picture Format tab. To resize images precisely, follow these steps:
- Select the image and go to the Picture Format tab.
- In the Size group, click the Dialog Box Launcher (small arrow icon).
- In the Size and Properties dialog box, enter values (in inches/cm) into the Height and Width fields.
- Check that the Lock aspect ratio box is selected so the width and height change proportionally.
- Close the panel when you are done.
This method lets you resize the image to an exact size. You can also choose units like cm, mm, points, or pixels.
How to reset the image size to the original

If you want to return the original size or aspect ratio of the image, follow these steps:
- Select the image and go to the Picture Format tab.
- In the Size group, click the Dialog Box Launcher (small arrow icon).
- On the right panel, click Reset.
Once you have done that, the image will return to the original size or aspect ratio. Please note that it may not return to the actual position.
FAQs
Here are some related questions about resizing an image on PowerPoint.
How do I resize an image in PowerPoint without distorting it?
Hold down the Shift key while dragging a corner handle to resize proportionally. You can also check the Lock aspect ratio option in the Size group under Picture Format or Shape Format.
How do I resize an object in PowerPoint?
Select the object, then drag the corner handles to resize. Use Shift to maintain proportions. You can also type exact height and width values under Size in the Format tab.
Where is the resize menu on PowerPoint?
The resize handles are in the corners and sides of a selected object. You can also resize under Size in the Picture Format or Shape Format tabs.
How do I crop an image in PowerPoint?
To crop an image in PowerPoint, click the image, go to the Picture Format tab, click Crop, and then select a cropping option like Crop to Shape or Crop to Fill. Drag the crop handles to remove parts of the image.
Can I resize an image by percentage in PowerPoint?
Yes, you can resize an image by percentage in PowerPoint. Select the image, go to Picture Format > Size & Positions (small arrow), and enter percentage values for height and width scaling. Make sure to uncheck Lock aspect ratio first.


