Taking a screenshot of a PowerPoint slide can be useful for many reasons. You may want to reuse slide content in another document, share it online, edit it in an image editor, or use it for a blog post or tutorial. Luckily, taking a slide screenshot is an easy task.
In this guide, I’ll cover several methods for taking screenshots of PowerPoint slides on both Windows and Mac. We’ll also discuss how to edit and format screenshots and some of the many applications for PowerPoint slide screenshots.
Let’s get started!
Screenshot a PowerPoint slide using keyboard shortcuts
For quick one-off screenshots, you can use these keyboard shortcuts:
- Windows: Press the Print Screen key to copy the entire screen to the clipboard. Then, paste the image into PowerPoint or another app.
- Mac: Press Shift-Command-3 to take a screenshot of the full screen and save it as a file on the desktop.
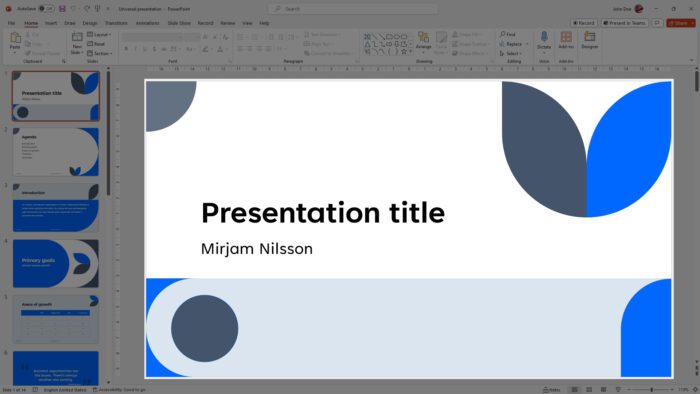
The main limitation of keyboard shortcuts is they capture the entire screen, not just the PowerPoint window. You’ll need to crop out the rest of the screen. Alternatively, you might want to run the slideshow before taking a screenshot.
Screenshot a PowerPoint slide by saving it as an image

This method gives you the flexibility to export slides in different image formats quickly. It’s essentially exporting the slide as an image.
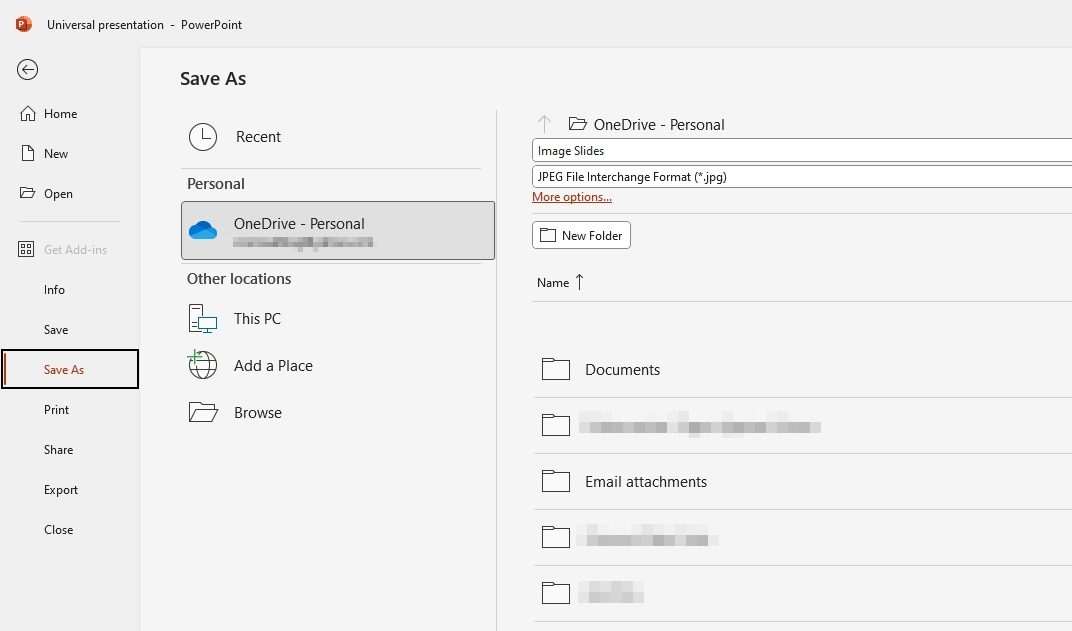
- Go to File > Save As.
- In the Save as type dropdown, select an image format like JPEG or PNG.
- Choose a save location and then click Save.
- For Save Current Slide, choose to save only the active slide or All Slides to export the entire presentation.
- The slide images will be exported to the select save location.
Using the Snipping Tool to take screenshots

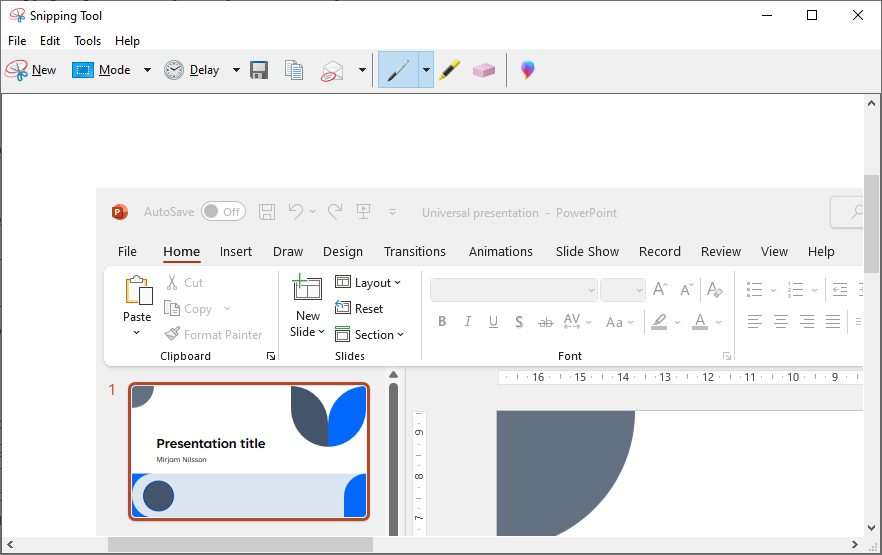
Snipping Tool is a free utility included with Windows that provides more flexibility for capturing screenshots. Here’s how to use it to take screenshots of PowerPoint slides:
- Go to Start, search for “Snipping Tool,” and open the program.
- Open the PowerPoint presentation and navigate to the slide you want to capture.
- In Snipping Tool, select one of the capture modes: Free-form Snip, Rectangular Snip, Window Snip, or Full-screen Snip.
- After snipping an area, you can annotate, crop, and save the image.
- Alternatively, you can paste the screenshot into PowerPoint or another document.
On Windows 10 or higher, you can use the shortcut key Windows+Shift+S to quickly summon the new Snipping Tool.
Conclusion
Taking screenshots of your PowerPoint slides is easy using the built-in tools in PowerPoint and Windows. The keyboard shortcuts and Snipping Tool allow you to quickly capture slides with just a few clicks. PowerPoint also allows you to save a slide as an image for a quicker method.
With the techniques covered in this guide, you should be able to easily take, format, and utilize PowerPoint slide screenshots for any purpose you need.
FAQs
Can I take screenshots of PowerPoint slides and reuse them?
Yes, you can reuse screenshots of PowerPoint slides in other documents. Save the inserted screenshot as an image file, then insert that image file into another document.
How do I take a screenshot of a PowerPoint slide?
Run the slideshow, on the Insert tab, click Screenshot > Screen Clipping. Select the area of the slide you want to capture. The screenshot will be inserted into the presentation.
How can I prevent others from extracting images from my PowerPoint slides?
There is no 100% way to prevent image theft. But you can password protect the file, apply permissions, and watermark images to deter unauthorized use.


