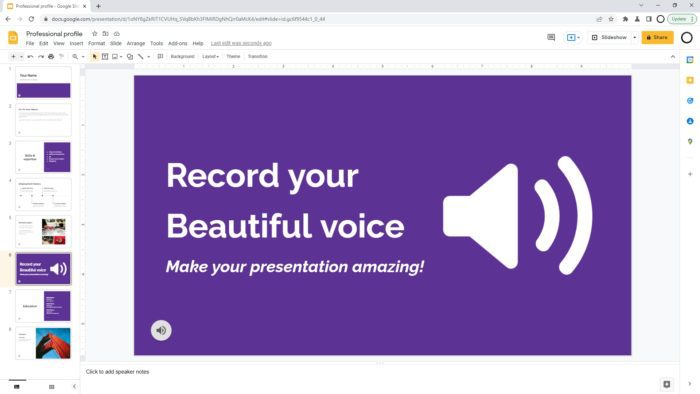
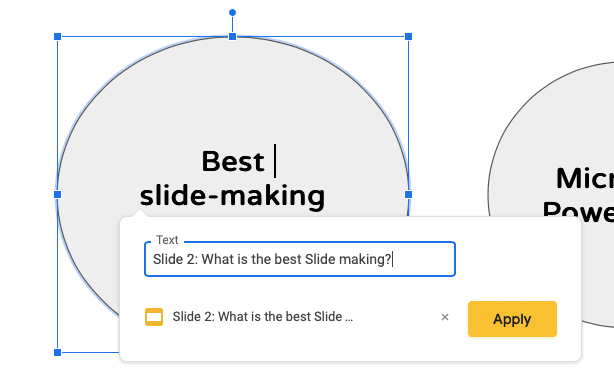
Instead of repeating your presentation, Google Slides lets you upload a recording to a presentation slide, so it will have a narration every time the document is being presented. This is a handy workaround if you are planning to show it to multiple groups.
In this guide, I will show you how to add voice-over to Google Slides. But before that, there are some good practices to follow:
- Use a quality microphone for the best result
- Clear the environment from background noise
- Make sure you know what to say, preparing a script is a better approach
- Having the skill to edit audio files is a plus
Now, let’s go into the guide.
1. Open the Google Slides document you want to add audio files.
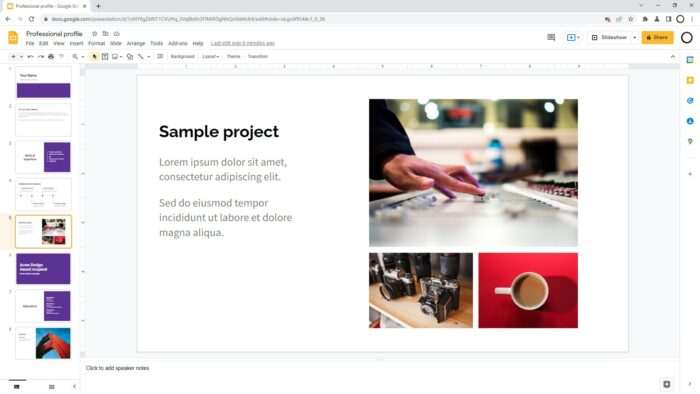
2. Run the Slideshow.
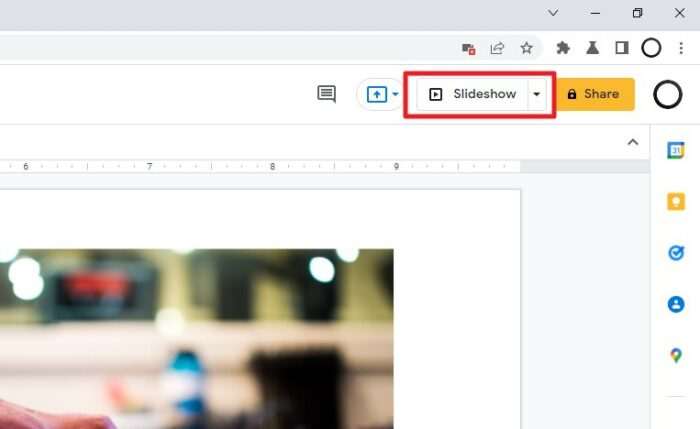
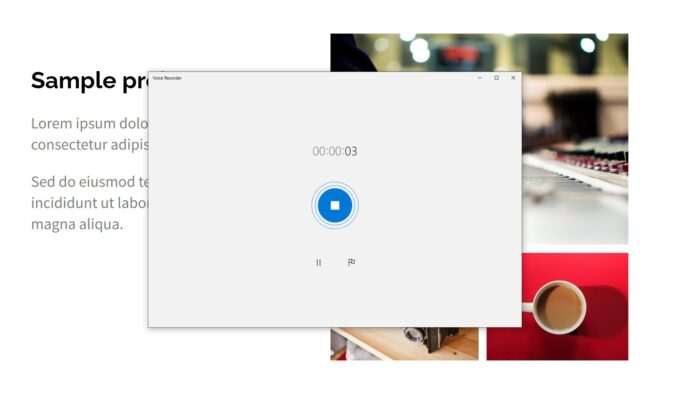
3. While the slideshow is running, record your voice. This will help you visualize the content that the audience would see. For the recording software, I’m using Windows Voice Recorder, but feel free to use anything else.
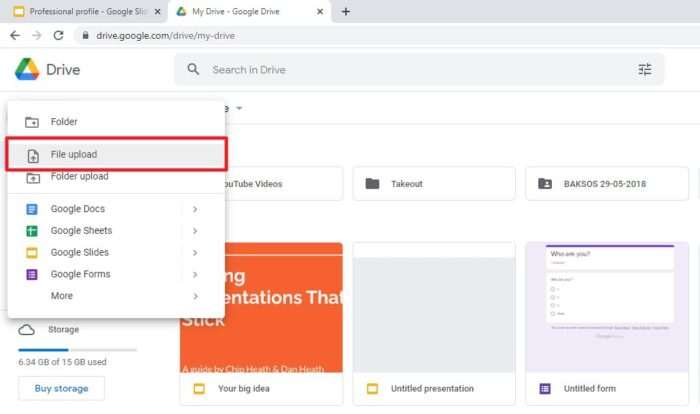
4. Once you have the audio files for each slide, go to Google Drive, then click New > File upload.
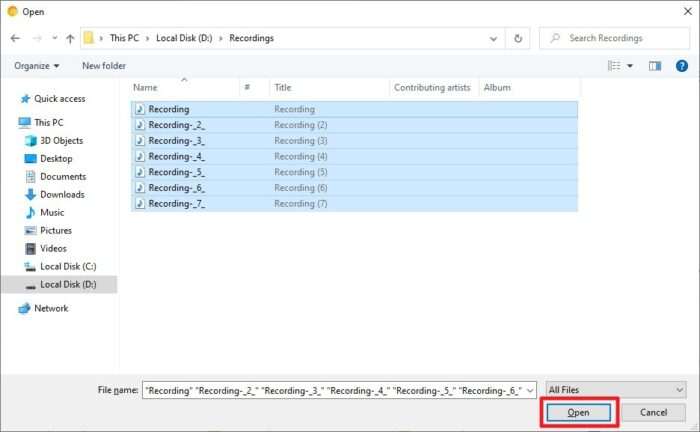
5. Upload the audio files. Be sure that the format is either MP3 or WAV. Otherwise, a conversion procedure may be necessary.
6. If you are planning to share the presentation with others, you would need to set that anyone with the link can see the audio files.

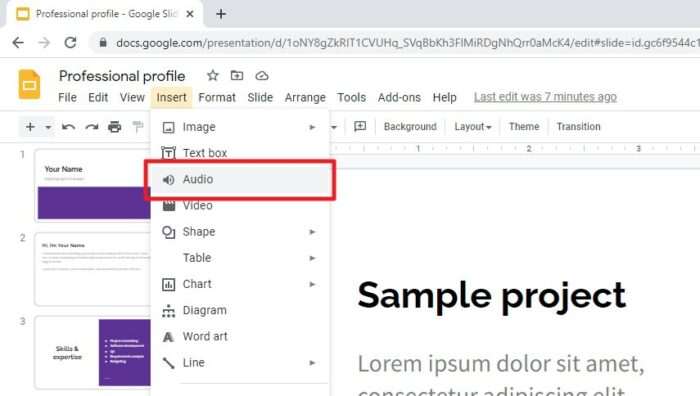
7. Now go back to the Google Slides document, navigate to Insert > Audio.
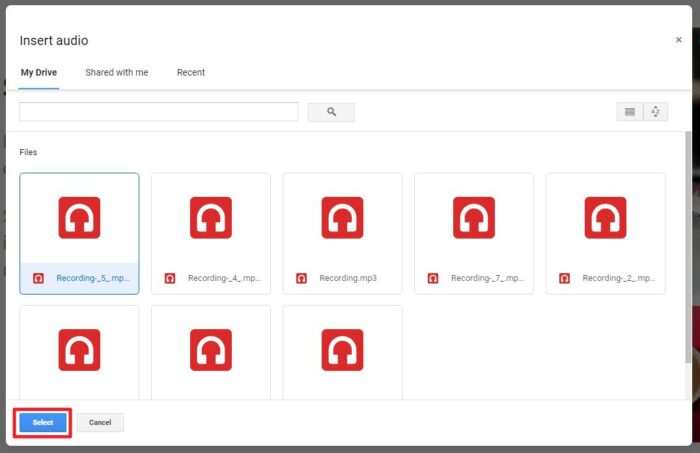
8. Select the audio file for each slide.
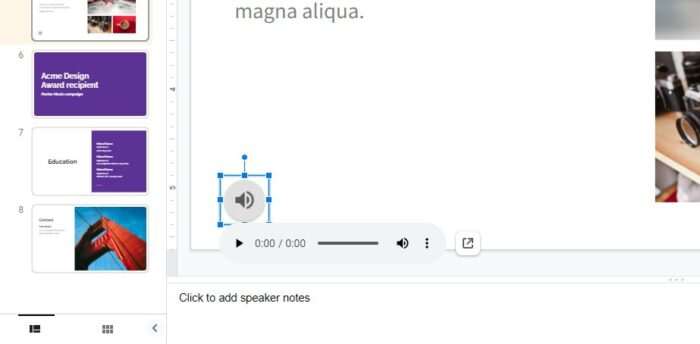
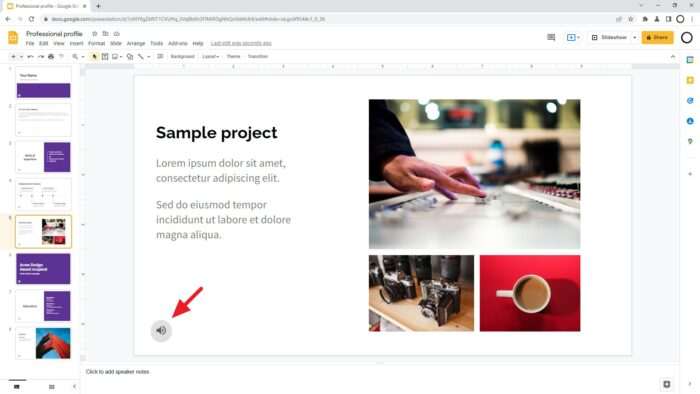
9. Adjust the audio position. The bottom left/right is generally looks good.
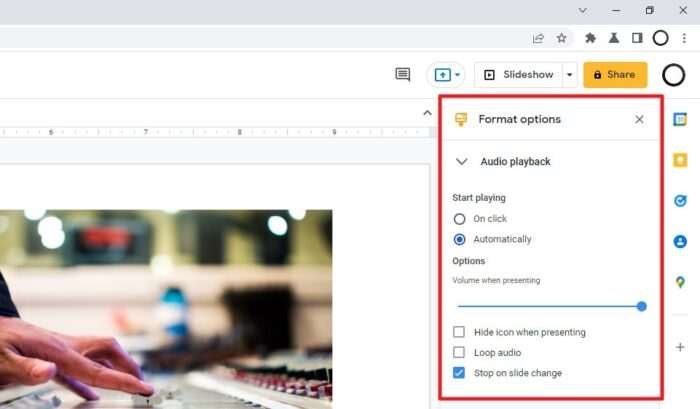
10. On the right panel, you can customize the audio settings, even hiding the icon completely when presenting.
11. Now you have a voice-over on the presentation.
The last piece of the puzzle is testing the presentation. Try running the slideshow again and see how it sounds. You may repeat the process to get a more desirable result.
