Most of the time, a presentation is better off with manual control where the presenter uses a clicker to move between slides. But again, this is most of the time. Sometimes, you might want to make the slide to advanced automatically after a period of time.
One example that I could think of is when the audience is waiting for the event to start. We can use that opportunity to show a slideshow of interesting pictures. I have been there and it hooks their attention — a good warm-up before the main presentation started.
In PowerPoint, you can make the slides advance automatically after a specific time you set. Here’s how.
1. First, open the presentation on PowerPoint.

2. Click on a slide, preferably the first slide. Then go to the Home menu.
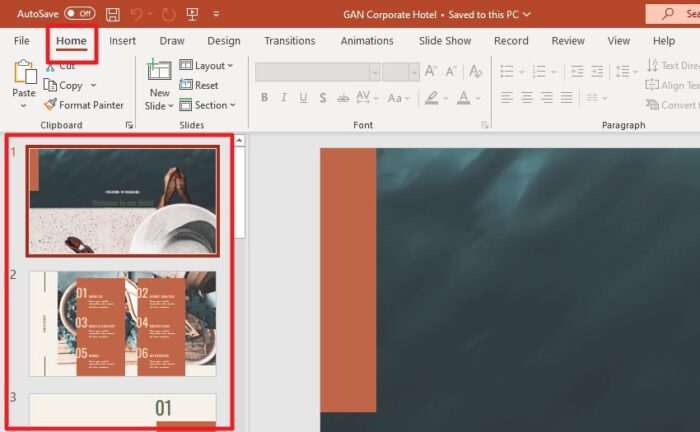
3. After that, click Select > Select All. This will make all the slides selected.

4. Then, navigate to Transitions.
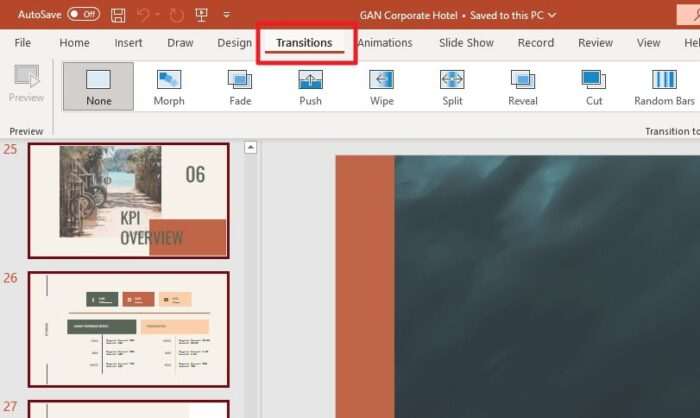
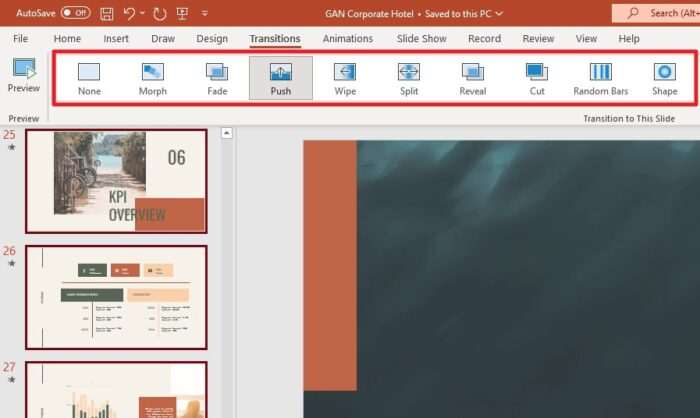
5. And select the type of transition animation you’d like to apply. However, this step is completely optional. It’s just a recommendation to make the transition between slides smoother.
6. Still on the Transitions menu, remove the checkmark from On Mouse Click.

7. Then check the After option. You can set how long each slide should last before moving forward.

8. Lastly, try to run the Slide Show and see if the slides are advancing automatically.

Remember, you can assign different duration on each slide. To do that, you may skip steps 1,2, and 3 and just set the “Advance Slide” setting (step 7) on every slide in the document. This process can be exhausting if there are tons of slides involved, but that’s the only way possible.
In conjunction with that, I suggest you also add a looping effect to the presentation. This will prevent the presentation from abruptly stopping when the slides are over and instead will start all over again from the first slide.


